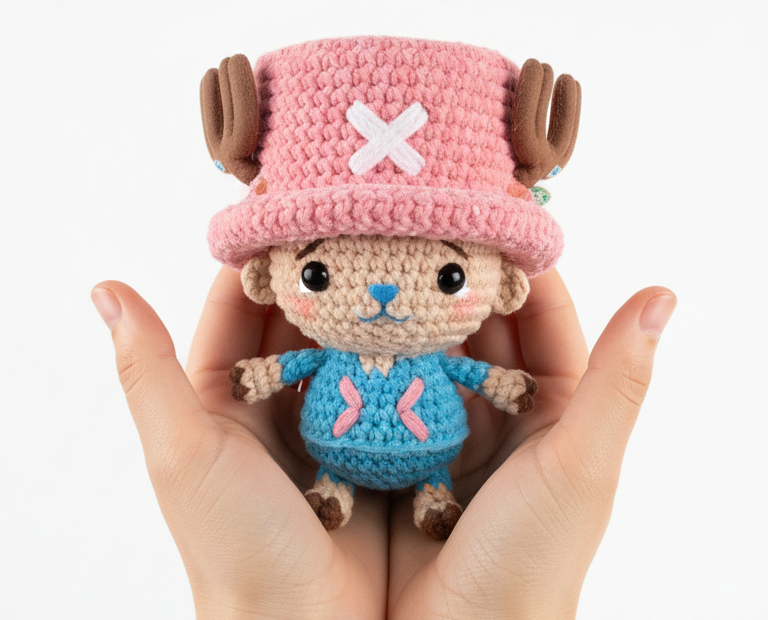
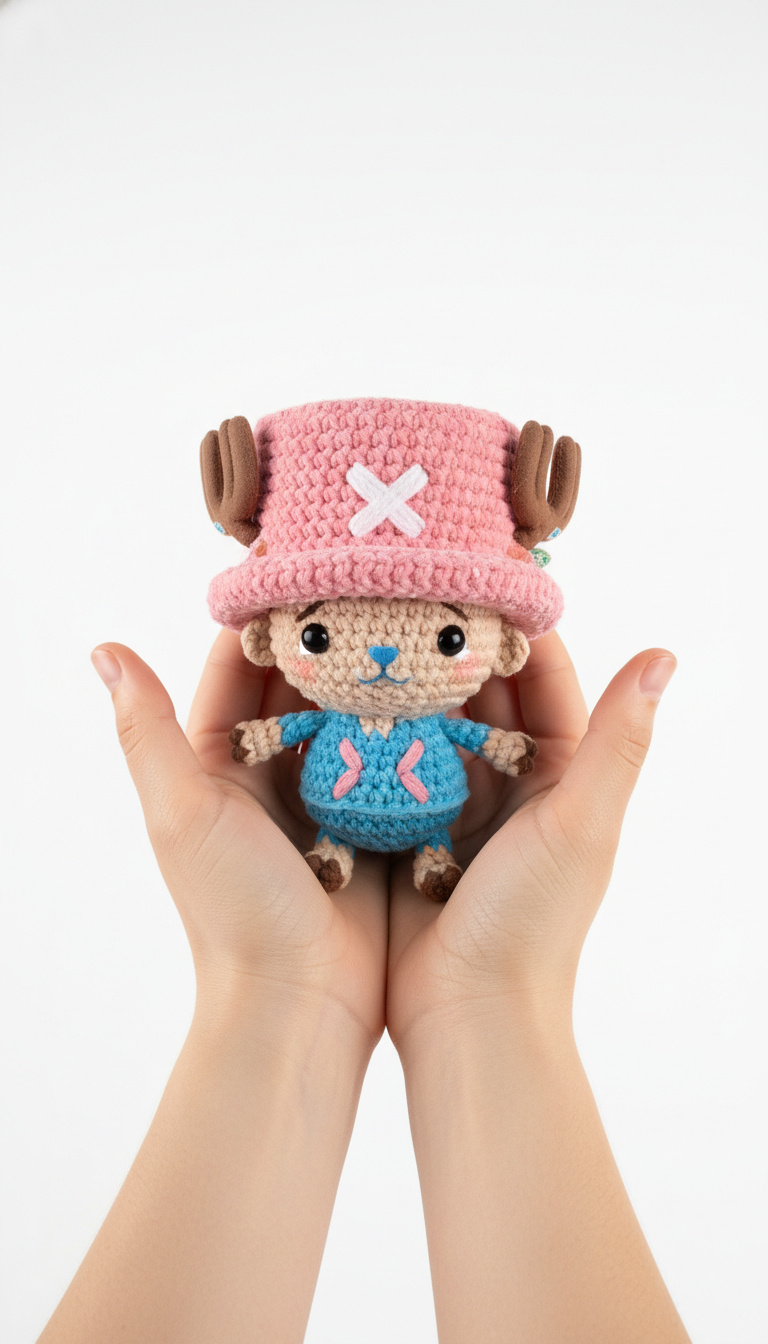
Set sail on a crochet adventure and bring the beloved doctor of the Straw Hat Pirates, Tony Tony Chopper, to life with this charming amigurumi pattern! Perfect for fans of One Piece, this detailed guide will help you create your very own tiny reindeer plushie, complete with his iconic pink hat and blue outfit. Get ready to hook your way to an adorable companion!
Bring Your Favorite Doctor to Life with this Easy Crochet Pattern
There’s nothing quite like the joy of crafting a character you adore with your own hands. This Tony Tony Chopper amigurumi makes a fantastic gift for fellow anime enthusiasts, a cute desk buddy, or a treasured addition to any collection. Using simple stitches, even those new to amigurumi can successfully create this charming little doctor.
Crochet Pattern: Adorable Tony Tony Chopper Amigurumi Crochet Pattern – Craft Your Own One Piece Companion!
Materials
Light Beige DK/Light Worsted Yarn (for head and face)
Pink DK/Light Worsted Yarn (for hat, X on hat and shirt)
Light Pink DK/Light Worsted Yarn (for hat brim)
Teal/Light Blue DK/Light Worsted Yarn (for body, shirt, pants, nose)
Brown DK/Light Worsted Yarn (for antlers, hooves)
White DK/Light Worsted Yarn (for X on hat, eye highlights)
2.5mm or 3.0mm Crochet Hook (or size to achieve tight stitches)
6mm or 8mm Black Safety Eyes
Polyester Fiberfill for stuffing
Tapestry Needle
Scissors
Stitch Markers
Abbreviations
MR: Magic Ring
ch: Chain
sc: Single Crochet
inc: Increase (2 sc in one stitch)
dec: Decrease (sc 2 stitches together)
sl st: Slip Stitch
FO: Fasten Off
(X) : Number of stitches in the round
Instructions
This pattern is worked in continuous rounds unless otherwise stated. Use a stitch marker to keep track of the first stitch of each round.
Head (Light Beige Yarn)
Round 1: MR 6 sc (6)
Round 2: inc in each st (12)
Round 3: (sc, inc) x6 (18)
Round 4: (2 sc, inc) x6 (24)
Round 5: (3 sc, inc) x6 (30)
Round 6-10: sc in each st (30)
Round 11: (3 sc, dec) x6 (24)
Round 12: (2 sc, dec) x6 (18)
Start stuffing the head firmly.
Round 13: (sc, dec) x6 (12)
Round 14: dec x6 (6)
FO, leave a long tail for sewing. Close the opening and weave in the end.
These are small, free-form pieces. They are more like small branches than structured antlers in the image. Crochet two small ‘nub’ shapes, maybe 3-4 rounds of 4-6 sc each, then FO. Pinch and shape them or add a tiny bit of stuffing.
Antler Base: MR 4 sc (4)
Round 2-3: sc in each st (4)
FO, leave a long tail for sewing. Create a slight ‘fork’ shape by pinching or adding a very small nub for the second point, attaching a tiny chain or sc stitch.
Assembly and Details
Attach Body to Head: Sew the body to the bottom of the head using the long tail from the body. Ensure it’s centered.
Attach Arms: Sew the arms to the sides of the body, just below the neck.
Attach Legs: Sew the legs to the bottom of the body.
Insert Safety Eyes: Place the safety eyes on the head between rounds 7 and 8, approximately 5-6 stitches apart. Secure them.
Embroider Nose: Using teal yarn, embroider a small, inverted ‘V’ or triangle shape for the nose on the face, centered between the eyes.
Embroider Mouth: Using black embroidery floss, stitch a tiny, subtle smile below the nose.
Eye Highlights: Cut two tiny white felt circles or use white yarn to embroider small white dots on the safety eyes for highlights.
Attach Hat: Place the hat on the head. Sew it firmly in place using the tail from the hat brim.
Attach Antlers: Sew the brown antlers to the sides of the hat.
Embroider Hat X: Using white yarn, embroider a prominent ‘X’ on the front center of the pink hat.
Embroider Shirt X’s: Using pink yarn, embroider two crossing ‘X’ shapes on the front of the teal body, similar to the image.
Weave in Ends: Securely weave in all remaining yarn tails.
Your adorable Tony Tony Chopper amigurumi is now complete!