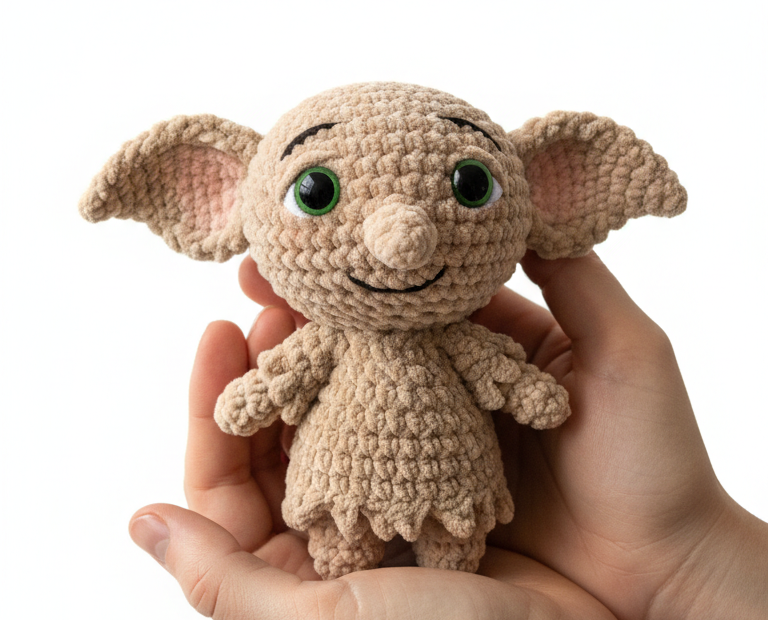
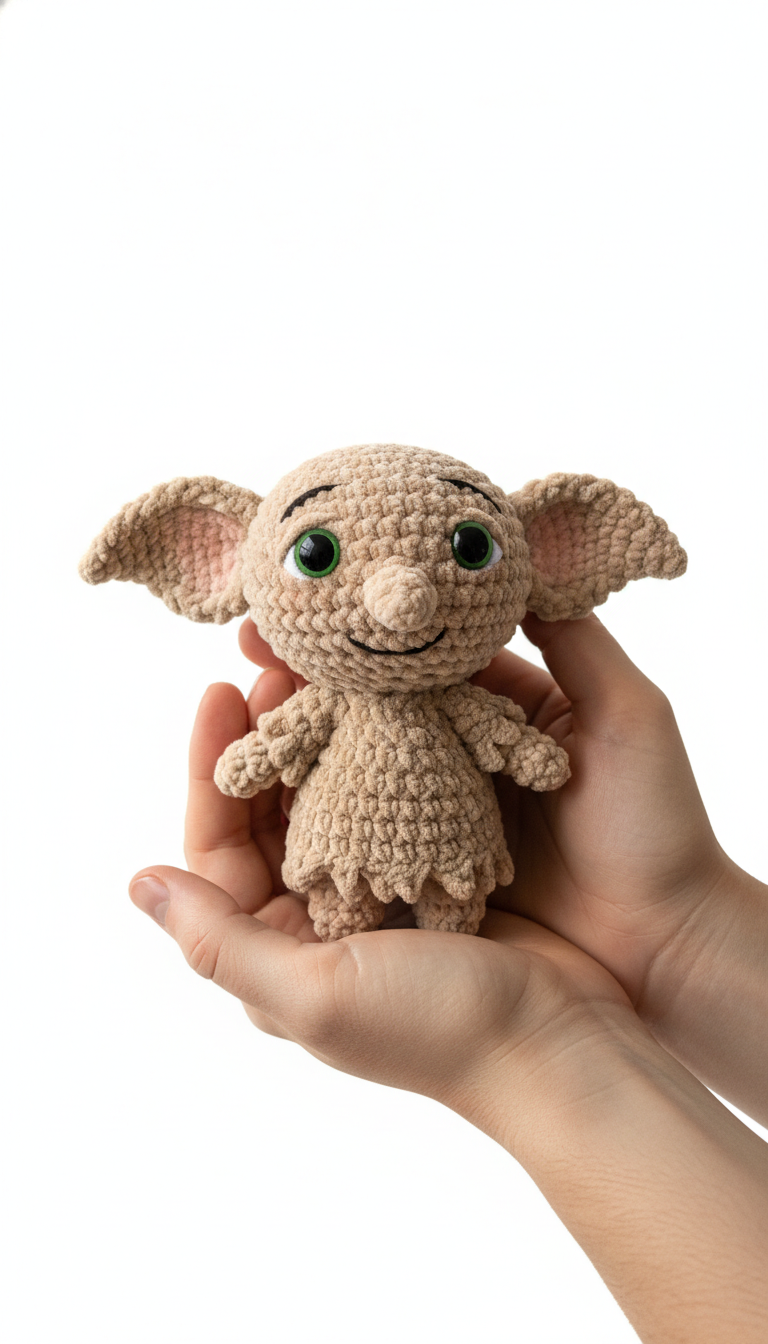
Unleash a touch of magic with your very own crocheted House Elf! This Dobby-inspired amigurumi pattern is perfect for fans of wizardry and charming creatures. With its loyal gaze and adorable features, this little friend promises to bring joy to any collection or make a heartwarming gift. Get ready to bring a beloved character to life, stitch by stitch!
Craft Your Own Magical Companion
Creating your own amigurumi is a truly rewarding experience, and this House Elf pattern is no exception. Beyond the joy of crafting, you’ll have a unique, handmade keepsake that captures the spirit of loyalty and friendship. It’s a fantastic project for intermediate crocheters looking to add a touch of whimsy to their yarn adventures, offering a delightful challenge with a magical outcome.
Crochet Pattern: Crochet House Elf Amigurumi: Free Dobby Inspired Pattern
Materials
DK or light worsted weight yarn in light beige/light brown (main color)
DK or light worsted weight yarn in light pink (for inner ears)
Black embroidery floss
3.0mm crochet hook (or size appropriate for your yarn)
10-12mm green safety eyes with black pupils
Polyester fiberfill for stuffing
Tapestry needle
Stitch marker
Scissors
Abbreviations
MR: Magic Ring
sc: single crochet
inc: increase (2 sc in one stitch)
dec: decrease (sc 2 together)
sl st: slip stitch
ch: chain
FO: fasten off
FLO: Front Loop Only
BLO: Back Loop Only
st: stitch/stitches
rnd: round
Instructions
Work in continuous rounds unless otherwise specified. Use a stitch marker to keep track of the first stitch of each round.
Head & Body (Main Color)
Rnd 1: Start with MR, 6 sc (6)
Rnd 2: 6 inc (12)
Rnd 3: (1 sc, inc) x6 (18)
Rnd 4: (2 sc, inc) x6 (24)
Rnd 5: (3 sc, inc) x6 (30)
Rnd 6: (4 sc, inc) x6 (36)
Rnd 7: (5 sc, inc) x6 (42)
Rnd 8-14: Sc in each st around (42) (7 rounds)
Rnd 15: (5 sc, dec) x6 (36)
Rnd 16: (4 sc, dec) x6 (30)
Insert safety eyes between Rnd 12 and Rnd 13, approximately 8-9 stitches apart.
Rnd 17: (3 sc, dec) x6 (24)
Start stuffing the head firmly and continue as you go.
Rnd 18: (2 sc, dec) x6 (18)
Rnd 19: (1 sc, dec) x6 (12)
Rnd 20: (1 sc, inc) x6 (18)
Rnd 21: 18 sc
Rnd 22: (2 sc, inc) x6 (24)
Rnd 23: 24 sc
Rnd 24: (3 sc, inc) x6 (30)
Rnd 25: 30 sc
Rnd 26: (4 sc, inc) x6 (36)
Rnd 27-32: Sc in each st around (36) (6 rounds)
Stuff the body firmly.
Rnd 33 (Skirt Points): *Sc in next 2 st, (ch 2, sl st in 2nd ch from hook), sc in same st, skip 2 st* repeat 9 times. Sl st to first sc. FO, weave in ends.
Ears (Make 2 – Main Color)
Ch 8.
Row 1: Sc in 2nd ch from hook, sc in next 5 ch, 3 sc in last ch. Working down other side of ch: sc in next 5 ch, 2 sc in last ch. (16)
Row 2: Inc, sc in next 5 st, (inc in next st) x3, sc in next 5 st, (inc in next st) x2. (22)
Row 3: Sc in each st around. (22)
Row 4: Dec, sc in next 6 st, (dec) x2, sc in next 6 st, dec. (18)
FO, leaving a long tail for sewing. Fold the ear slightly in half and stitch the opening together if desired to create shape.
Inner Ears (Make 2 – Light Pink)
Ch 5.
Row 1: Sc in 2nd ch from hook, sc in next 2 ch, 3 sc in last ch. Working down other side of ch: sc in next 2 ch, 2 sc in last ch. (12)
Row 2: Inc, sc in next 2 st, (inc in next st) x3, sc in next 2 st, (inc in next st) x2. (18)
FO, leaving a long tail for sewing. Sew each pink inner ear piece onto the beige outer ear piece.
Arms (Make 2 – Main Color)
Rnd 1: Start with MR, 6 sc (6)
Rnd 2-8: Sc in each st around (6) (7 rounds)
FO, leaving a long tail for sewing. Lightly stuff the end of the arm.
Legs (Make 2 – Main Color)
Rnd 1: Start with MR, 6 sc (6)
Rnd 2: 6 inc (12)
Rnd 3-8: Sc in each st around (12) (6 rounds)
Rnd 9: 6 dec (6)
FO, leaving a long tail for sewing. Stuff firmly.
Assembly
Ears: Sew the assembled ears to the sides of the head, positioning them slightly above the safety eyes and angled outwards as seen in the image.
Arms: Attach the arms to the sides of the body, just below the neck line.
Legs: Sew the legs to the bottom of the body.
Facial Features: Using black embroidery floss, carefully embroider the eyebrows above the eyes in an arching shape. Embroider a small, horizontal line for the nose and a gentle, upturned smile for the mouth.