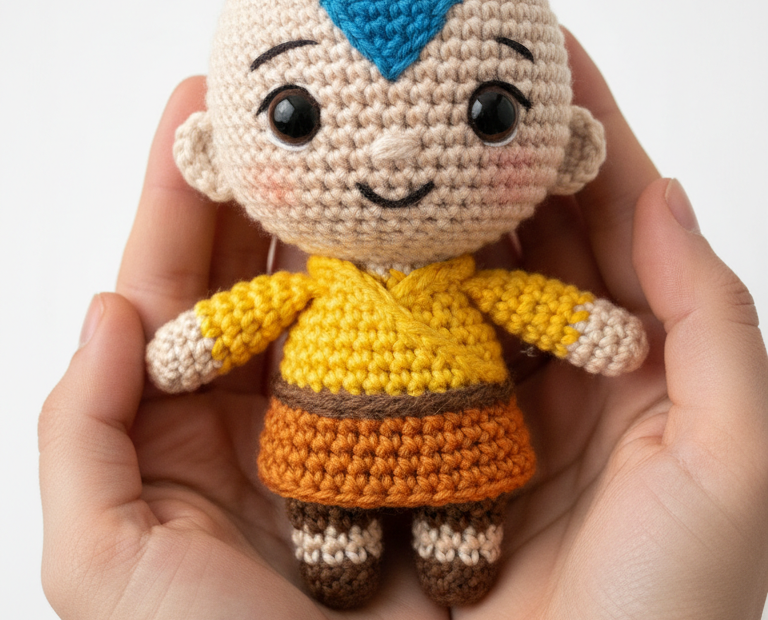
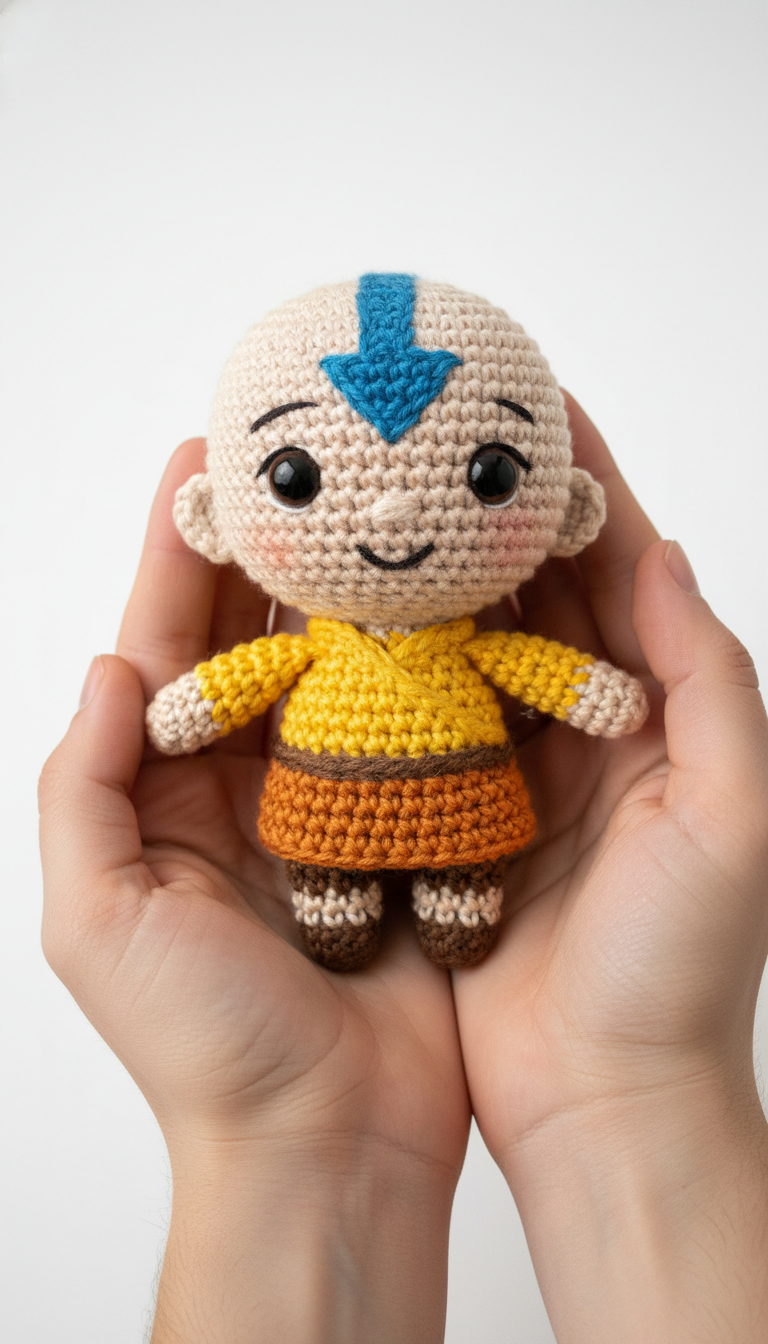
Embark on a journey to bring the Last Airbender to life with this detailed Aang Amigurumi crochet pattern! Perfect for fans of Avatar: The Last Airbender, this adorable chibi-style Aang doll captures his iconic look, complete with his airbender tattoos and cheerful smile. Whether for display or imaginative play, this pattern will guide you through creating your very own little Avatar.
Master the Elements of Amigurumi with Aang
Crafting your own Aang Amigurumi is more than just making a doll; it’s a chance to connect with a beloved character and hone your crochet skills. This project offers a delightful challenge for intermediate crocheters and a rewarding experience for all. Imagine the joy of gifting this handmade treasure or proudly displaying your finished Airbender, a testament to your creativity and love for the Avatar universe.
Crochet Pattern: Crochet Your Own Airbender: Detailed Aang Amigurumi Pattern
Materials
Worsted weight yarn in:Light Beige (skin tone)
Bright Yellow (robe)
Orange (pants/robe trim)
Dark Brown (shoes/sock stripes)
Light Brown/Tan (sock stripes)
Sky Blue (arrow tattoo)
Black (embroidery for eyebrows/mouth)
Pink (embroidery for blush)
2.5mm crochet hook
6mm or 8mm black safety eyes
Polyester fiberfill for stuffing
Tapestry needle
Stitch markers
Scissors
Abbreviations
MR: Magic Ring
ch: Chain
sc: Single Crochet
inc: Increase (2 sc in one stitch)
dec: Decrease (sc 2 stitches together)
sl st: Slip Stitch
FO: Finish Off
(X) : Number of stitches at the end of the round
Instructions
Head (Light Beige)
R1: Start with Magic Ring, 6 sc (6)
R2: 6 inc (12)
R3: (1 sc, 1 inc) x 6 (18)
R4: (2 sc, 1 inc) x 6 (24)
R5: (3 sc, 1 inc) x 6 (30)
R6: (4 sc, 1 inc) x 6 (36)
R7-12: 36 sc (6 rounds)
Insert 6mm safety eyes between R9 and R10, approximately 7 stitches apart.
R13: (4 sc, 1 dec) x 6 (30)
R14: (3 sc, 1 dec) x 6 (24)
Stuff head firmly with fiberfill.
R15: (2 sc, 1 dec) x 6 (18)
R16: (1 sc, 1 dec) x 6 (12)
R17: 6 dec (6)
FO, fasten off and weave in end to close the hole.
Body (Light Beige, Yellow, Orange)
Start with Light Beige yarn.
R1: Ch 1, 12 sc evenly around the base of the head (12)
R2: (1 sc, 1 inc) x 6 (18)
R3: (2 sc, 1 inc) x 6 (24)
R4-10: 24 sc (7 rounds)
Switch to Bright Yellow yarn.
R11: 24 sc
R12: (2 sc, 1 dec) x 6 (18)
Switch to Orange yarn.
R13-14: 18 sc (2 rounds)
FO, leave a long tail for sewing to the legs. Stuff body firmly.
Arms (Make 2 – Light Beige, Yellow)
Start with Light Beige yarn.
R1: Magic Ring, 6 sc (6)
R2: (1 sc, 1 inc) x 3 (9)
R3-4: 9 sc (2 rounds)
R5: (2 sc, 1 dec) x 2, 1 sc (7)
Switch to Bright Yellow yarn.
R6-10: 7 sc (5 rounds)
Stuff arm lightly.
FO, leave a long tail for sewing to the body. Flatten the opening.
Legs (Make 2 – Orange, Light Brown/Tan, Dark Brown)
Start with Orange yarn.
R1: Magic Ring, 6 sc (6)
R2: (1 sc, 1 inc) x 3 (9)
R3-4: 9 sc (2 rounds)
Switch to Light Brown/Tan yarn.
R5: 9 sc
Switch to Dark Brown yarn.
R6: 9 sc
Switch to Light Brown/Tan yarn.
R7: 9 sc
Switch to Dark Brown yarn.
R8: 9 sc
Stuff leg lightly as you go.
R9: (1 sc, 1 dec) x 3 (6)
R10: 6 sc
R11: 3 dec (3)
FO, fasten off and weave in end to close the hole. Leave a long tail for sewing to the body.
Assembly & Embroidery
Attach Legs: Sew the two legs to the bottom opening of the body.
Attach Arms: Sew the arms to the sides of the yellow robe section of the body, just below the neck.
Arrow Tattoo: Using Sky Blue yarn and a tapestry needle, carefully embroider Aang’s arrow tattoo from the forehead, over the top of the head.
Facial Features:
Eyebrows: Using Black embroidery floss, embroider small, arched eyebrows above the safety eyes.
Mouth: Using Black embroidery floss, embroider a gentle smile.
Blush: Using Pink embroidery floss, embroider two small horizontal lines or circles on the cheeks for blush.