Bring a piece of the galaxy far, far away into your home with this adorable BB-8 Amigurumi crochet pattern! Perfect for Star Wars fans and crochet enthusiasts alike, this loyal droid is surprisingly fun to make. With detailed instructions, you’ll craft your very own tiny companion, ready to roll into action or adorn your shelf. Get ready to embark on a delightful crochet adventure!
Why You’ll Love Crocheting Your Own BB-8 Droid
Creating this BB-8 isn’t just about making a toy; it’s about bringing a beloved character to life with your own hands. The satisfaction of seeing BB-8 take shape, stitch by stitch, is incredibly rewarding. This pattern also allows you to practice colorwork and assembly techniques, enhancing your crochet skills while producing a cherished handmade gift or a unique addition to your Star Wars collection.
Crochet Pattern: Roll Into Action: Crochet Your Own Adorable BB-8 Droid Amigurumi Pattern
Materials
Worsted weight yarn in White, Orange, Light Grey, Black
3.5mm (E/4) crochet hook
9mm black safety eye
6mm black safety eye
Fiberfill stuffing
Tapestry needle
Stitch marker
Scissors
Abbreviations
MR: Magic Ring
ch: Chain
sc: Single Crochet
inc: Increase (2 sc in next stitch)
dec: Decrease (sc two stitches together)
sl st: Slip Stitch
FO: Fasten Off
(X): Stitch count at the end of the round
[…] xY: Repeat instructions in brackets Y times
Instructions
Gauge: Not critical for this project, just ensure tight stitches to prevent stuffing from showing.
Notes: Work in continuous rounds unless otherwise specified. Use a stitch marker to keep track of the first stitch of each round.
Head (White, Orange, Light Grey, Black)
Using White yarn:
R1: 6 sc in MR (6)
R2: [inc] x6 (12)
R3: [sc, inc] x6 (18)
R4: [2 sc, inc] x6 (24)
R5: [3 sc, inc] x6 (30)
R6-R8: Sc in each st around (30)
R9: [3 sc, dec] x6 (24)
Insert 9mm safety eye between R5 and R6, centered on the front. Insert 6mm safety eye next to the larger one, slightly below.
R10: [2 sc, dec] x6 (18)
Stuff head firmly.
Switch to Orange yarn:
R11: Sc in each st around (18)
Switch to Light Grey yarn:
R12: Sc in each st around (18)
Switch to White yarn:
R13: [sc, dec] x6 (12)
FO, leaving a long tail for sewing.
Body (White, Light Grey)
Using White yarn:
R1: 6 sc in MR (6)
R2: [inc] x6 (12)
R3: [sc, inc] x6 (18)
R4: [2 sc, inc] x6 (24)
R5: [3 sc, inc] x6 (30)
R6: [4 sc, inc] x6 (36)
R7: [5 sc, inc] x6 (42)
R8-R14: Sc in each st around (42)
Switch to Light Grey yarn:
R15: Sc in each st around (42)
Switch to White yarn:
R16-R17: Sc in each st around (42)
R18: [5 sc, dec] x6 (36)
R19: [4 sc, dec] x6 (30)
Stuff body firmly.
R20: [3 sc, dec] x6 (24)
R21: [2 sc, dec] x6 (18)
R22: [sc, dec] x6 (12)
R23: [dec] x6 (6)
FO, leaving a long tail, weave through remaining sts and pull to close.
Antenna (White, make 1)
Using White yarn:
Ch 5.
Sl st in 2nd ch from hook and next 3 ch.
FO, leaving a tail for sewing.
Large Orange Appliques (Orange, make 2)
Using Orange yarn:
R1: 6 sc in MR (6)
R2: [inc] x6 (12)
FO, leaving a long tail for sewing.
Small Orange Appliques (Orange, make 2)
Using Orange yarn:
R1: 6 sc in MR (6)
FO, leaving a long tail for sewing.
Small Grey Centers (Light Grey, make 2)
Using Light Grey yarn:
R1: 4 sc in MR (4)
FO, leaving a long tail for sewing.
Assembly
1. Sew the Small Grey Centers onto the middle of the Large Orange Appliques.
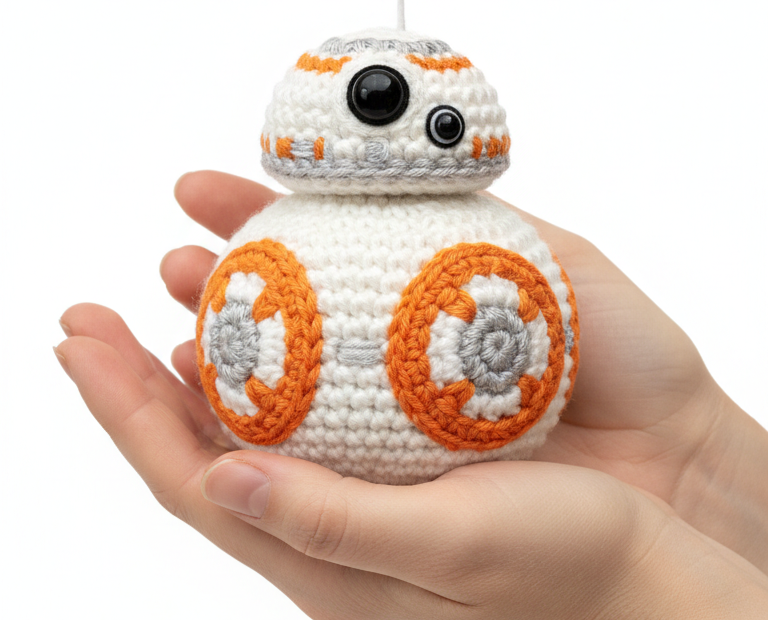
2. Referencing the image, sew the Large Orange Appliques (with grey centers) and the Small Orange Appliques onto the white body. Position them evenly around the body.
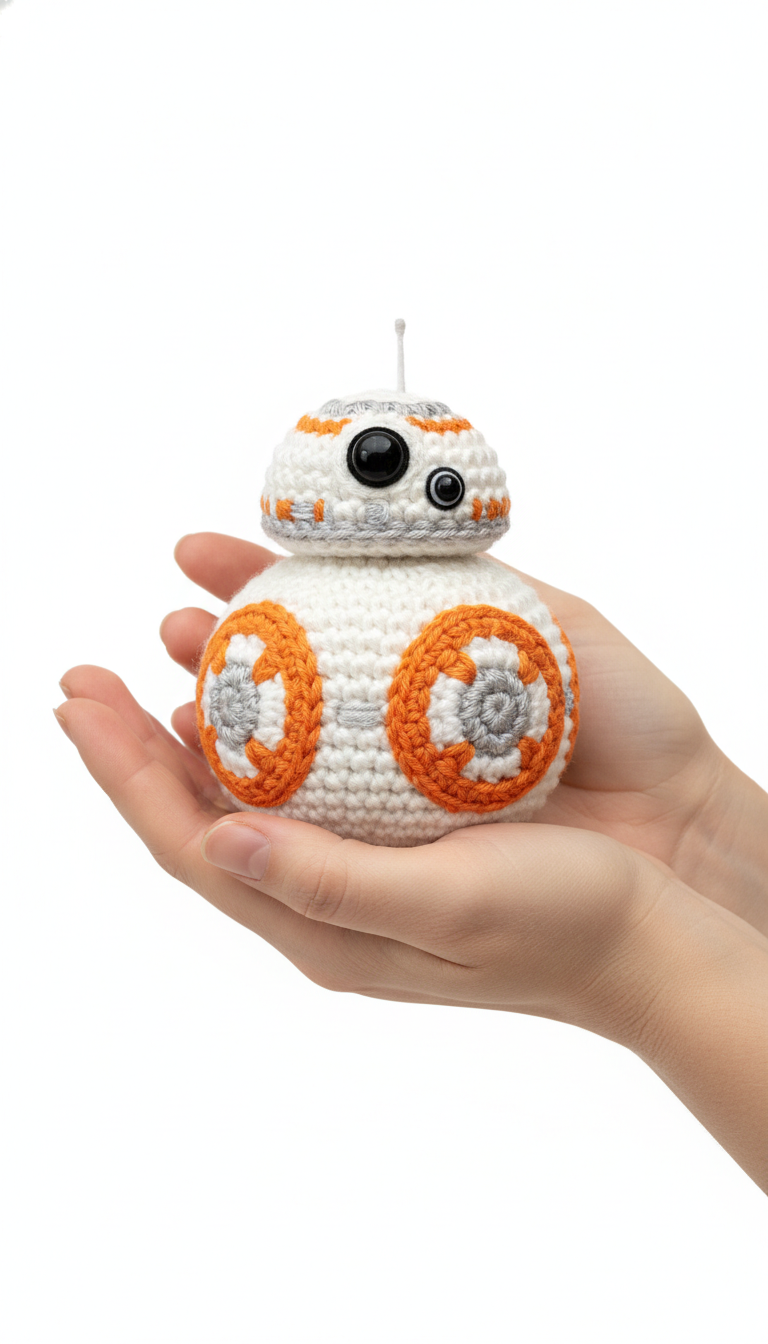
3. Sew the antenna onto the top-center of the head.
4. Using the tail from the head, sew the head securely to the top of the body. Ensure it’s centered and straight.