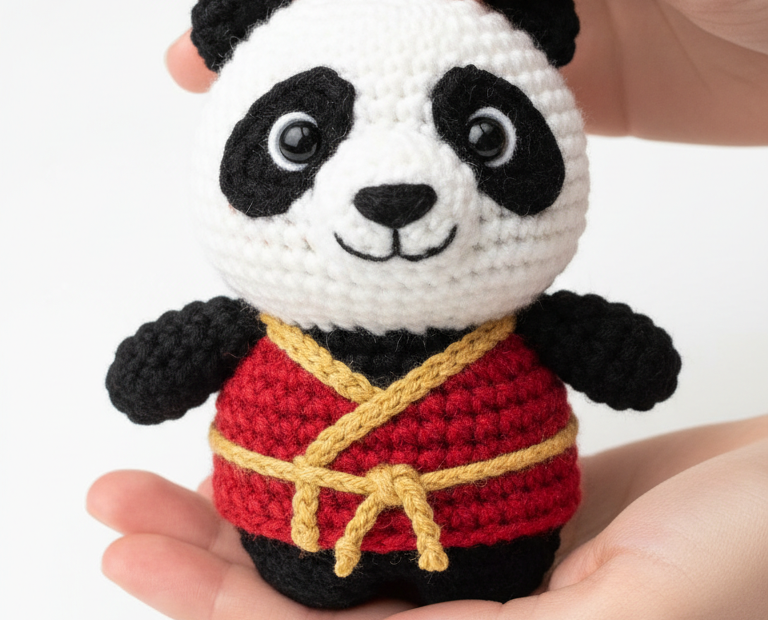
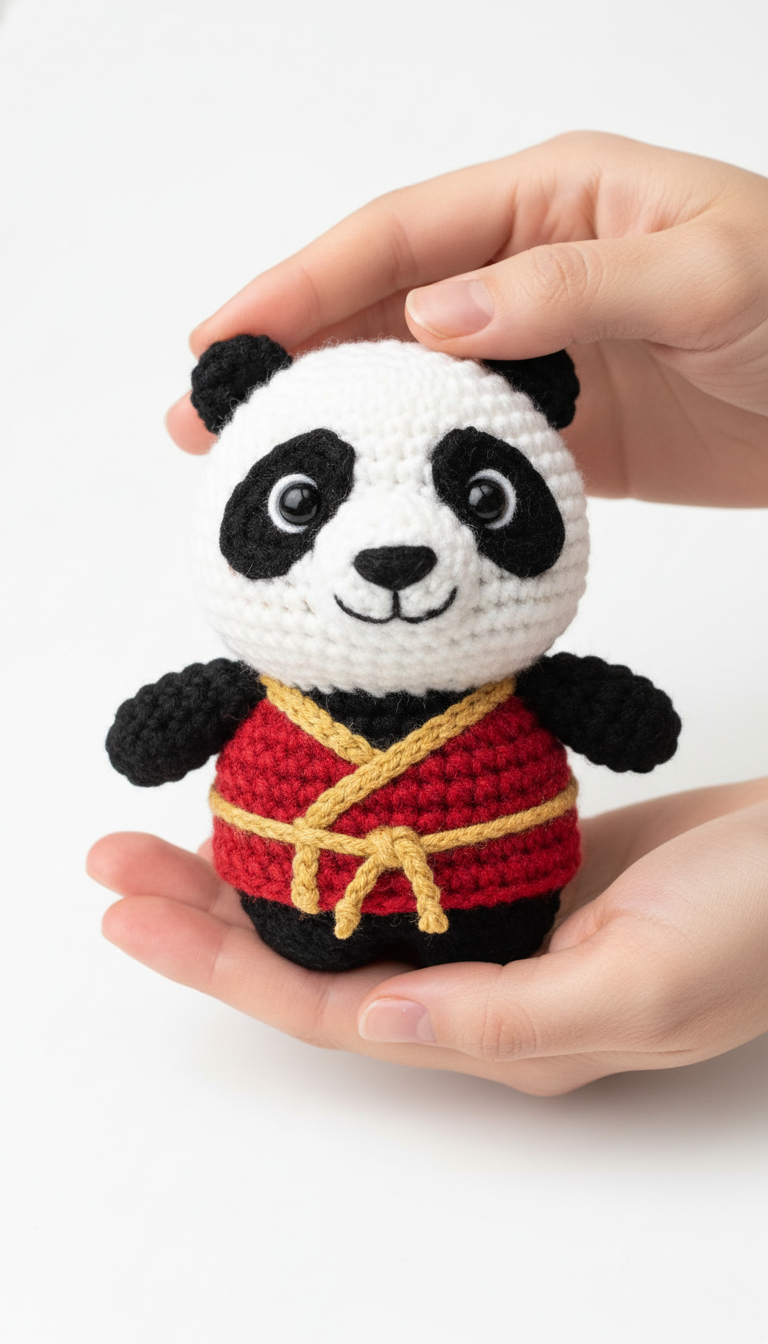
Get ready to unleash your inner crafting warrior with this adorable Martial Arts Panda Amigurumi! This pattern will guide you through creating a charming panda, complete with its own tiny gi, perfect for gifting to martial arts enthusiasts or adding a touch of playful strength to your collection. This little hero is sure to bring a smile to anyone’s face.
Craft Your Own Adorable Kung Fu Companion
Imagine the joy of holding this handcrafted panda, ready to strike a pose! This pattern is designed to be engaging for intermediate crocheters, offering clear instructions to bring this unique amigurumi to life. It’s not just a toy; it’s a tiny symbol of strength and cuteness, making it a thoughtful, handmade gift or a delightful addition to your home decor.
Crochet Pattern: Master Panda: Free Crochet Amigurumi Pattern for a Kung Fu Cutie!
Materials
Worsted weight yarn in White (A), Black (B), Red (C), and Gold/Yellow (D)
3.0mm crochet hook (or size suitable for your yarn to achieve tight stitches)
Two 6mm safety eyes
Polyester fiberfill for stuffing
Tapestry needle
Stitch marker
Scissors
Abbreviations
MR: Magic Ring
ch: chain
sc: single crochet
inc: increase (2 sc in one stitch)
dec: decrease (sc 2 stitches together)
sl st: slip stitch
FO: Fasten Off
Rnd: Round
st(s): stitch(es)
BLO: back loop only
Instructions
Head & Body (Start with White A)
Rnd 1: 6 sc in MR (6)
Rnd 2: 6 inc (12)
Rnd 3: (1 sc, inc) x 6 (18)
Rnd 4: (2 sc, inc) x 6 (24)
Rnd 5: (3 sc, inc) x 6 (30)
Rnd 6: (4 sc, inc) x 6 (36)
Rnd 7-12: Sc in each st around (36 sts)
Insert safety eyes between Rnd 9 and 10, approx. 6-7 sts apart.
Rnd 13: (4 sc, dec) x 6 (30)
Rnd 14: (3 sc, dec) x 6 (24)
Rnd 15: (2 sc, dec) x 6 (18)
Change to Black (B) yarn. Stuff head firmly.
Rnd 16: Sc in each st around (18 sts)
Rnd 17: (2 sc, inc) x 6 (24)
Rnd 18-23: Sc in each st around (24 sts)
Rnd 24: (2 sc, dec) x 6 (18)
Rnd 25: (1 sc, dec) x 6 (12)
Rnd 26: 6 dec (6)
FO, leaving a tail. Weave tail through remaining sts and pull tight to close. Stuff body firmly.
Ears (Make 2 with Black B)
Rnd 1: 6 sc in MR (6)
Rnd 2: (1 sc, inc) x 3 (9)
Rnd 3: Sc in each st around (9 sts)
FO, leave a long tail for sewing. Flatten the ear.
Eye Patches (Make 2 with Black B)
Ch 4.
Rnd 1: Sc in 2nd ch from hook, 1 sc, 3 sc in last ch. Continue on other side of chain: 1 sc, 2 sc in last st. (8 sts)
FO, leave a long tail for sewing.
Snout (White A)
Rnd 1: 6 sc in MR (6)
Rnd 2: 6 inc (12)
Rnd 3: (1 sc, inc) x 6 (18)
Rnd 4: Sc in each st around (18 sts)
FO, leave a long tail for sewing. Stuff lightly.
Arms (Make 2 with Black B)
Rnd 1: 6 sc in MR (6)
Rnd 2: (1 sc, inc) x 3 (9)
Rnd 3-7: Sc in each st around (9 sts)
FO, leave a long tail for sewing. Stuff lightly.
Legs (Make 2 with Black B)
Ch 5.
Rnd 1: Sc in 2nd ch from hook, 2 sc, 3 sc in last ch. Working on the other side of the chain: 2 sc, 2 sc in last st. (10 sts)
Rnd 2: Inc, 2 sc, 3 inc, 2 sc, 2 inc (16)
Rnd 3: Sc in BLO around (16 sts)
Rnd 4-6: Sc in each st around (16 sts)
Rnd 7: (2 sc, dec) x 4 (12)
Rnd 8-10: Sc in each st around (12 sts)
FO, leave a long tail for sewing. Stuff firmly.
Gi Top (Red C & Gold D)
Jacket Body (Red C)
Ch 28.
Row 1: Sc in 2nd ch from hook and across (27 sts).
Row 2-5: Ch 1, turn, sc across (27 sts).
Divide for Armholes (creating front and back panels):
Row 6 (Left Front Panel): Ch 1, turn, sc in first 6 sts. (6 sts). Work 3 more rows of 6 sc. FO.
Row 6 (Back Panel): Skip next 3 sts (first armhole). Attach yarn to the 10th st of Row 5. Sc in next 9 sts. (9 sts). Work 3 more rows of 9 sc. FO.
Row 6 (Right Front Panel): Skip next 3 sts (second armhole). Attach yarn to the 19th st of Row 5. Sc in next 6 sts. (6 sts). Work 3 more rows of 6 sc. FO.
Assembly of Gi Top:
Sew the top edge of the Left Front Panel (6 sts) to 3 sts on the left side of the Back Panel’s top edge. Repeat for the Right Front Panel, joining its top edge to the other 3 sts on the right side of the Back Panel’s top edge. This forms the shoulder seams.
Collar/Opening Trim (Gold D): Join Gold yarn with a sl st to the bottom front corner of one front panel. Sc evenly around the entire front opening (up one side, across the neckline, and down the other side). FO.
Belt (Gold D): Ch 40. Tie around the gi.
Assembly of Panda:
Sew the Ears to the top sides of the head, between Rnd 4-6.
Sew the Eye Patches around the safety eyes.
Embroider a small mouth with Black B yarn below the snout.
Sew the Snout to the center of the face, just below the safety eyes.
Sew the Arms to the sides of the body, around Rnd 17-18.
Sew the Legs to the bottom of the body, centering them.
Dress your panda in its gi. Tie the gold belt around the waist.