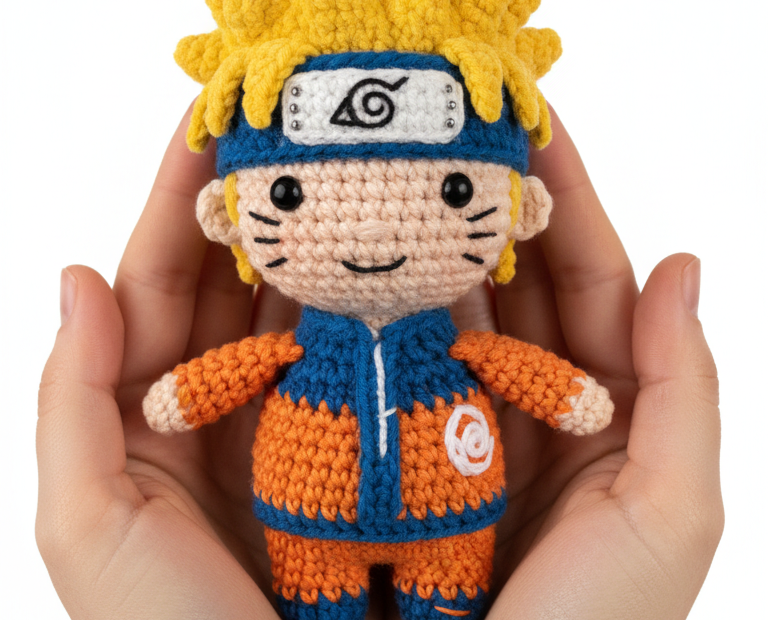
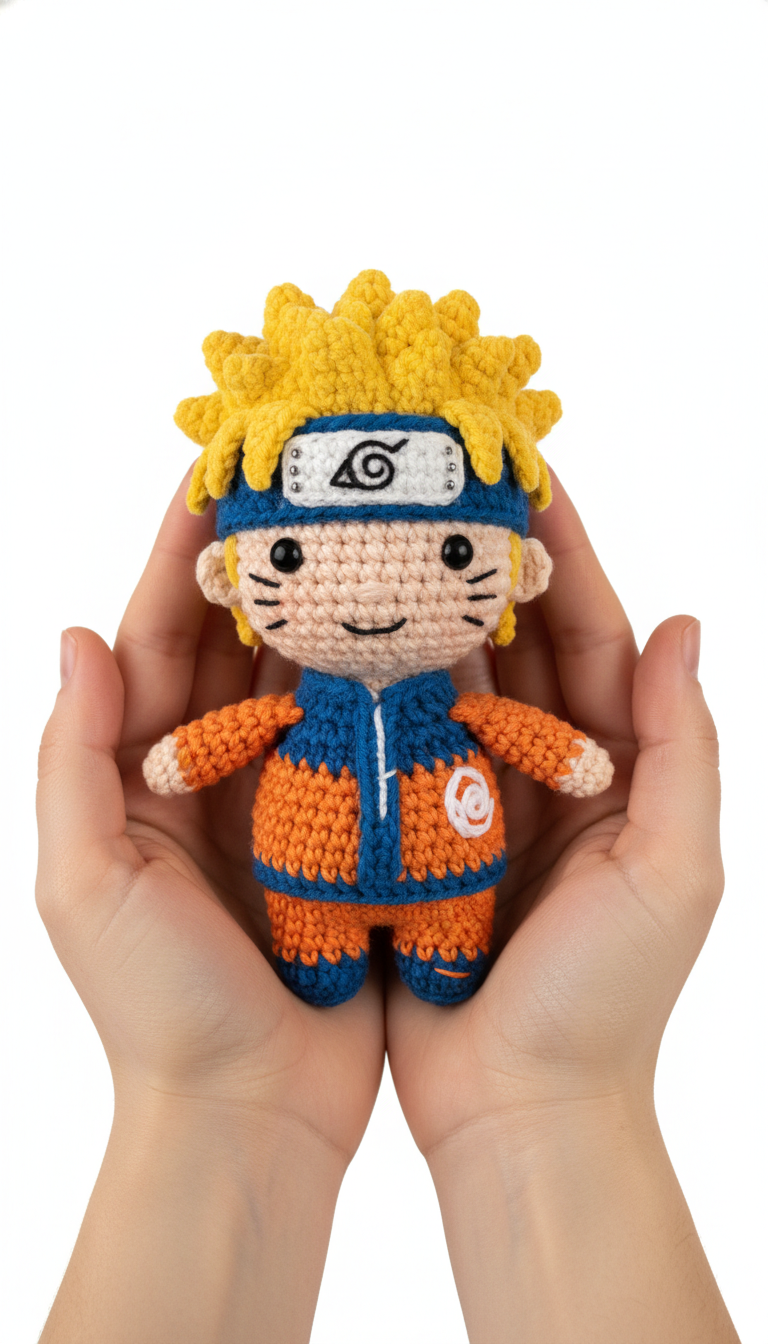
Get ready to bring your favorite shinobi to life with this step-by-step Naruto amigurumi crochet pattern! Perfect for fans of the Hidden Leaf Village, this project lets you craft your very own miniature Naruto Uzumaki, complete with his iconic spiky hair, headband, and orange jumpsuit. Whether for display or play, this determined ninja will surely bring a smile to any fan’s face. Dattebayo!
Craft Your Own Hokage: Why You’ll Love This Naruto Amigurumi
Creating your own Naruto amigurumi is more than just a crafting project; it’s a way to connect with a beloved character and showcase your passion. This pattern is designed to guide you through each detail, ensuring a rewarding experience and a finished doll that looks just like the real deal. Imagine the joy of holding your handcrafted Hokage, ready to tackle any mission!
Crochet Pattern: Unleash Your Inner Ninja: The Ultimate Naruto Amigurumi Crochet Pattern
Materials
Worsted weight yarn in: Light Peach/Tan (Skin), Bright Yellow (Hair), Royal Blue (Jacket, Headband, Pants), Bright Orange (Jacket), White (Headband Plate, Jacket Symbol), Black (Eyes, Mouth, Whiskers)
2.5mm crochet hook (or size appropriate for your yarn)
Polyester fiberfill for stuffing
Tapestry needle
Stitch marker
Abbreviations
MR: Magic Ring
ch: chain
sc: single crochet
inc: increase (2 sc in one stitch)
dec: decrease (sc 2 stitches together)
sl st: slip stitch
FO: Fasten off
R: Round
Instructions
Head (Start with Light Peach/Tan yarn)
R1: 6 sc in MR (6)
R2: (inc) x6 (12)
R3: (sc, inc) x6 (18)
R4: (2 sc, inc) x6 (24)
R5: (3 sc, inc) x6 (30)
R6-R10: sc around (30) (5 rounds)
R11: (3 sc, dec) x6 (24)
R12: (2 sc, dec) x6 (18)
R13: (sc, dec) x6 (12)
Stuff head firmly.
R14: (dec) x6 (6)
FO, weave in tail to close hole.
Ears (Make 2 – Light Peach/Tan yarn)
R1: 4 sc in MR (4)
R2: (sc, inc) x2 (6)
Fold flat and sc across to close.
FO, leaving a long tail for sewing.
Hair Cap (Bright Yellow yarn)
R1: 6 sc in MR (6)
R2: (inc) x6 (12)
R3: (sc, inc) x6 (18)
R4: (2 sc, inc) x6 (24)
R5: (3 sc, inc) x6 (30)
R6-R7: sc around (30)
FO, leaving a long tail for sewing to the head.
Hair Spikes (Bright Yellow yarn – Make about 15-20 in varying lengths)
Short Spike: Ch 3, sl st in 2nd ch from hook, sc in next. FO, leaving a tail.
Medium Spike: Ch 4, sl st in 2nd ch from hook, sc in next, hdc in last. FO, leaving a tail.
Long Spike: Ch 5, sl st in 2nd ch from hook, sc in next, hdc in next, dc in last. FO, leaving a tail.
Headband (Royal Blue, White, and Black yarn)
Blue Band: Ch 25 (adjust to fit around the head). Sl st into the first ch to form a loop. Sc in each ch around (25). Sc around for 2 more rounds. FO.
White Plate: Ch 9. Sc in 2nd ch from hook, sc in next 6 ch (7 sts). Ch 1, turn. Repeat for 3 more rows. FO.
Konoha Symbol: Using black embroidery thread or yarn and a tapestry needle, embroider the Konoha village symbol onto the center of the white plate.
Legs (Make 2 – Start with Royal Blue yarn)
R1 (Royal Blue): 6 sc in MR (6)
R2: (inc) x6 (12)
R3-R4: sc around (12) (2 rounds)
Change to Bright Orange yarn.
R5-R9 (Bright Orange): sc around (12) (5 rounds)
For the first leg, FO and cut yarn. For the second leg, DO NOT cut yarn, continue to body.
Body (Continue with Bright Orange yarn from second leg)
Ch 2 from the second leg. Join to the first leg with a sc.
R1: 12 sc around first leg, 2 sc in chain, 12 sc around second leg, 2 sc in chain (28)
R2-R4 (Bright Orange): sc around (28) (3 rounds)
Change to Royal Blue yarn.
R5-R10 (Royal Blue): sc around (28) (6 rounds)
R11: (5 sc, dec) x4 (24)
R12: sc around (24)
R13: (4 sc, dec) x4 (20)
R14: sc around (20)
R15: (3 sc, dec) x4 (16)
Stuff body firmly as you go.
FO, leaving a long tail for sewing.
Arms (Make 2 – Start with Light Peach/Tan yarn)
R1 (Light Peach/Tan): 6 sc in MR (6)
R2-R3: sc around (6) (2 rounds)
Change to Bright Orange yarn.
R4-R7 (Bright Orange): sc around (6) (4 rounds)
Change to Royal Blue yarn.
R8-R10 (Royal Blue): sc around (6) (3 rounds)
Lightly stuff the arm.
FO, leaving a long tail for sewing.
Assembly and Finishing
Attach Head: Sew the head to the top of the body, ensuring it’s centered.
Attach Hair: Sew the yellow hair cap to the top of the head. Then, carefully sew the individual hair spikes all over the cap, arranging them to create Naruto’s signature spiky hairstyle.
Attach Headband: Wrap the blue headband around Naruto’s forehead and sew it in place. Sew the white plate with the Konoha symbol onto the center front of the blue band.
Attach Ears: Sew the ears to the sides of the head, beneath the hair and headband.
Attach Arms: Sew the arms to the sides of the body, just below the neck.
Facial Features: Using black embroidery thread, embroider two small horizontal lines for the eyes, a curved smile, and three small whiskers on each cheek.