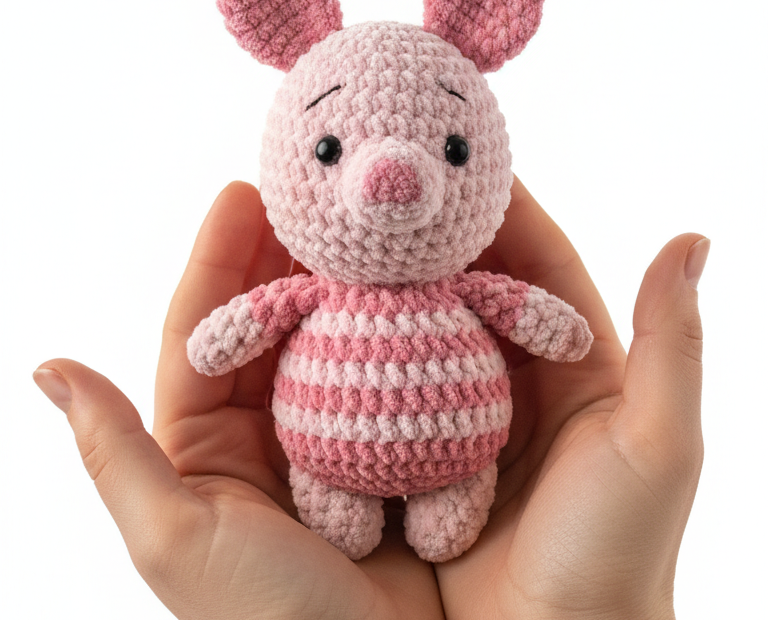
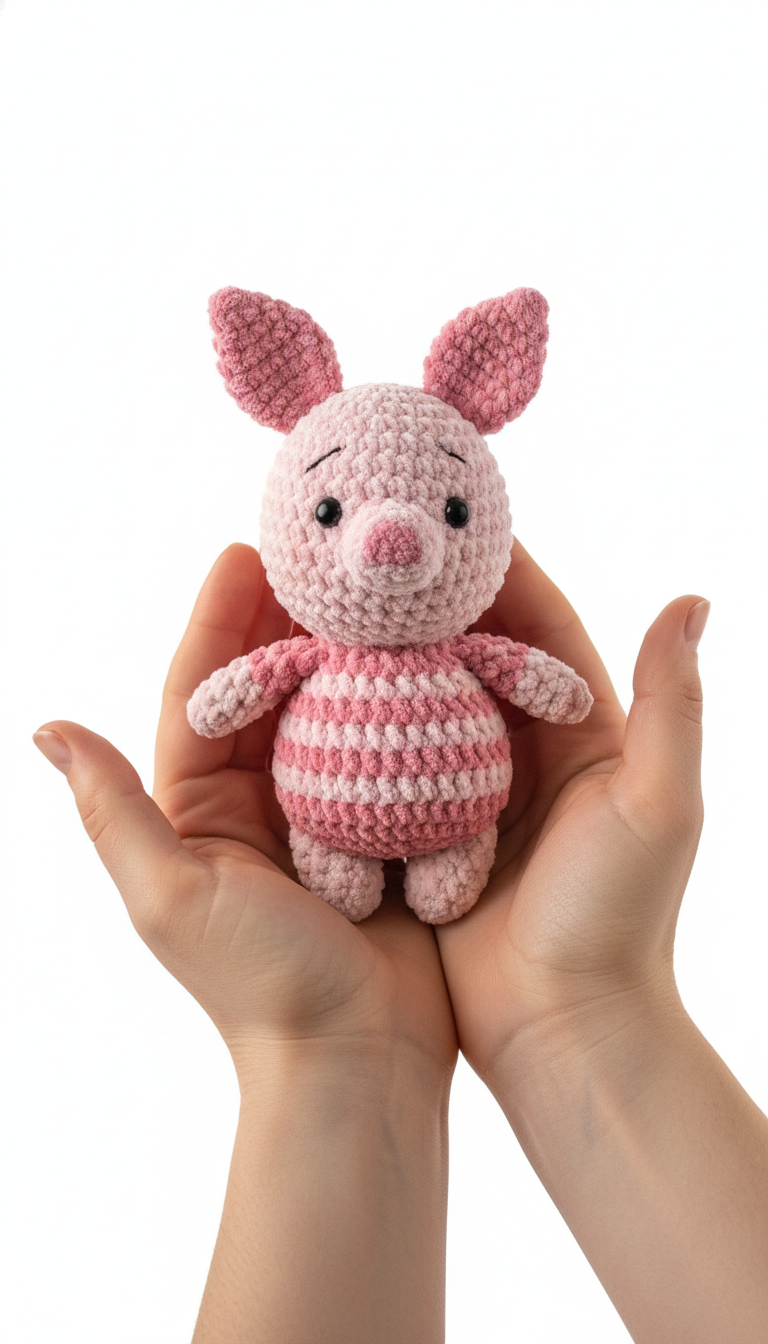
Dive into the delightful world of amigurumi with this irresistibly cute piggy pattern! Perfect for beginners and experienced crocheters alike, this little friend works up quickly and makes a wonderful gift or a charming addition to your own collection. Grab your hooks and some soft yarn, and let’s bring this adorable striped pig to life, stitch by stitch.
Why You’ll Love Crafting This Sweet Striped Pig
There’s a special joy in creating something handmade, and this crochet piggy brings endless smiles. Imagine the delight on a child’s face receiving this cuddly companion, or the cheer it adds to your desk or shelf. It’s a fantastic project to practice your amigurumi skills, featuring simple stitches and assembly, making the process as enjoyable as the finished toy itself.
Crochet Pattern: Crochet Your Own Cuddly Piggy: An Adorable Amigurumi Pattern!
Materials
DK weight yarn in Light Pink (main color)
DK weight yarn in Darker Pink (stripe color)
3.0mm crochet hook
6mm black safety eyes
Polyester fiberfill for stuffing
Tapestry needle
Stitch marker
Small amount of black embroidery floss for eyebrows
Abbreviations
MR: Magic Ring
ch: chain
sc: single crochet
inc: increase (2 sc in one stitch)
dec: decrease (sc 2 together)
st(s): stitch(es)
Rnd: Round
FO: Fasten off
Instructions
Head (in Light Pink yarn)
Rnd 1: 6 sc in MR (6)
Rnd 2: (inc) x 6 (12)
Rnd 3: (sc, inc) x 6 (18)
Rnd 4: (2 sc, inc) x 6 (24)
Rnd 5: (3 sc, inc) x 6 (30)
Rnd 6-10: sc in each st around (30) (5 rounds)
Rnd 11: (3 sc, dec) x 6 (24)
Rnd 12: (2 sc, dec) x 6 (18)
Insert safety eyes between Rnd 9 and Rnd 10, approximately 5-6 stitches apart. Stuff the head firmly.
Rnd 13: (sc, dec) x 6 (12)
Rnd 14: (dec) x 6 (6)
FO, weave in the tail and close the hole.
Snout (in Light Pink yarn)
Ch 4.
Rnd 1: Sc in 2nd ch from hook, sc in next, 3 sc in last ch. Continue on the other side of the chain: sc in next, 2 sc in last st (8)
Rnd 2: Inc, sc, (inc) x 3, sc, (inc) x 2 (14)
FO, leaving a long tail for sewing. Flatten or lightly stuff the snout.
Ears (Make 2, in Darker Pink yarn)
Ch 5.
Rnd 1: Sc in 2nd ch from hook, sc in next 2, 3 sc in last ch. Continue on the other side of the chain: sc in next 2, 2 sc in last st (10)
FO, leaving a long tail for sewing. Fold each ear in half and secure the bottom edge with a stitch.
Body (start with Light Pink yarn)
Rnd 1: 6 sc in MR (6)
Rnd 2: (inc) x 6 (12)
Rnd 3: (sc, inc) x 6 (18)
Rnd 4: (2 sc, inc) x 6 (24)
Rnd 5: (3 sc, inc) x 6 (30)
Rnd 6-7: sc in each st around (30) (Light Pink)
Change to Darker Pink yarn.
Rnd 8-9: sc in each st around (30) (Darker Pink)
Change to Light Pink yarn.
Rnd 10-11: sc in each st around (30) (Light Pink)
Change to Darker Pink yarn.
Rnd 12-13: sc in each st around (30) (Darker Pink)
Change to Light Pink yarn.
Rnd 14-15: sc in each st around (30) (Light Pink). Stuff the body firmly.
Rnd 16: (3 sc, dec) x 6 (24)
Rnd 17: (2 sc, dec) x 6 (18)
Rnd 18: (sc, dec) x 6 (12)
FO, leaving a long tail for sewing to the head.
Arms (Make 2, in Light Pink yarn)
Rnd 1: 6 sc in MR (6)
Rnd 2-5: sc in each st around (6) (4 rounds)
FO, leaving a long tail for sewing. Do not stuff.
Legs (Make 2, in Light Pink yarn)
Rnd 1: 6 sc in MR (6)
Rnd 2: (sc, inc) x 3 (9)
Rnd 3-5: sc in each st around (9) (3 rounds)
Rnd 6: (sc, dec) x 3 (6)
FO, leaving a long tail for sewing. Lightly stuff the legs.
Assembly
Sew the snout to the lower front of the head.
Sew the ears to the top sides of the head, folding them slightly.
Using black embroidery floss, embroider small eyebrows above the safety eyes.
Sew the head to the body. Ensure it’s centered and securely attached.
Sew the arms to the sides of the body, just below the neck.