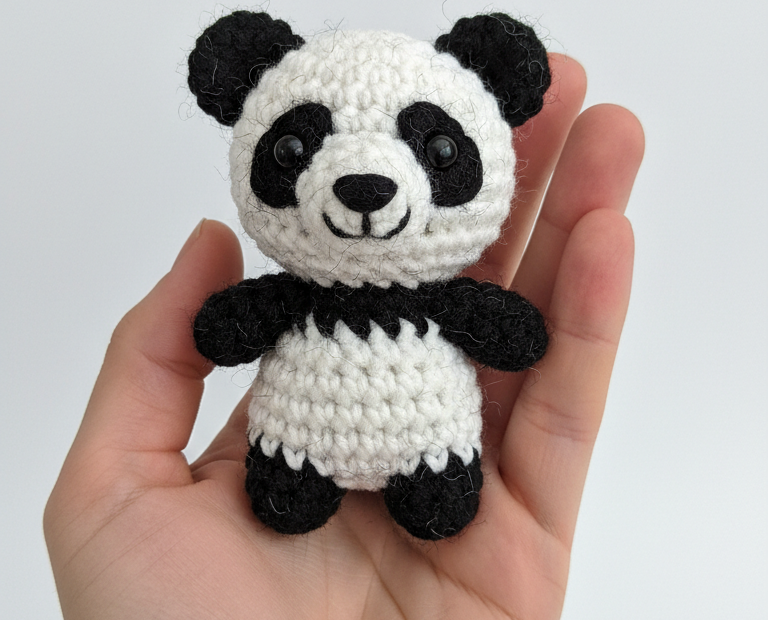
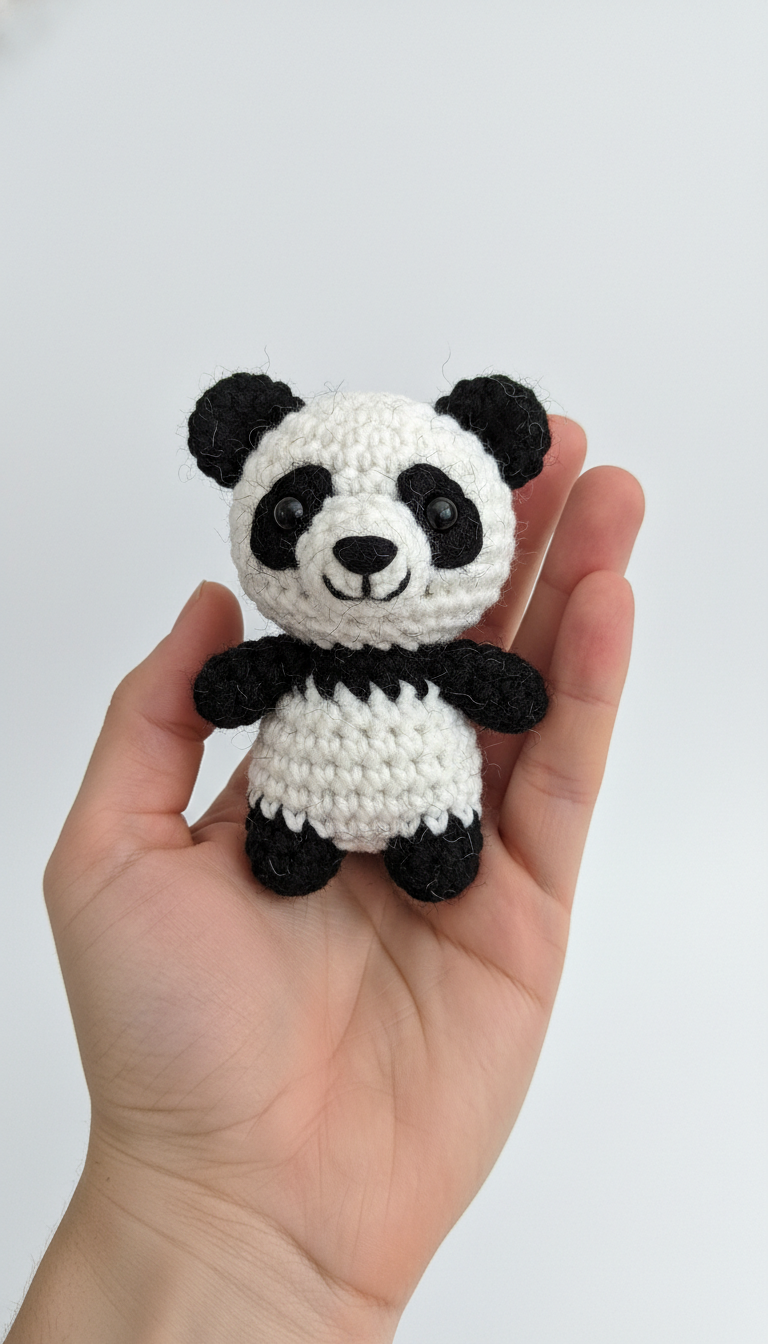
Get ready to create the cutest little companion with this easy-to-follow Mini Amigurumi Panda Crochet Pattern! Perfect for gifting or adding a touch of handmade charm to your desk, this tiny panda is surprisingly quick to make. Its endearing expression and classic black and white design are sure to melt hearts.
Bring Home Your Own Handmade Panda Pal
There’s something uniquely satisfying about crafting a tiny friend with your own hands. This mini panda project is not just about crocheting; it’s about bringing a smile to someone’s face, or adding a personalized touch to your home decor. Whether you’re a seasoned crocheter or looking for a fun, beginner-friendly challenge, this pattern promises a delightful experience and an irresistible finished product.
Crochet Pattern: Craft Your Own Adorable Mini Amigurumi Panda Crochet Pattern
Materials
DK weight yarn in White (approx. 20g)
DK weight yarn in Black (approx. 15g)
2.5mm crochet hook
Two 6mm safety eyes
Polyester fiberfill for stuffing
Yarn needle (tapestry needle)
Stitch markers
Scissors
Abbreviations
MR: Magic Ring
ch: chain
sl st: slip stitch
sc: single crochet
inc: increase (2 sc in one stitch)
dec: decrease (sc two stitches together)
FLO: front loop only
BLO: back loop only
FO: fasten off
R: Round
Instructions
General Notes: Work in continuous rounds unless otherwise specified. Use a stitch marker to keep track of the first stitch of each round.
Head (White yarn)
R1: 6 sc in MR (6)
R2: (inc) x6 (12)
R3: (sc 1, inc) x6 (18)
R4: (sc 2, inc) x6 (24)
R5: (sc 3, inc) x6 (30)
R6-R10: sc in each stitch around (30) (5 rounds)
R11: (sc 3, dec) x6 (24)
R12: (sc 2, dec) x6 (18)
Start stuffing the head firmly. Insert 6mm safety eyes between R8 and R9, leaving about 6-7 stitches visible between them.
R13: (sc 1, dec) x6 (12)
R14: (dec) x6 (6)
FO, leave a long tail for sewing. Close the hole and weave in ends.
Body & Legs
Legs (Make 2 in Black yarn)
R1: 6 sc in MR (6)
R2: (inc) x6 (12)
R3: sc in each stitch around (12)
FO the first leg. Do NOT FO the second leg, continue to join. Stuff legs lightly.
Joining Legs & Body Base (Black yarn)
R4: Ch 2 from the second leg, join to first leg with sc in any stitch. sc 11 around first leg, sc in 2 ch, sc 12 around second leg, sc in 2 ch (30)
R5: sc in each stitch around (30)
R6: (sc 3, dec) x6 (24)
R7: sc in each stitch around (24)
Body Mid-Section (White yarn – creating the zig-zag pattern)
R8: Change to White yarn. Work (sc 2, sl st 1) x8 around (24) – This round creates the decorative zig-zag edge.
R9-R11: sc in each stitch around (24) (3 rounds)
Body Top (White yarn)
R12: (sc 2, dec) x6 (18)
Start stuffing the body firmly.
R13: (sc 1, dec) x6 (12)
R14: (dec) x6 (6)
FO, leave a long tail for sewing to the head. Close the hole and weave in ends.
Ears (Make 2 in Black yarn)
R1: 6 sc in MR (6)
R2: (inc) x6 (12)
FO, leaving a long tail for sewing. Do not stuff. Flatten.
Eye Patches (Make 2 in Black yarn)
R1: Ch 4. sc in 2nd ch from hook, sc 1, sc 3 in last ch. Turn to work on other side of chain: sc 1, sc 2 in last ch (8)
1. Attach Head to Body: Using the tail from the body, sew the head securely onto the body, ensuring it’s centered.
2. Attach Ears: Position the ears on top of the head, slightly to the sides, and sew them firmly using the tails.
3. Attach Eye Patches: Position the eye patches around the safety eyes. Sew them in place. The safety eyes should be peeking through the middle of the patches.
4. Attach Muzzle: Sew the white muzzle just below the safety eyes. Using black yarn, embroider a small ‘V’ or ‘Y’ shape for the nose and mouth onto the muzzle.
5. Attach Arms: Sew the arms to the sides of the body, just below the neck seam, so they hang slightly downwards.
6. Finishing: Weave in any remaining loose ends. Your mini panda is complete!