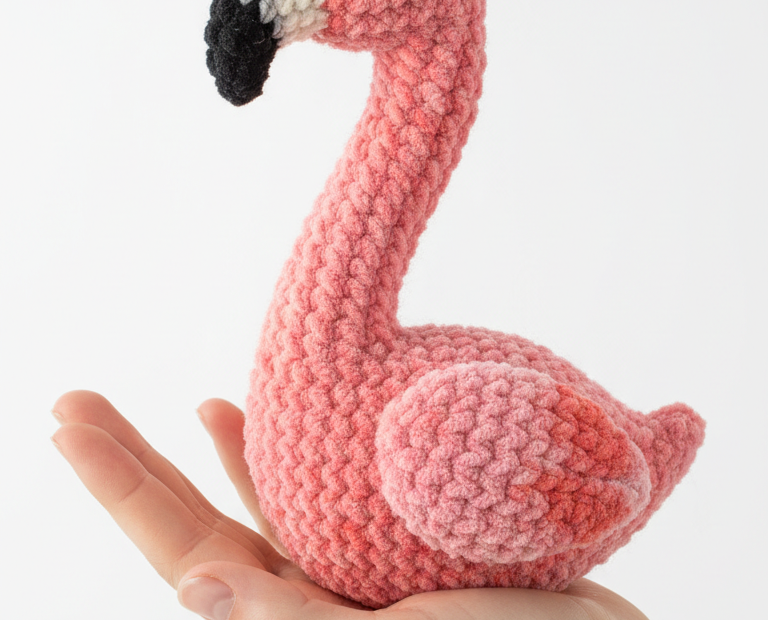
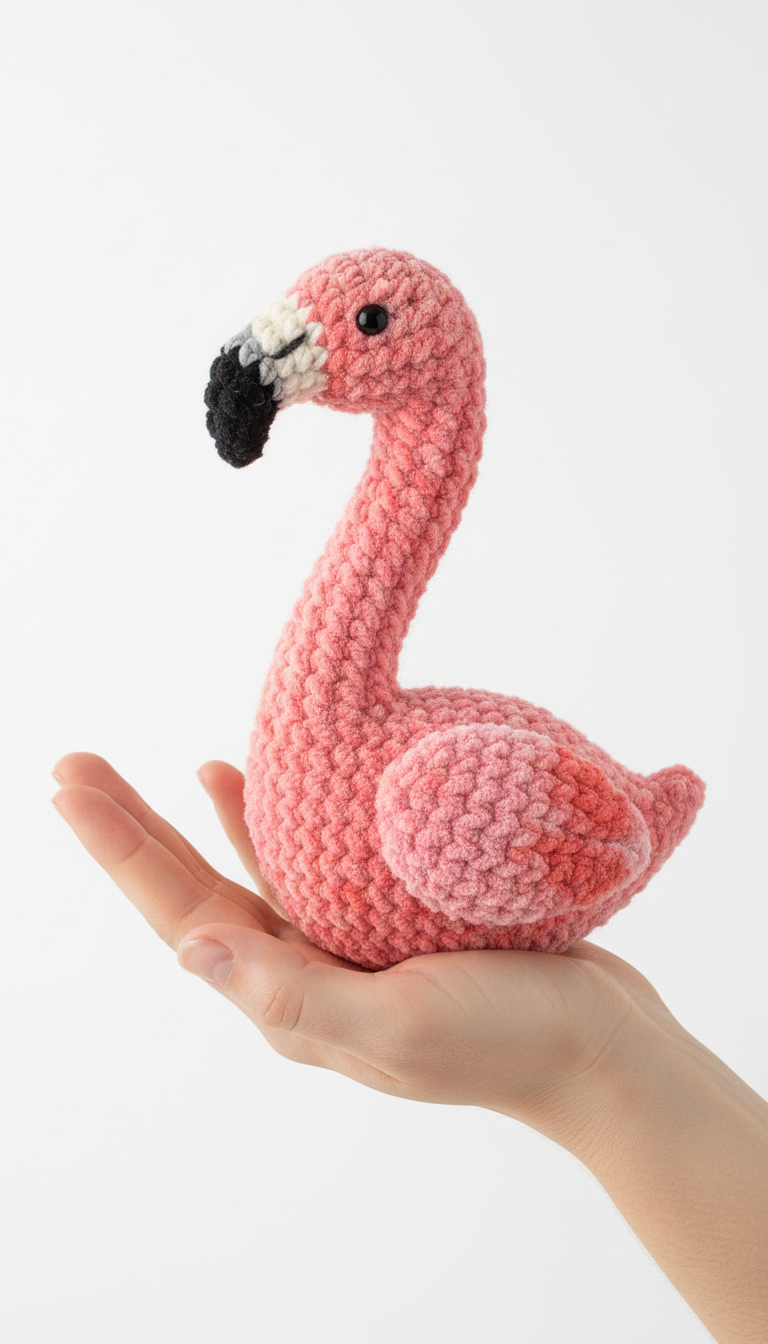
Dive into the vibrant world of amigurumi with this enchanting Pink Flamingo pattern! Perfect for adding a touch of tropical charm to any space, this adorable crocheted bird is a joy to make. Its elegant S-curve neck and playful colors capture the essence of these majestic creatures, making it a delightful project for crafters of all skill levels.
Why You’ll Love Crocheting This Adorable Flamingo
Creating your own amigurumi flamingo is not just about making a toy; it’s about crafting a piece of art that brings warmth and personality. This project offers a fantastic way to practice your crochet skills, resulting in a unique gift or a charming decorative accent for your home. Enjoy the process of bringing this graceful bird to life, stitch by stitch.
Crochet Pattern: Graceful Pink Flamingo Amigurumi Crochet Pattern: Your Next Tropical Project
Materials
Plush/Chenille yarn in Pink (main color)
Plush/Chenille yarn in Black (beak tip)
Plush/Chenille yarn in White or Light Grey (beak middle)
Crochet hook (e.g., 4.0mm or 4.5mm, suitable for your yarn choice)
8mm safety eyes
Polyester fiberfill for stuffing
Tapestry needle
Stitch marker
Scissors
Abbreviations
MR: Magic Ring
ch: Chain
sc: Single Crochet
inc: Increase (2 sc in one stitch)
dec: Decrease (sc two stitches together)
sl st: Slip Stitch
FO: Fasten Off
st(s): Stitch(es)
R: Round
Instructions
Gauge: Not critical for this project, just ensure your stitches are tight enough so stuffing doesn’t show through.
Notes: Work in continuous rounds unless otherwise specified. Use a stitch marker to keep track of the first stitch of each round.
Head & Neck (Pink Yarn)
R1: 6 sc in MR [6]
R2: (inc) x6 [12]
R3: (sc, inc) x6 [18]
R4-6: sc around [18] (3 rounds)
Insert 8mm safety eyes between R4 and R5, approximately 4-5 stitches apart.
R7: (sc, dec) x6 [12]
R8-20: sc around [12] (13 rounds)
Stuff head and neck firmly as you go, shaping the neck into an S-curve.
FO, leave a long tail for sewing.
Body (Pink Yarn)
R1: 6 sc in MR [6]
R2: (inc) x6 [12]
R3: (sc, inc) x6 [18]
R4: (2 sc, inc) x6 [24]
R5: (3 sc, inc) x6 [30]
R6-12: sc around [30] (7 rounds)
R13: (3 sc, dec) x6 [24]
R14: (2 sc, dec) x6 [18]
R15: (sc, dec) x6 [12]
Stuff firmly.
R16: (dec) x6 [6]
FO, weave in tail to close the hole.
Beak
Start with Black yarn.
R1: 4 sc in MR [4]
R2: (inc) x4 [8]
Switch to White/Light Grey yarn.
R3: sc around [8]
Switch to Pink yarn.
R4: sc around [8]
Sl st to next st, FO, leave a long tail for sewing. Gently flatten the beak.
Tail
Start with Pink yarn.
R1: 4 sc in MR [4]
R2: (sc, inc) x2 [6]
R3: sc around [6]
FO, leave a long tail for sewing. Flatten the piece.
Assembly
Sew the beak to the front of the head, positioning the black tip forward.
Sew the bottom of the neck to the top center of the body. Continue to stuff the neck if needed to maintain the S-curve shape as you attach it.