
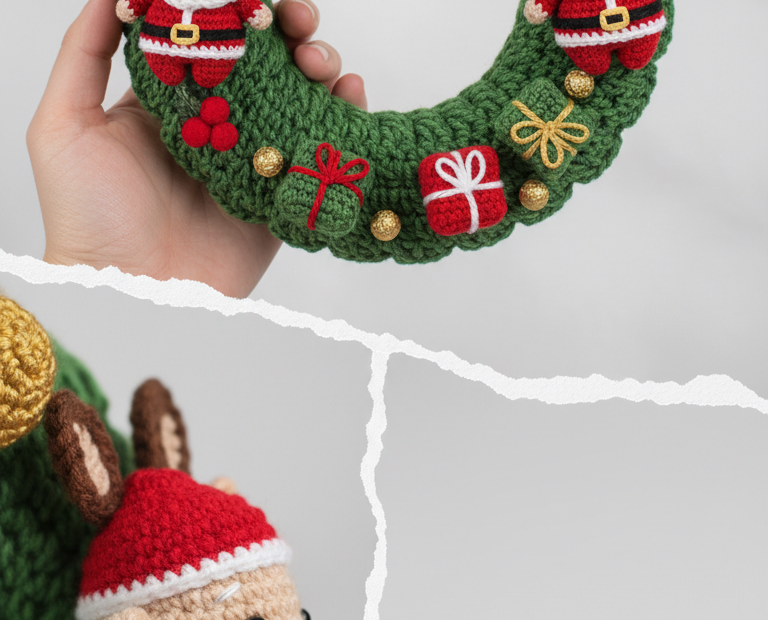
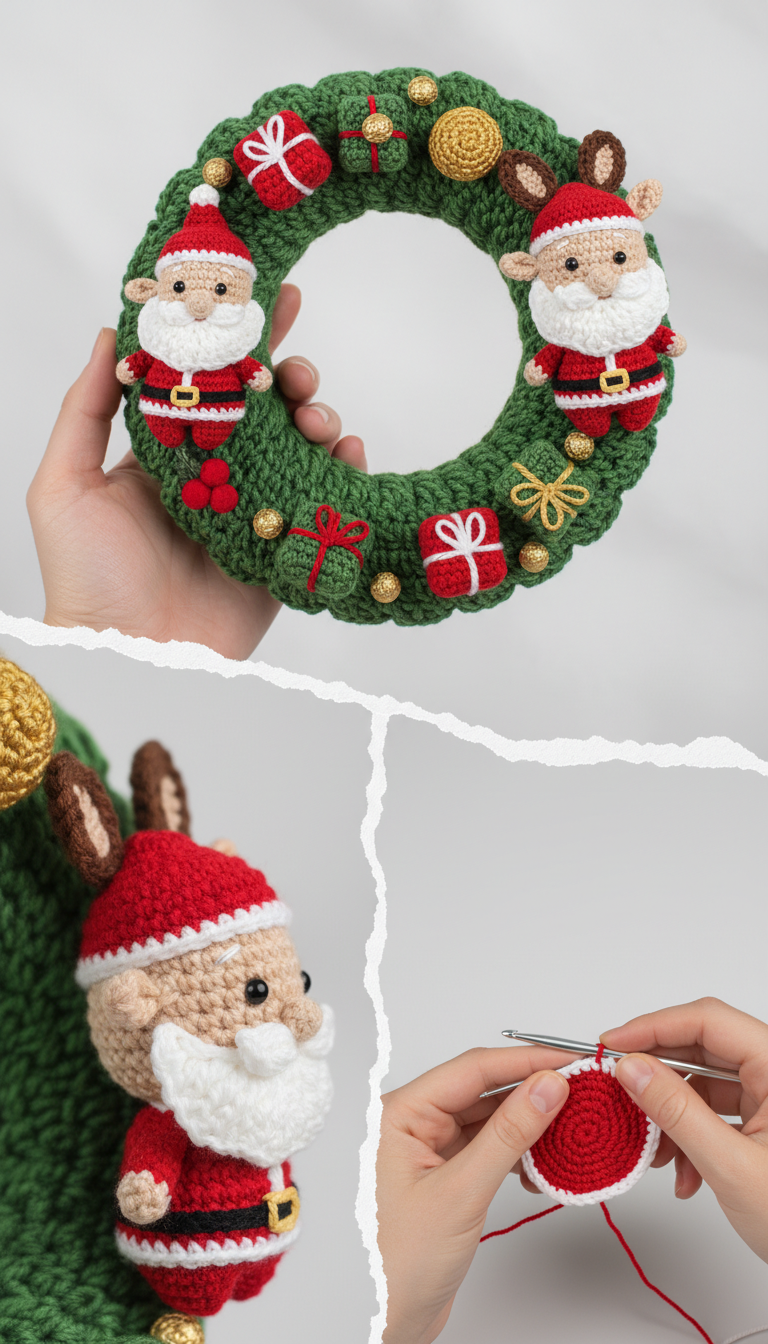
Embrace the spirit of the holidays with a handmade touch! This charming Amigurumi Christmas Wreath pattern brings whimsical Santa and reindeer characters, tiny festive gifts, and sparkling ornaments to your door. Perfect for adding a personal and cozy feel to your festive decor, this project is sure to delight both makers and onlookers. Craft a unique piece that spreads cheer throughout your home.
Create Your Own Heirloom Holiday Decor
Imagine the joy of hanging a beautiful, handmade wreath that will be cherished for years to come. This Amigurumi Christmas Wreath isn’t just a decoration; it’s a testament to your creativity and a heartwarming addition to your family’s holiday traditions. Personalize it with different colors or add extra festive touches, making it a truly unique centerpiece for your seasonal celebrations.
Crochet Pattern: Festive Amigurumi Christmas Wreath: A Jolly Crochet Pattern
Materials
- Green DK weight yarn
- Red DK weight yarn
- White DK weight yarn
- Light Brown (skin tone) DK weight yarn
- Dark Brown DK weight yarn
- Black DK weight yarn
- Gold/Yellow DK weight yarn
- 2.5mm or 3.0mm crochet hook
- Polyester fiberfill
- 5mm safety eyes (x4)
- Tapestry needle
- Stitch markers
- Scissors
Abbreviations
- MR: Magic Ring
- ch: Chain
- sc: Single Crochet
- inc: Increase (2 sc in one stitch)
- dec: Decrease (sc 2 together)
- sl st: Slip Stitch
- FO: Fasten Off
- hdc: Half Double Crochet
- dc: Double Crochet
Instructions
Welcome to creating your very own festive crochet wreath! This pattern guides you through making the wreath base, adorable Santa and Reindeer figures, tiny gifts, and sparkling ornaments.
Wreath Base (Green)
- R1: Ch 80, join with sl st to form a large ring. Make sure not to twist the chain.
- R2-R12: Sc in each stitch around (80 sc). Work in continuous rounds using a stitch marker to mark the beginning of each round.
- As you crochet, start stuffing the tube firmly with fiberfill to create a plump wreath shape. Continue stuffing until the entire tube is firm.
- FO: Leave a long tail for sewing. Use the tail and tapestry needle to sew the open ends of the tube together, forming a complete wreath.
Santa/Reindeer Head (Light Brown, Make 2)
- R1: MR, 6 sc (6)
- R2: Inc in each st around (12)
- R3: (Sc, inc) x 6 (18)
- R4: (2 sc, inc) x 6 (24)
- R5-R9: Sc in each st around (24)
- Insert 5mm safety eyes between R7 and R8, approximately 5-6 stitches apart.
- R10: (2 sc, dec) x 6 (18)
- Start stuffing firmly.
- R11: (Sc, dec) x 6 (12)
- R12: Dec x 6 (6)
- FO: Cut yarn, leaving a tail. Weave tail through remaining stitches and pull tight to close.
Santa/Reindeer Hat (Red, Make 2)
- R1: MR, 4 sc (4)
- R2: (Sc, inc) x 2 (6)
- R3: (2 sc, inc) x 2 (8)
- R4: Sc in each st around (8)
- R5: (3 sc, inc) x 2 (10)
- R6-R7: Sc in each st around (10)
- R8: (4 sc, inc) x 2 (12)
- R9-R10: Sc in each st around (12)
- Switch to White yarn for trim: Ch 1, sc in each st around (12). Join with sl st.
- FO: Leave a tail for sewing. Sew hat onto the head.
Santa Body (Red, Make 2)
- R1: MR, 6 sc (6)
- R2: Inc in each st around (12)
- R3: (Sc, inc) x 6 (18)
- R4-R7: Sc in each st around (18)
- Start stuffing firmly.
- R8: (Sc, dec) x 6 (12)
- R9: Dec x 6 (6)
- FO: Cut yarn, leaving a tail. Weave tail through remaining stitches and pull tight to close. Sew body to head.
Santa Beard (White, Make 2)
- Ch 6.
- Row 1: Sk 1 ch, sc in next 5 ch (5 sc).
- Row 2: Ch 1, turn. Sc in first 2 st, hdc in next st, sc in last 2 st (5 st).
- FO: Leave a tail for sewing. Carefully shape and sew onto Santa’s face below the eyes.
Santa Ears (Light Brown, Make 2)
- R1: MR, 4 sc. Do not join, work in rows. Ch 1, turn (4)
- Row 2: Sc in each st across (4)
- FO: Leave a tail. Pinch the bottom together and sew onto the sides of Santa’s head, below the hat.
Reindeer Ears (Dark Brown & Light Brown, Make 2 sets)
- Outer Ear (Dark Brown): Ch 4. Sk 1 ch, sc in next, hdc in next, dc in last ch. FO.
- Inner Ear (Light Brown): Ch 3. Sk 1 ch, sc in next, hdc in last ch. FO.
- Sew the inner ear onto the outer ear. Pinch the bottom and sew to the sides of the Reindeer’s head.
Reindeer Antlers (Dark Brown, Make 2)
- Ch 6.
- Sk 1 ch, sl st into next ch, (ch 3, sk 1 ch, sl st in next) x 2. Sl st back down the main chain to the beginning.
- FO: Leave a tail. Sew securely to the top of the Reindeer’s head, behind the hat.
Belt & Buckle (Black & Gold/Yellow, Make 2 sets)
- Belt (Black): Ch 15-20 (measure to fit around Santa’s body). FO.
- Buckle (Gold/Yellow): Ch 5, join with sl st to first ch to form a ring. FO.
- Sew the gold buckle onto the center of the black belt. Wrap the belt around the Santa/Reindeer body and sew securely.
Small Gift Boxes (Red, Green, Yellow – Make 4-6)
- Cube Base (Red, Green, or Yellow):
- Ch 5.
- Row 1: Sc in 2nd ch from hook, sc in next 3 ch (4 sc). Ch 1, turn.
- Rows 2-4: Sc in each st across (4 sc). Ch 1, turn.
- FO: Cut yarn, leaving a long tail. Fold the square into a cube shape and sew edges together. Lightly stuff if desired for a firmer shape.
- Ribbon (White or Gold/Yellow): Using embroidery floss or thin yarn, stitch a cross pattern over the top and sides of each gift box to create the ribbon effect. Tie a small bow if desired.
Gold Ornaments (Gold/Yellow, Make 4-6)
- R1: MR, 6 sc (6)
- R2: Inc in each st around (12)
- R3: Sc in each st around (12)
- Stuff lightly.
- R4: Dec x 6 (6)
- FO: Cut yarn, leaving a tail. Weave tail through remaining stitches and pull tight to close.
Red Berries (Red, Make small clusters)
- Using Red yarn, ch 3. Make 3 dc in the 3rd ch from hook. Yo, pull through all loops on hook to complete the bobble. Sl st into the same ch. FO.
- Make several bobbles and arrange them in small clusters (2-3 bobbles) on the wreath, sewing them securely.
Assembly
- Carefully arrange your two Santa/Reindeer figures onto the wreath. Position them evenly spaced or as desired. Sew them securely in place using your tapestry needle.
- Next, scatter the small gift boxes and gold ornaments around the wreath, ensuring a balanced and festive look. Sew each piece firmly to the wreath.
- Add the red berry clusters for a pop of color, sewing them onto the green wreath base.
- Once all pieces are attached, double-check that everything is secure.
Your beautiful Amigurumi Christmas Wreath is now complete! Hang it with pride and enjoy the holiday season.