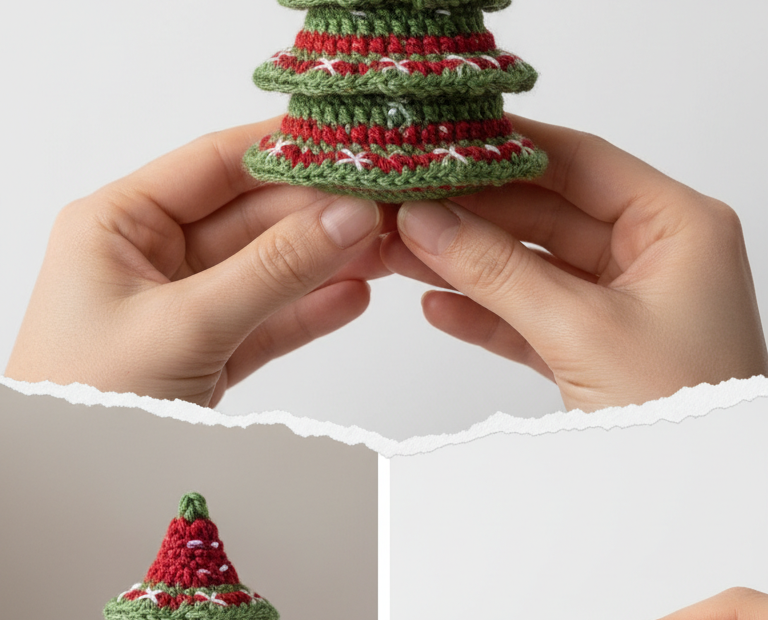
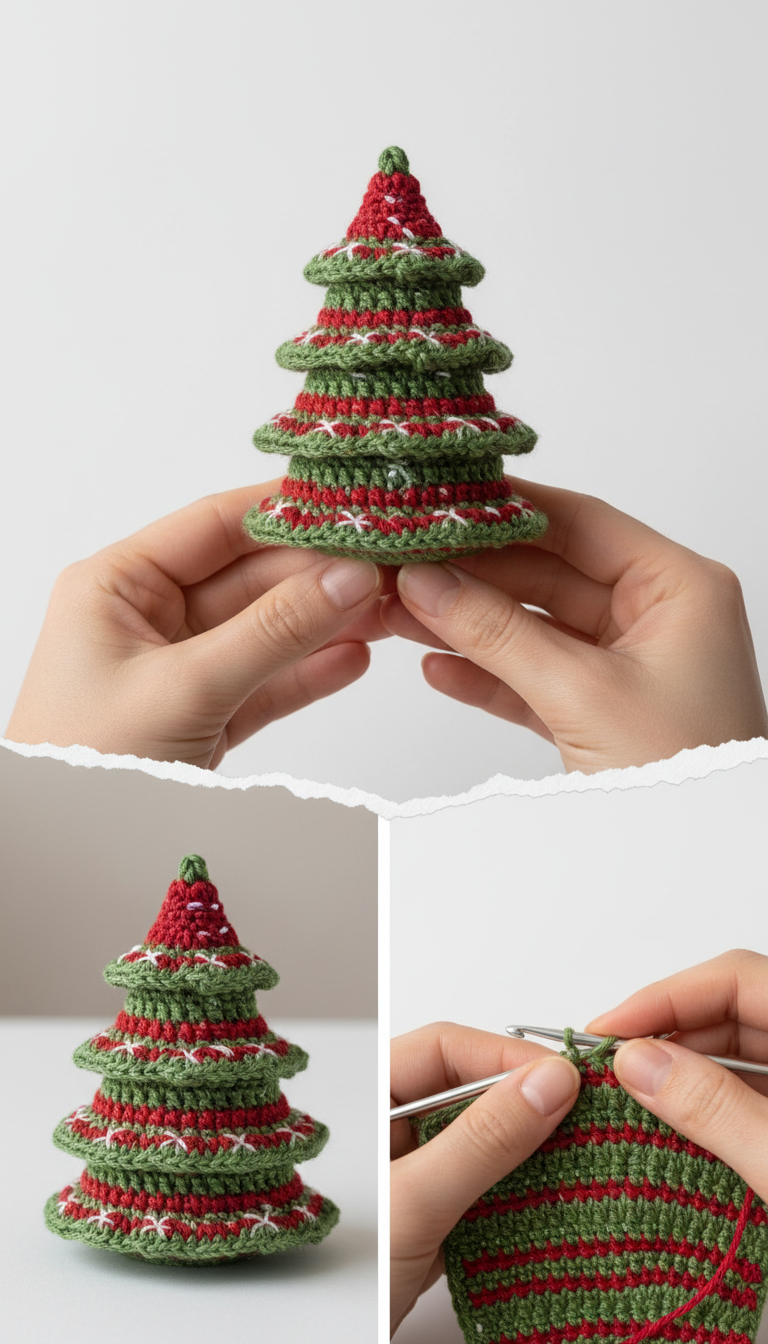
Get ready to deck the halls with this adorable mini crochet Christmas tree pattern! Perfect for adding a handmade touch to your holiday decor, this little tree works up quickly and is bursting with festive charm. Whether you’re looking for a unique gift or a sweet addition to your own seasonal display, this pattern is designed for joyful stitching.
Craft Your Own Festive Mini Christmas Tree
There’s something truly special about handmade holiday decorations, and this mini crochet Christmas tree embodies that spirit perfectly. It’s an ideal project for crafters of all levels, offering a delightful way to create unique, personalized gifts or to simply bring a cozy, festive ambiance to your home. Enjoy the meditative process of bringing this cheerful tree to life!
Crochet Pattern: Sparkle & Stitch: A Festive Mini Crochet Christmas Tree Pattern
Materials
DK weight yarn in Green (approx. 20g)
DK weight yarn in Red (approx. 10g)
Small amount of White yarn for embroidery
2.5mm or 3.0mm crochet hook (adjust to your tension)
Polyester fiberfill for stuffing
Yarn needle
Scissors
Abbreviations
MR: Magic Ring
ch: chain
sc: single crochet
inc: increase (2 sc in one stitch)
dec: decrease (sc two stitches together)
sl st: slip stitch
FO: Fasten Off
R: Round
(): Repeat instructions in parentheses for the specified number of times
[]: Total number of stitches at the end of the round
Instructions
This pattern is worked in continuous rounds. Use a stitch marker to keep track of the beginning of each round.
Top of the Tree (Red Yarn)
R1: Start with Red yarn. Make a MR, sc 6 into the ring. [6]
R2: Sc in each stitch around. [6]
R3: (Sc 1, inc) x 3. [9]
R4: Sc in each stitch around. [9]
R5: (Sc 2, inc) x 3. [12]
R6: Sc in each stitch around. [12]
Change to Green yarn. Do not cut Red yarn yet if you want to carry it up for the next tier’s stripe, or cut and reattach.
First Tier (Green & Red Yarn)
This tier will start to flare out.
R7 (Green): (Sc 1, inc) x 6. [18]
R8: Sc in each stitch around. [18]
R9 (Red): Change to Red yarn. Sc in each stitch around. [18]
R10 (Green): Change back to Green yarn. Sc in each stitch around. [18]
R11: (Sc 1, dec) x 6. [12] (This cinches in the tier for shaping)
Begin to stuff the top part of the tree firmly.
Second Tier (Green & Red Yarn)
R12 (Green): (Sc 2, inc) x 6. [24]
R13: Sc in each stitch around. [24]
R14 (Red): Change to Red yarn. Sc in each stitch around. [24]
R15 (Green): Change back to Green yarn. Sc in each stitch around. [24]
R16: (Sc 2, dec) x 6. [18]
Continue stuffing the tree as you go.
Third Tier (Green & Red Yarn)
R17 (Green): (Sc 3, inc) x 6. [30]
R18: Sc in each stitch around. [30]
R19 (Red): Change to Red yarn. Sc in each stitch around. [30]
R20 (Green): Change back to Green yarn. Sc in each stitch around. [30]
R21: (Sc 3, dec) x 6. [24]
Fourth Tier (Green & Red Yarn)
R22 (Green): (Sc 4, inc) x 6. [36]
R23: Sc in each stitch around. [36]
R24 (Red): Change to Red yarn. Sc in each stitch around. [36]
R25 (Green): Change back to Green yarn. Sc in each stitch around. [36]
R26: (Sc 4, dec) x 6. [30]
Make sure the tree is fully stuffed to your desired firmness.
Base (Green Yarn)
R27: (Sc 3, dec) x 6. [24]
R28: (Sc 2, dec) x 6. [18]
R29: (Sc 1, dec) x 6. [12]
R30: Dec x 6. [6]
FO, leaving a long tail. Use a yarn needle to weave the tail through the front loop of the remaining 6 stitches and pull tight to close the hole. Weave in any remaining ends.
Finishing Touches (White Yarn)
Using white yarn and a yarn needle, embroider small ‘X’ shapes randomly or evenly spaced over each of the red stripes on the tiers. This adds a lovely decorative touch to your Christmas tree.