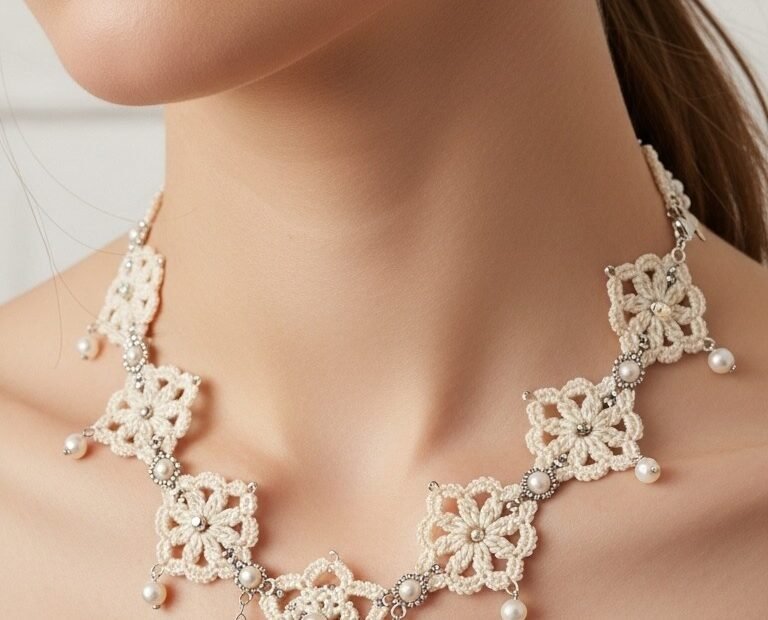
Craft your own stunning statement piece with this exquisite crochet lace pearl necklace pattern. Delicate floral motifs, adorned with luminous pearls and sparkling silver accents, create a timeless accessory perfect for special occasions or adding a touch of vintage charm to everyday wear. Elevate your handmade jewelry collection with this elegant design.
Discover the Elegance of Handmade Crochet Jewelry
There’s a unique satisfaction in wearing a piece of jewelry crafted by your own hands. This crochet lace pearl necklace offers a blend of classic sophistication and personal artistry. It’s not just an accessory; it’s a conversation starter, a testament to your skill, and a beautiful heirloom in the making.
Crochet Pattern: Elegant Crochet Lace Pearl Necklace Pattern: A Timeless DIY Accessory
Materials
Fine weight crochet thread, Ecru or Cream (e.g., Aunt Lydia’s Classic Crochet Thread Size 10)
Steel crochet hook, 1.5mm
Small round pearls (approx. 4mm, 6mm, and 8mm)
Silver-tone jump rings (approx. 4mm)
Small silver-tone spacer beads (optional, for between motifs)
Silver-tone lobster clasp (or similar necklace clasp)
Jewelry pliers (round nose and flat nose)
Tapestry needle (for weaving ends)
Sewing needle and matching thread (for securing pearls if preferred over jump rings)
Abbreviations
ch: chain
sl st: slip stitch
sc: single crochet
dc: double crochet
tr: treble crochet
picot: (ch 3, sl st in 3rd ch from hook)
FO: Fasten off
Instructions
This pattern creates a necklace approximately 16-18 inches long, adjustable by adding or removing motifs.
Lace Square Motif (Make 10)
Start: Ch 4, join with sl st to form a ring.
Round 1: Ch 1, 8 sc into ring. Join with sl st to first sc. (8 sc)
Round 2 (Petals): *Ch 3, dc in same sc, ch 3, sl st in next sc.* Repeat 4 times. Join with sl st to first ch of initial Ch 3. (4 petal-like points created)
Round 3 (Squaring/Picot Edge): Sl st to the top of the dc of a petal (this is the second ch of the ch-3 from Rnd 2). Ch 1, sc in same st. *[Ch 3, sl st in 3rd ch from hook (picot), ch 3]. Sc in top of next petal’s dc*. Repeat around 4 times. Join with sl st to first sc. FO.
Weave in all ends securely.
Pendant Lace Star Motif (Make 1)
Start: Ch 4, join with sl st to form a ring.
Round 1: Ch 1, 8 sc into ring. Join with sl st to first sc. (8 sc)
Round 2 (Points): *Ch 4, tr in same sc, ch 4, sl st in next sc*. Repeat 8 times. Join with sl st to first ch of initial Ch 4. FO.
Weave in all ends securely.
Assembly
Using jewelry pliers, follow these steps to assemble your necklace:
Prepare Motifs:
Attach an 8mm pearl to the center of the Pendant Lace Star Motif using a jump ring or by sewing.
Attach a 4mm pearl to the center of each Lace Square Motif.
Connect Main Necklace Chain:
Take one Lace Square Motif. Attach a 6mm pearl to two adjacent picot corners using jump rings.
Take another Lace Square Motif. Attach a 6mm pearl to two adjacent picot corners using jump rings.
Connect two Lace Square Motifs together by a jump ring through opposing picot corners. Add a small silver spacer bead between the jump rings for added detail, as seen in the image.
Continue connecting the 10 Lace Square Motifs in a line, forming the main body of the necklace. Ensure the motifs are facing the same direction.
Periodically, attach additional 4mm or 6mm pearls as small drops from the bottom picot corners of the motifs, using jump rings.
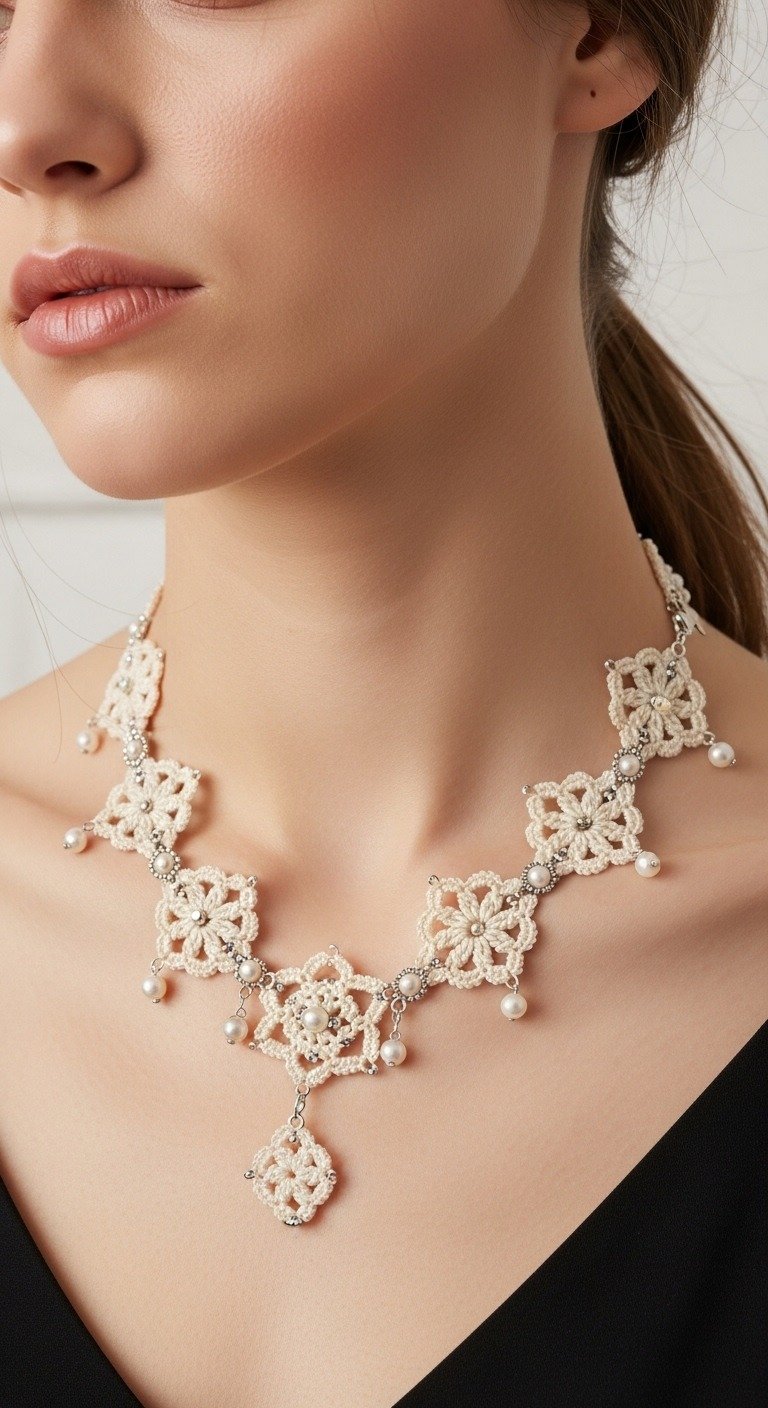
Attach Pendant:
Find the center of your connected chain of Lace Square Motifs (between the 5th and 6th motif).
Attach the Pendant Lace Star Motif to the bottom of the two central Square Motifs using jump rings. Ensure it hangs evenly.
Add Clasp:
On each end of the necklace chain, attach a jump ring to the final picot corner.
To one end, attach the lobster clasp using a jump ring.
To the other end, attach a simple jump ring (or a short chain of jump rings for adjustability).
Final Touches: Adjust jump rings for a secure fit. Ensure all pearls are firmly attached.