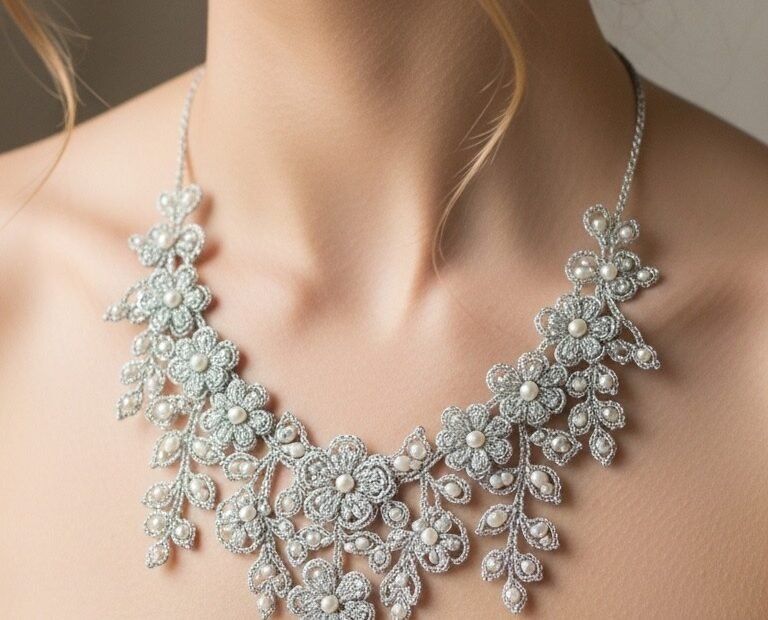
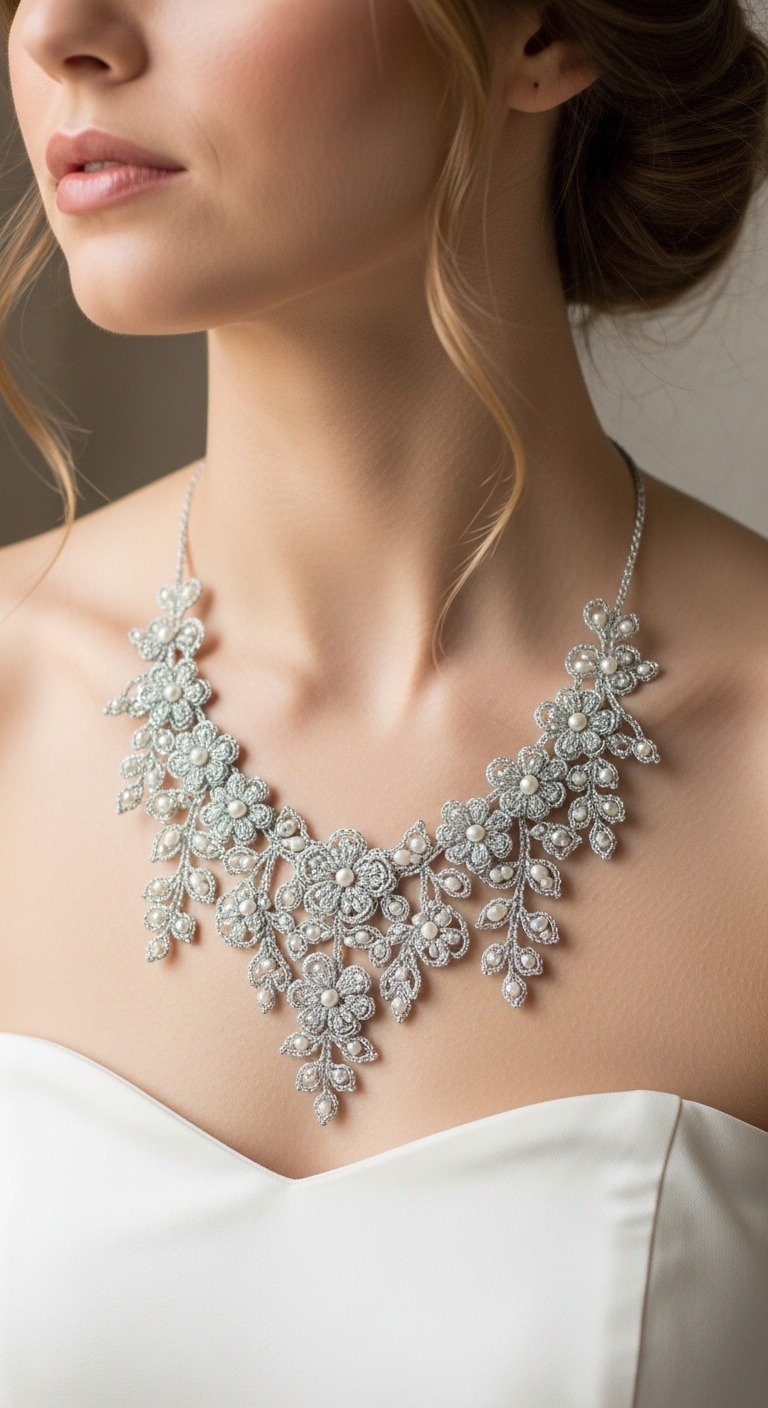
Adorn yourself with timeless elegance with this exquisite crochet lace pearl necklace. Perfect for brides, bridesmaids, or adding a touch of sophistication to any special occasion, this delicate piece combines intricate lacework with lustrous pearls. Handcraft a stunning accessory that will be cherished for years to come.
Craft Your Own Heirloom: The Beauty of Crocheted Lace
There’s something uniquely special about handmade jewelry, especially for momentous events. This crochet necklace allows you to infuse personal touch and artistry into your attire. Beyond its beauty, it carries the sentiment of creation, making it a truly unique heirloom or a thoughtful, personalized gift for a loved one.
Crochet Pattern: Elegant Crochet Lace Pearl Necklace Pattern for Bridal & Special Occasions
Steel crochet hook, 0.6mm or 0.75mm (to match thread size)
Assorted white/cream round pearls (e.g., 2mm, 3mm, 4mm) – ensure they can be pre-strung onto your thread
Small jewelry clasp (e.g., lobster clasp or toggle clasp)
Tapestry needle (for weaving in ends)
Abbreviations
ch: chain
sl st: slip stitch
sc: single crochet
hdc: half double crochet
dc: double crochet
tr: treble crochet
st(s): stitch(es)
MR: Magic Ring
rep: repeat
Instructions
Important Note: Before starting, pre-string all your pearls onto your crochet thread. You will slide them up as needed during the pattern.
Motif A: Small Pearl Flower (Make 8-10)
Ch 4, join with sl st to form a ring.
Round 1: Ch 1, work 8 sc into the ring. Join with sl st to first sc. (8 sc)
Round 2 (Petals): *[Ch 3, 1 dc in next sc, slide 1 pearl up to hook and ch 1 to secure it closely to the dc, 1 dc in same sc, ch 3, sl st into next sc]*. Rep *[]* 3 more times for a total of 4 petals. Sl st to secure.
Fasten off, leave a 4-inch tail for weaving/joining.
Motif B: Small Leaf (Make 6-8)
Ch 8.
Row 1: Sc in 2nd ch from hook, hdc in next ch, dc in next 3 chs, hdc in next ch, sc in last ch. (7 sts). Ch 1, turn.
Row 2: Sc in first st, hdc in next st, dc in next 3 sts, hdc in next st, sc in last st. (7 sts). Sl st to the base of the leaf to close the loop.
Fasten off, leave a 4-inch tail.
Motif C: Leaf with Pearl (Make 4-6)
Ch 8.
Row 1: Sc in 2nd ch from hook, hdc in next ch, dc in next 3 chs, hdc in next ch, slide 1 pearl up to hook and ch 1 to secure, sc in last ch. (7 sts plus pearl). Ch 1, turn.
Row 2: Sc in first st (over pearl), hdc in next st, dc in next 3 sts, hdc in next st, sc in last st. (7 sts). Sl st to the base of the leaf to close the loop.
Fasten off, leave a 4-inch tail.
Assembly of Necklace Front:
The necklace is assembled in sections, starting from the center and branching outwards. Refer to the image for placement inspiration, aiming for a cascading, organic look.
Central Element: Join 2-3 Motif A (Small Pearl Flowers) together with sl sts or by chaining 1-2 stitches between them. Ensure pearls are facing front.
First Branch (Left Side): Attach one Motif A to the central element. Then, join 2-3 Motif B (Small Leaves) and 1-2 Motif C (Leaves with Pearl) to this Motif A and the central element using short chains (ch 2-5) and sl sts. Overlap motifs slightly for a dense, floral effect.
Second Branch (Right Side): Mirror the First Branch, attaching motifs to the central element in a similar fashion.
Continue adding remaining Motif A, B, and C units to fill out the desired necklace shape, always joining them securely with sl sts and short ch spaces to create a cohesive lace fabric. Weave in ends as you go, or after assembly, ensuring they are invisible.
Finishing the Necklace Chain:
From the outermost point of the left branch, ch 25-30 (or desired length for the back of the neck). Secure the clasp to the end of this chain with a sl st or by sewing.
From the outermost point of the right branch, ch 25-30. Secure the other part of your clasp to the end of this chain.
Weave in any remaining loose ends carefully using a tapestry needle. Trim excess thread.