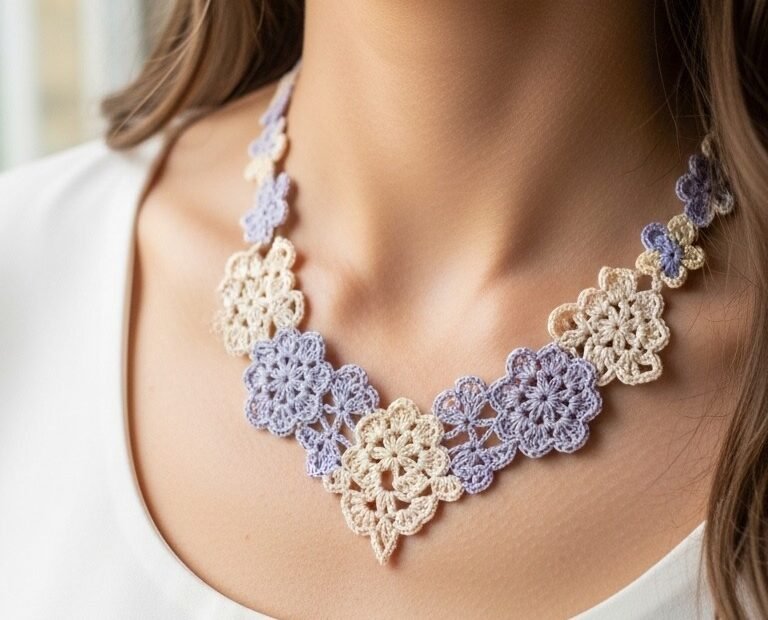
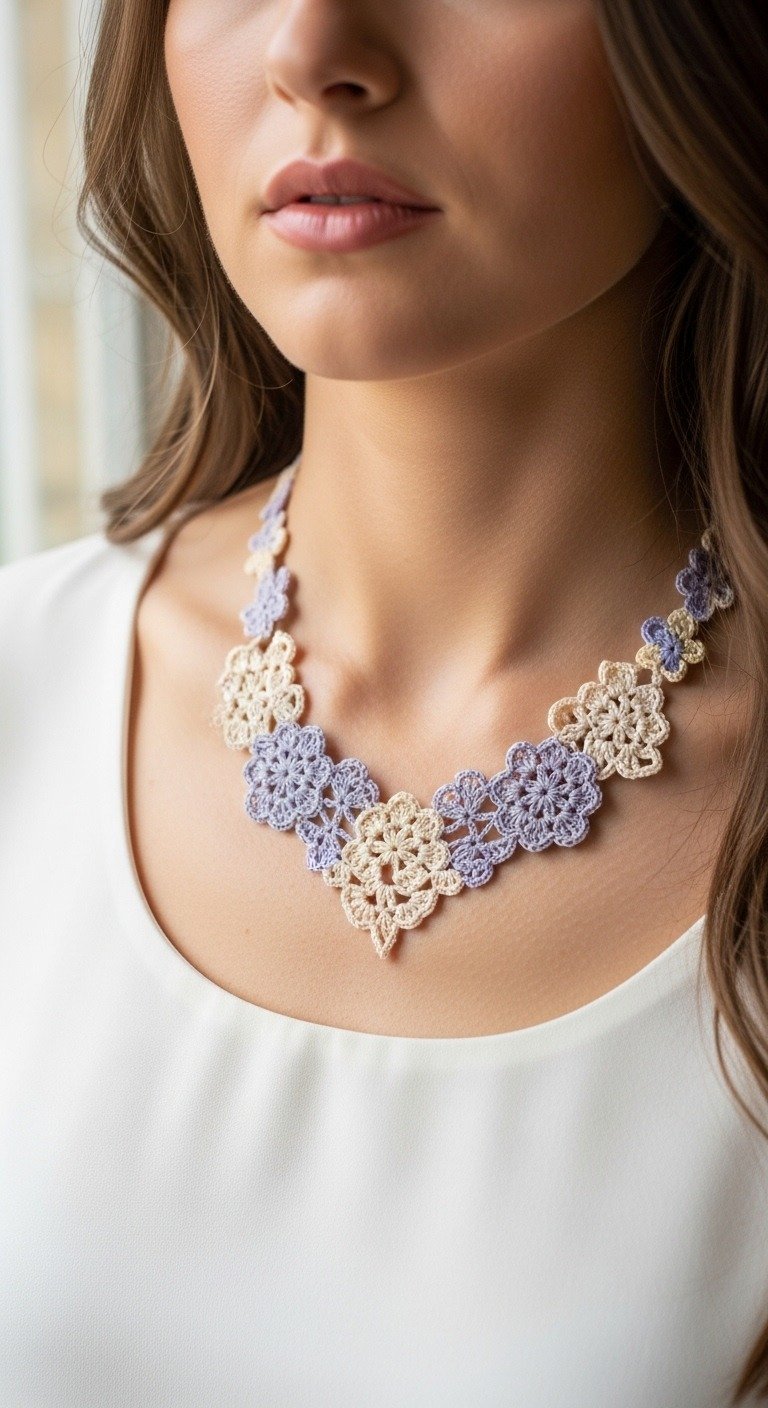
Discover the art of wearable crochet with this exquisite floral necklace pattern. Create a delicate and elegant accessory that adds a touch of handmade charm to any outfit. Perfect for special occasions or to elevate your everyday style, this project is a delightful way to explore intricate lace crochet and produce a truly unique piece of jewelry. Craft beauty with your own hands!
Craft Your Own Statement Piece with Grace
There’s an undeniable allure to handmade jewelry, and this crocheted floral necklace is no exception. Each meticulously crafted flower tells a story of passion and creativity, allowing you to express your personal style. Imagine the joy of wearing or gifting a piece that you’ve brought to life with your own hands, a testament to your skill and dedication. It’s more than just an accessory; it’s a wearable work of art.
Steel Crochet Hook (e.g., 1.5mm or 1.75mm, suitable for thread)
Yarn Needle
Small Jewelry Clasp (e.g., lobster clasp with jump ring)
Abbreviations
ch: chain
sl st: slip stitch
sc: single crochet
dc: double crochet
tr: treble crochet (yarn over twice)
MR: magic ring
FO: fasten off
rem: remaining
Instructions
Crochet Floral Motif (Make 10-11 in Cream (A) and 10-11 in Lavender (B) for a total of 20-22 motifs)
Start with a Magic Ring (MR).
Round 1: Ch 1, work 8 sc into the MR. Pull tail to close ring tightly. Sl st into the first sc to join. (8 sc)
Round 2 (Petals): *Ch 3, (dc, tr, dc) into the same sc where you just joined (or next available sc for the first petal), ch 3, sl st into the same sc. Sl st into the next sc to prepare for the next petal.* Repeat from * to * 7 more times until you have 8 petals. Sl st into the first sl st of the round to finish. FO, weave in ends securely.
Assembling the Necklace (Joining As You Go – JAYG Method)
The necklace is formed by joining motifs together. For joining, you will replace part of the second ‘ch 3’ of a petal with a ‘sl st’ into a petal of a previously made motif. Each new motif will typically be joined to the previous one at two adjacent petal tips.
General Joining Technique (JAYG): When working the second ch-3 of a petal that needs to be joined, work ‘ch 1, sl st into the corresponding ch-3 space of a petal on the previously made motif, ch 1’. Then continue with ‘sl st into the same sc’ of the current motif. This joins the tip of the current petal to the tip of a petal on the previous motif.
Step-by-Step Assembly:
First Motif (Center Bottom): Make one motif in Cream (A) completely, without joining. This will be Motif #1, the central bottom point of your necklace. FO, weave in ends.
Second Motif (Lavender B – Left Side Start): Make Motif #2 in Lavender (B). For its 6th petal: Work ‘ch 3, (dc, tr, dc) into sc’. Now, instead of ‘ch 3, sl st into same sc’, work ‘ch 1, sl st into the 3rd petal’s ch-3 space of Motif #1, ch 1, sl st into same sc on Motif #2’. For its 7th petal: Work ‘ch 3, (dc, tr, dc) into sc’. Then, ‘ch 1, sl st into the 4th petal’s ch-3 space of Motif #1, ch 1, sl st into same sc on Motif #2’. Finish Motif #2. FO.
Third Motif (Cream A – Right Side Start): Make Motif #3 in Cream (A). This will be on the other side of Motif #1. For its 6th petal: Work ‘ch 3, (dc, tr, dc) into sc’. Then, ‘ch 1, sl st into the 5th petal’s ch-3 space of Motif #1, ch 1, sl st into same sc on Motif #3’. For its 7th petal: Work ‘ch 3, (dc, tr, dc) into sc’. Then, ‘ch 1, sl st into the 6th petal’s ch-3 space of Motif #1, ch 1, sl st into same sc on Motif #3’. Finish Motif #3. FO.
Continue Alternating Colors:
Left Side Chain: Continue adding motifs for the left side of the necklace, alternating colors (Cream, Lavender, Cream…). Each new motif will be joined to the previous motif at two adjacent petals (e.g., join the 6th and 7th petals of the new motif to the 3rd and 4th petals of the previous motif in the chain). For instance, Motif #4 (Cream) joins to Motif #2 (Lavender).
Right Side Chain: Do the same for the right side of the necklace, ensuring symmetry in the number of motifs and joining points. For instance, Motif #5 (Lavender) joins to Motif #3 (Cream).
Forming the ‘V’ and Necklace Length: The ‘V’ shape is naturally formed by how the initial motifs are joined around Motif #1. Continue adding motifs until the necklace reaches your desired length for around the neck, typically 8-10 motifs per side from the center point.
Finishing: Once all motifs are joined and you have the desired length and shape, weave in all rem ends. Attach a jewelry clasp to the ends of the necklace using a small jump ring or by carefully stitching it to the last petals.