Embrace timeless elegance with this stunning crochet lace floral choker necklace. Inspired by delicate bridal jewelry, this pattern allows you to create an heirloom-quality accessory featuring intricate roses, delicate leaves, and sparkling beads. Perfect for weddings, special occasions, or adding a touch of vintage charm to any outfit, this project promises a rewarding crafting experience.
Craft Your Own Heirloom: The Beauty of the Crochet Lace Floral Necklace
There’s something uniquely special about handmade jewelry, and this crochet lace necklace is no exception. It’s more than just an accessory; it’s a labor of love that can be treasured for years to come. Whether you’re making it for a bride-to-be, as a personal statement piece, or as a thoughtful gift, its intricate design and delicate beauty will surely captivate and impress.
Fine white crochet thread (e.g., Aunt Lydia’s Classic Crochet Thread Size 10 or similar)
Steel crochet hook (0.75mm – 1.25mm, depending on thread size)
Small silver-lined seed beads (approx. 2mm)
Small pearl beads (approx. 3-4mm)
Jewelry clasp (e.g., lobster claw or toggle clasp)
Matching sewing thread and needle
Fabric stiffener (optional, for shaping)
Tapestry needle (for weaving in ends)
Abbreviations
ch – chain
sl st – slip stitch
sc – single crochet
hdc – half double crochet
dc – double crochet
tr – treble crochet
sk – skip
st(s) – stitch(es)
sp – space
FO – fasten off
picot – ch3, sl st in 1st ch
Instructions
This pattern creates individual motifs that are then joined. String all seed beads onto your crochet thread before beginning, as they will be incorporated as you work.
Rose Motif (Make 3-5, depending on desired necklace length)
Base: Ch 30.
Row 1: Sc in 2nd ch from hook and in each ch across. (29 sc) Ch 1, turn.
Row 2: *Sc in first st, (ch 3, dc in same st), sk next st, sl st in next st*. Repeat from * to * across the row. You will be creating a ruffled edge. FO, leaving a long tail for sewing.
Assembly: Roll the strip from one end, gathering the base row stitches tightly to form a rose shape. Secure with the FO tail and a sewing needle.
Small Leaf Motif (Make 10-15)
Row 1: Ch 5. Sc in 2nd ch from hook, hdc in next ch, dc in next ch, (tr, ch 2, tr) in last ch (this forms the point). Work down the other side of the starting chain: dc in next st, hdc in next st, sc in last st. Sl st to first sc.
Optional Beading: When making a leaf that will be an accent piece with a bead, string a bead before the (tr, ch2, tr) part, placing it at the tip of the leaf.
FO, leaving a tail for joining.
Connecting Lace Elements & Necklace Assembly
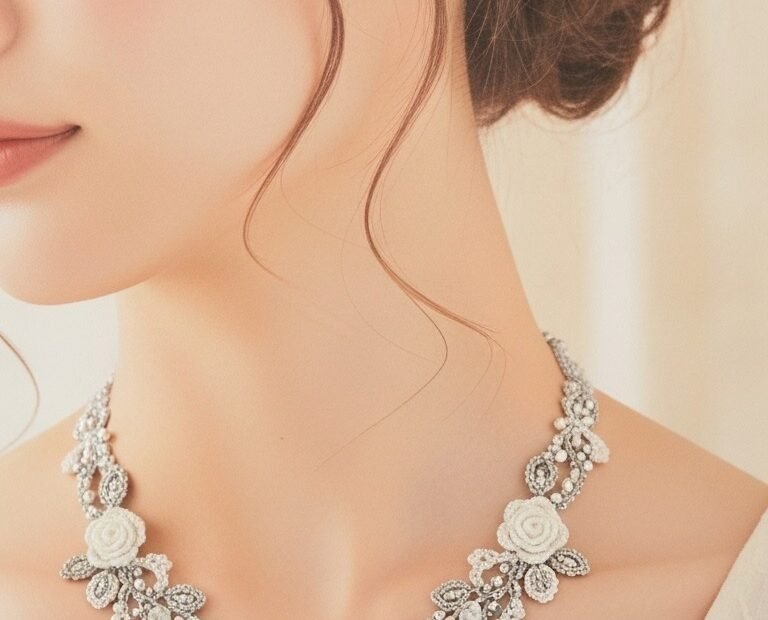
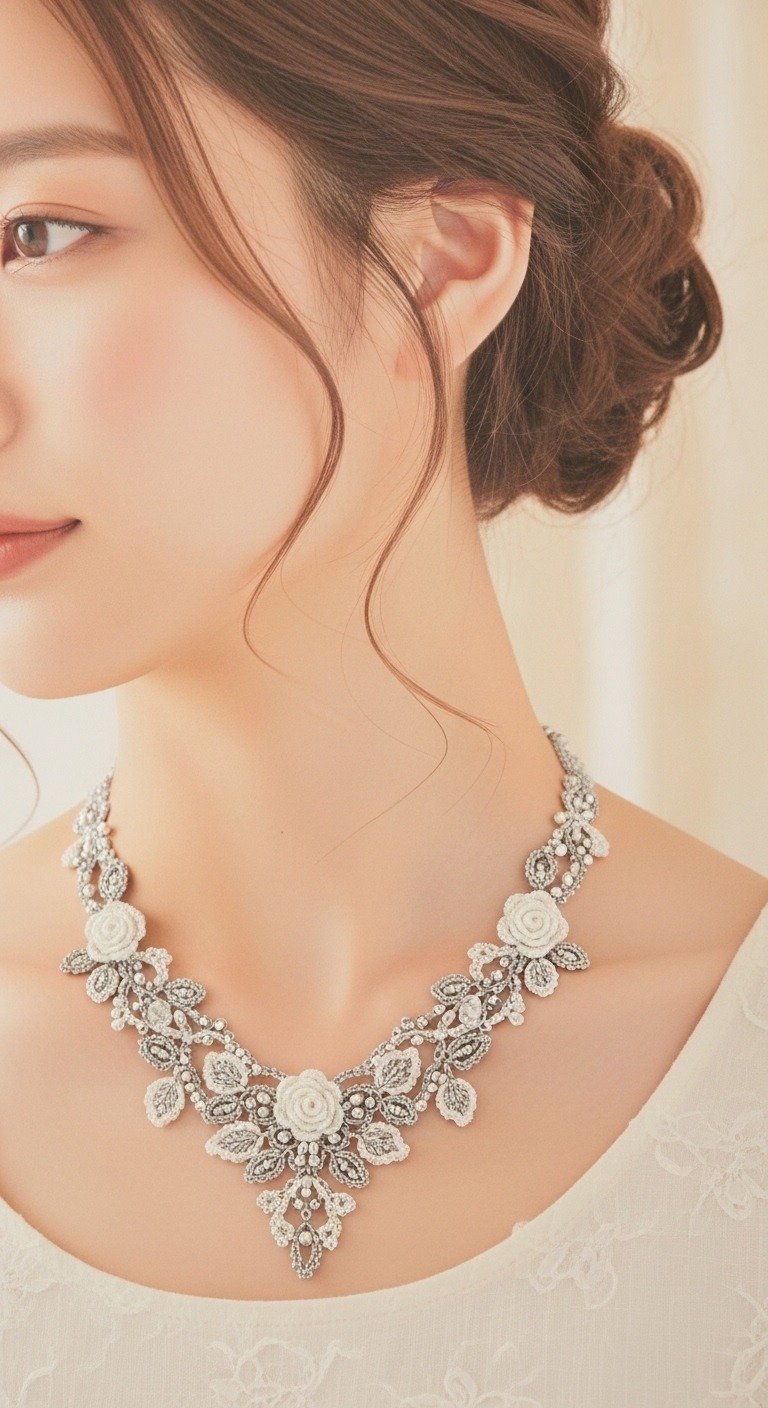
The necklace is built by connecting the motifs with delicate beaded lace. The following provides a general approach, as the exact arrangement can be customized. Refer to the image for placement inspiration.
Begin by crocheting a base chain for one side of the necklace to your desired length (e.g., 20-30 ch).
First Main Element: Attach one Rose Motif. Work a short chain (e.g., ch 3-5), then make a small beaded lace element: (sl st to attach bead, ch 3, sl st). Repeat this beaded element and small chains to connect to a Leaf Motif.
Continue to connect motifs: The central part of the necklace features a larger cluster. Arrange 2-3 Rose Motifs closely together, surrounded by Leaf Motifs and delicate beaded lace work.
Beaded Lace Example: To create small connecting pieces with beads: ch 5, slide 3-5 beads close to hook, sc around beads to secure them in a cluster, ch 5, sl st into another motif or a base chain.
Create delicate loops and picots (ch3, sl st in 1st ch) around the edges of motifs and between connections for a more intricate, lace-like appearance.
Continue adding Rose and Leaf Motifs, using varying lengths of beaded chain and small lace elements to create the curved shape of the choker. Ensure symmetry if desired.
Work the other side of the necklace in a similar fashion, attaching the remaining Rose and Leaf Motifs and connecting them to form the choker.
Finishing the Ends: Once the main body of the necklace is complete and the desired length is reached, attach a small loop on one end and the jewelry clasp on the other. This can be done by crocheting a short sturdy chain loop (e.g., ch 10, sl st into base) or by sewing on a jump ring to attach the clasp.
Weave in all loose ends securely using a tapestry needle.
Optional Stiffening: For a more rigid and defined shape, carefully apply a fabric stiffener to the finished necklace, shaping it as it dries.