Adorn your neckline with timeless elegance using this exquisite crochet lace choker pattern. Inspired by delicate antique lace, this floral necklace adds a touch of sophistication to any outfit. Perfect for special occasions or to elevate your everyday style, it’s a truly rewarding project for any crochet enthusiast looking to create a unique, handmade accessory that captures vintage charm.
Crafting Elegance: The Art of Floral Crochet Jewelry
There’s an undeniable allure to handmade jewelry, especially pieces as intricate as this floral crochet choker. Beyond simply being an accessory, it’s a wearable piece of art that reflects your skill and passion. Embrace the meditative process of creating each delicate motif and assembling them into a stunning statement necklace that’s sure to draw compliments and showcase your unique style.
Crochet Pattern: Elegant Floral Crochet Lace Choker Pattern: Craft Your Own Statement Necklace
Materials
Lace weight (0) cotton yarn in Ecru/Cream (approx. 50g)
Lace weight (0) cotton yarn in Sage Green (small amount)
1.5mm crochet hook
Small seed beads (clear/iridescent)
Small pearls (3mm-4mm)
Tapestry needle
Small button (approx. 10mm)
Fabric stiffener (optional, for shaping)
Abbreviations
ch: chain
sl st: slip stitch
sc: single crochet
hdc: half double crochet
dc: double crochet
tr: treble crochet
st(s): stitch(es)
rep: repeat
sk: skip
sp: space
fo: fasten off
(): work instructions in parentheses into the same stitch or space
[]: total number of stitches
Instructions
Large Floral Bloom (Ecru – make 5-7):
Center: Ch 6, sl st to first ch to form a ring.
Rnd 1: Ch 1, 12 sc in ring, sl st to first sc. [12 sc]
Rnd 2 (Petals): (Ch 3, sk next st, (dc, tr, dc) in next st, ch 3, sl st in same st) 6 times. Sl st to first petal base. Fo.
Small Floral Cluster (Ecru – make 8-10):
Center: Ch 4, sl st to first ch to form a ring.
Rnd 1: Ch 1, 8 sc in ring, sl st to first sc. [8 sc]
Rnd 2 (Petals): (Ch 2, hdc in next st, ch 2, sl st in same st) 8 times around. Sl st to first petal base. Fo.
Leaf Motif (Green & Ecru – make 12-15, mix colors):
Ch 9.
Sc in 2nd ch from hook, hdc in next 2 ch, dc in next 3 ch, hdc in next ch, (sc, ch 1, sc) in last ch.
Working along the other side of the starting chain: Hdc in next ch, dc in next 3 ch, hdc in next 2 ch, sc in last ch. Sl st to first sc. Fo.
Assembly:
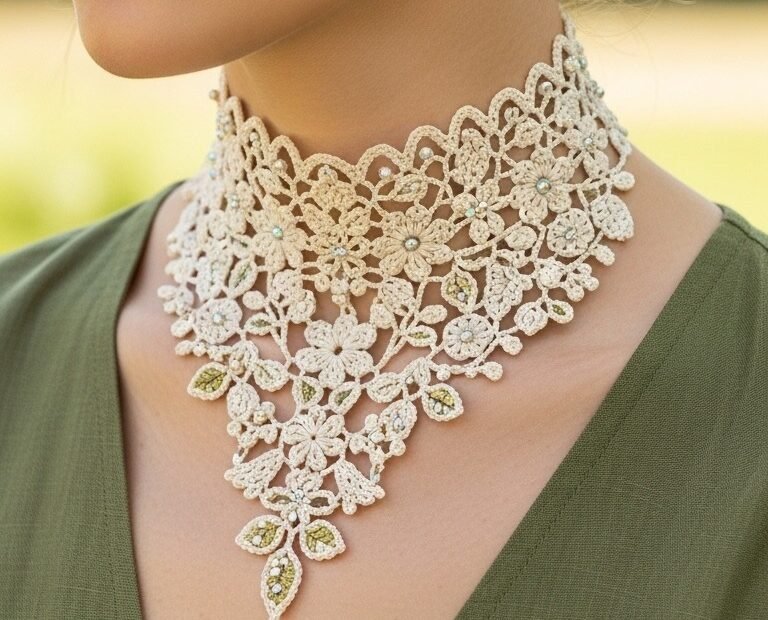
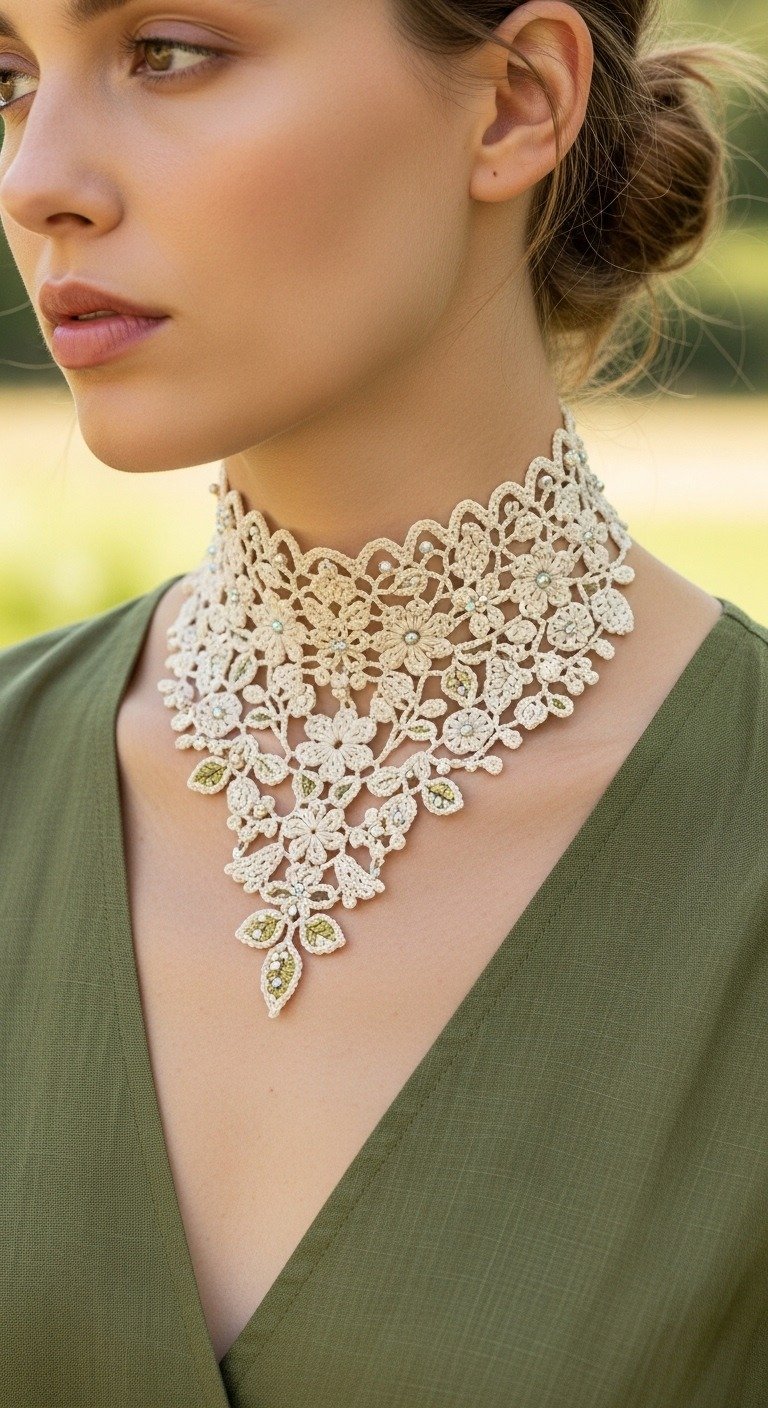
Lay out all your motifs on a flat surface in the approximate shape of the choker shown in the image, forming a wide V-shape. The larger flowers should generally be at the top and center, with smaller flowers and leaves filling in gaps and forming the bottom point.
Using the ecru yarn and 1.5mm hook, begin to join the motifs together by working short chains and slip stitches or single crochets between adjacent motifs. Think of creating a delicate, irregular netting that holds the motifs in place.
Start from the center top, working outwards and downwards. Ensure the top edge is relatively straight across the back of the neck, while the front forms a distinct V-shape.
To join, insert hook into an edge st of one motif, ch 3-5 (or appropriate length to reach next motif), sl st into an edge st of the next motif. Continue building up this lace network until all motifs are securely connected and the choker holds its overall shape.
Trim and weave in all loose ends.
Edging:
With ecru yarn, attach to the top edge of the choker. Work a round of (sc, ch 3, sc) into spaces or stitches along the entire top edge, creating a scalloped finish. Adjust chain length as needed to maintain a smooth curve.
Along the bottom V-shaped edge, work a similar decorative edge. (sc, ch 4, sc) in an arch, then (sc, ch 3, sc) in the next. Vary the chain lengths to follow the natural flow of the lace.
Finishing Touches:
Embellishment: Using a tapestry needle and matching sewing thread, carefully sew seed beads onto the centers of the small flowers and pearls onto the centers of the large flowers. Add a scattering of beads and small pearls throughout the connecting lace for extra sparkle, referring to the image for placement.
Closure: On one end of the top edge, create a small button loop: Ch 10-15 (adjust length to fit your button), sl st back into the same point. On the opposite end, securely sew the small button.
Optional Stiffening: For a more defined and rigid choker, gently block the finished piece and apply a fabric stiffener according to product instructions. Allow to dry completely.