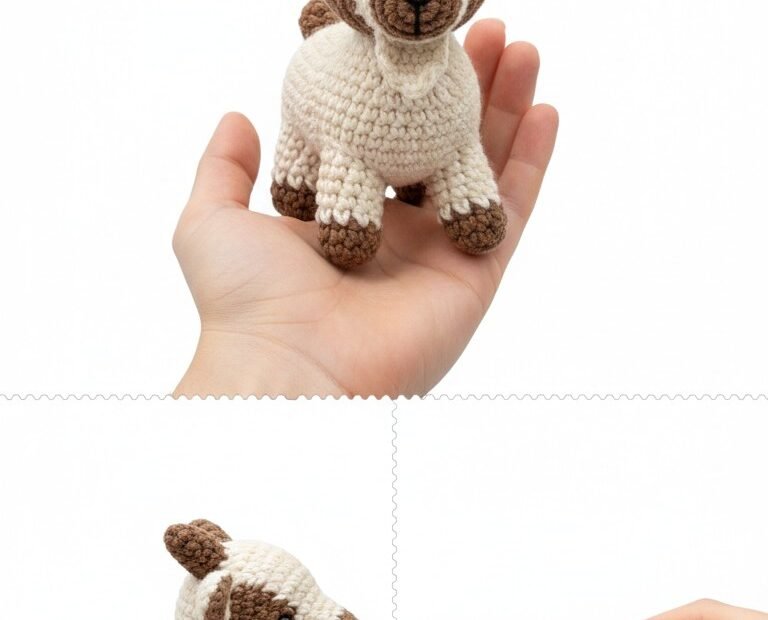
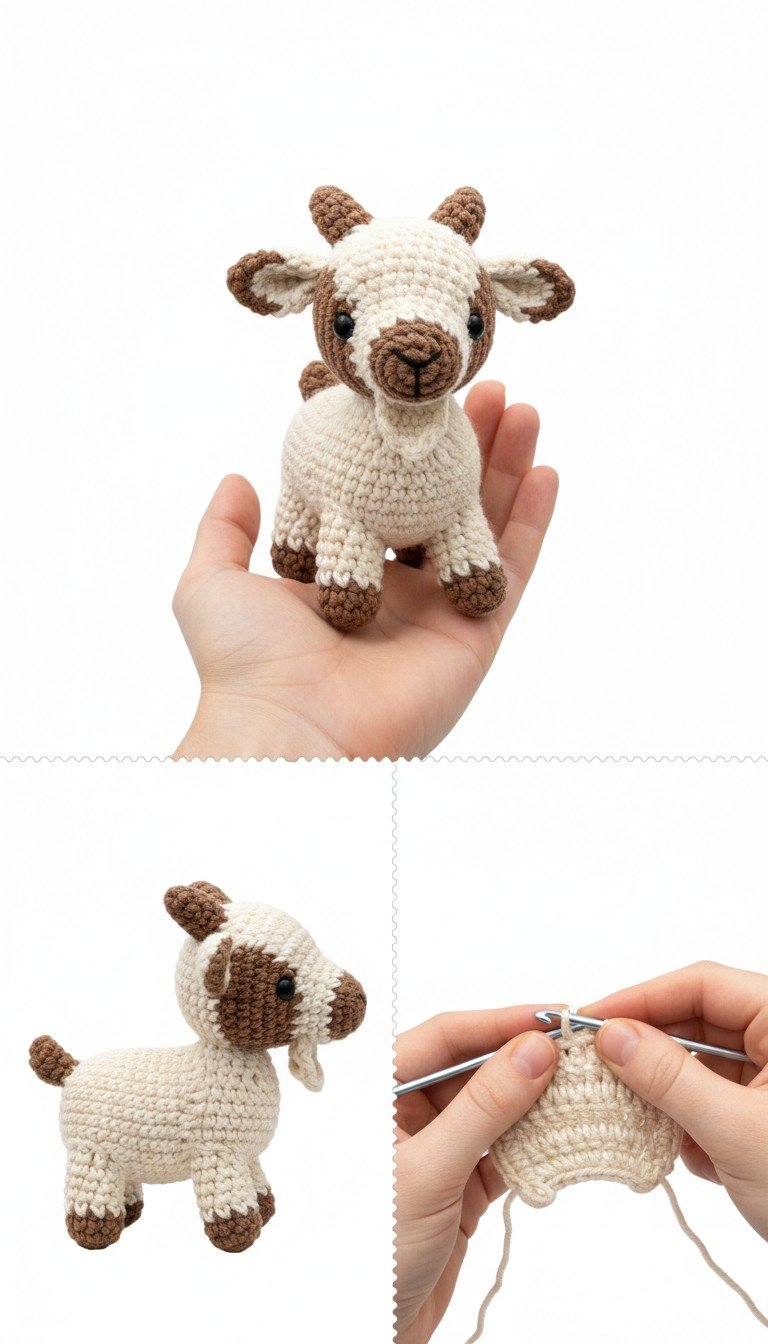
Get ready to melt hearts with this utterly adorable Amigurumi Baby Goat crochet pattern! Perfect for farm animal lovers or anyone looking for a charming, handmade gift. This little goat is designed to be a joy to make, using simple stitches to create a sweet, cuddly companion that fits right in the palm of your hand.
Craft Your Own Cuddly Farm Friend This pattern offers a delightful crafting experience, resulting in a super cute baby goat that’s perfect for nurseries, bookshelves, or as a thoughtful present. Its compact size makes it a quick project, ideal for both seasoned crocheters and enthusiastic beginners eager to try amigurumi. Bring a touch of rustic charm into your home with this lovable creation!
Pattern Here
Crochet Pattern: Adorable Amigurumi Baby Goat Free Crochet Pattern Materials Worsted weight yarn in Cream (approx. 50g) Worsted weight yarn in Brown (approx. 20g) 2.5mm or 3.0mm crochet hook (or hook suitable for your yarn) 6mm or 8mm black safety eyes Polyester fiberfill for stuffing Tapestry needle Stitch marker Scissors Abbreviations MR: Magic Ring ch: chain sc: single crochet inc: increase (2 sc in one stitch) dec: decrease (sc 2 stitches together) sl st: slip stitch FO: Fasten Off BLO: back loop only Rnd: Round st(s): stitch(es) Instructions Notes: This pattern is worked in continuous rounds unless otherwise stated. Use a stitch marker to keep track of the first stitch of each round.
Head (Cream) Rnd 1: MR, 6 sc (6)Rnd 2: 6 inc (12)Rnd 3: (1 sc, inc) x 6 (18)Rnd 4: (2 sc, inc) x 6 (24)Rnd 5: (3 sc, inc) x 6 (30)Rnd 6: (4 sc, inc) x 6 (36)Rnd 7: (5 sc, inc) x 6 (42)Rnd 8-16: 42 sc (9 rounds)Insert safety eyes between Rnd 12 and 13, about 7-8 stitches apart. Rnd 17: (5 sc, dec) x 6 (36)Rnd 18: (4 sc, dec) x 6 (30)Start stuffing the head firmly. Rnd 19: (3 sc, dec) x 6 (24)Rnd 20: (2 sc, dec) x 6 (18)Rnd 21: (1 sc, dec) x 6 (12)Rnd 22: 6 dec (6)FO, leave a long tail for sewing. Weave in the remaining tail to close the hole. Face Mask (Brown) Rnd 1: Ch 6. Sc in 2nd ch from hook, 3 sc, 3 sc in the last ch. Working on the other side of the chain: 3 sc, inc (12)Rnd 2: Inc, 3 sc, inc, sc, inc, 3 sc, inc, sc (16)Rnd 3: (1 sc, inc) x 2, 4 sc, (inc, 1 sc) x 2, 4 sc (20)Rnd 4-5: 20 sc (2 rounds)Sl st, FO, leave a long tail for sewing. Lightly stuff the snout part. Ears (Make 2 – Brown and Cream) Rnd 1: With Brown yarn, MR, 4 sc (4)Rnd 2: (1 sc, inc) x 2 (6)Rnd 3: (2 sc, inc) x 2 (8)Rnd 4: Switch to Cream yarn, 8 sc (8)Rnd 5: (3 sc, inc) x 2 (10)Rnd 6: 10 sc (10)Sl st, FO, leave a long tail for sewing. Flatten the ear. Horns (Make 2 – Brown) Rnd 1: With Brown yarn, MR, 4 sc (4)Rnd 2: (1 sc, inc) x 2 (6)Rnd 3: (2 sc, inc) x 2 (8)Rnd 4: 8 sc (8)Sl st, FO, leave a long tail for sewing. Lightly stuff. Body (Cream) Rnd 1: MR, 6 sc (6)Rnd 2: 6 inc (12)Rnd 3: (1 sc, inc) x 6 (18)Rnd 4: (2 sc, inc) x 6 (24)Rnd 5: (3 sc, inc) x 6 (30)Rnd 6: (4 sc, inc) x 6 (36)Rnd 7-14: 36 sc (8 rounds)Rnd 15: (4 sc, dec) x 6 (30)Rnd 16: (3 sc, dec) x 6 (24)Start stuffing the body firmly. Rnd 17: (2 sc, dec) x 6 (18)Sl st, FO, leave a long tail for sewing to the head. Legs (Make 4 – Brown and Cream) Rnd 1: With Brown yarn, MR, 6 sc (6)Rnd 2: (1 sc, inc) x 3 (9)Rnd 3: 9 sc in BLO (9) – This creates the distinct edge for the hoof.Rnd 4-5: 9 sc (2 rounds)Rnd 6: Switch to Cream yarn, 9 sc (9)Rnd 7-10: 9 sc (4 rounds)Sl st, FO, leave a long tail for sewing. Stuff lightly. Tail (Brown) Rnd 1: With Brown yarn, MR, 6 sc (6)Rnd 2: 6 sc (6)Rnd 3: (1 sc, dec) x 2 (4)Sl st, FO, leave a long tail for sewing. Do not stuff. Beard (Cream) Row 1: Ch 5. Sc in 2nd ch from hook, 3 sc (4)FO, leave a long tail for sewing. Assembly 1. Sew the Head to the Body . 2. Position and sew the Face Mask onto the head. The top edge should be above the safety eyes, and the bottom should form the snout. 3. Using brown embroidery floss or a thin strand of brown yarn, embroider a small ‘Y’ shape for the nostrils and mouth on the snout. 4. Sew the Ears to the top sides of the head. Fold them slightly before sewing. 5. Sew the Horns just behind the ears, on top of the head. 6. Sew the four Legs to the bottom of the body, ensuring the goat stands evenly. 7. Sew the Tail to the back of the body. 8. Sew the Beard just below the snout. 9. Weave in all remaining yarn ends securely.