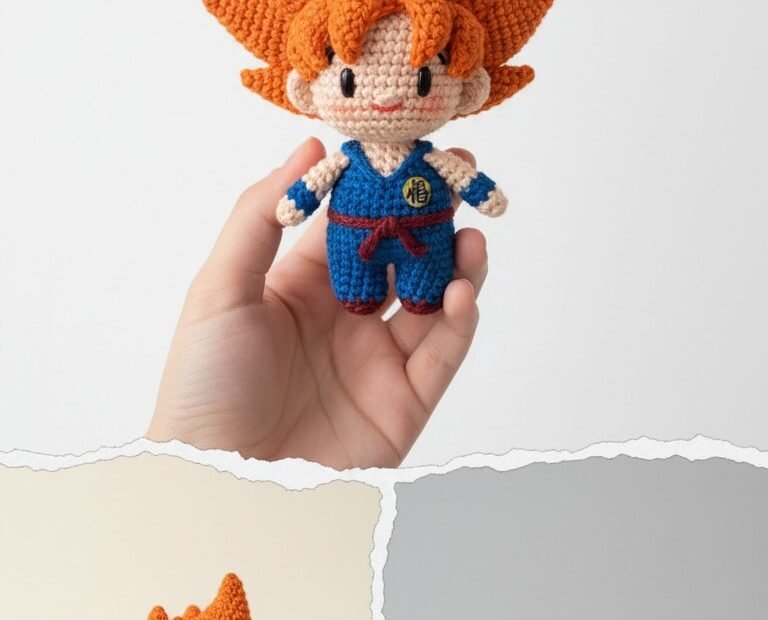
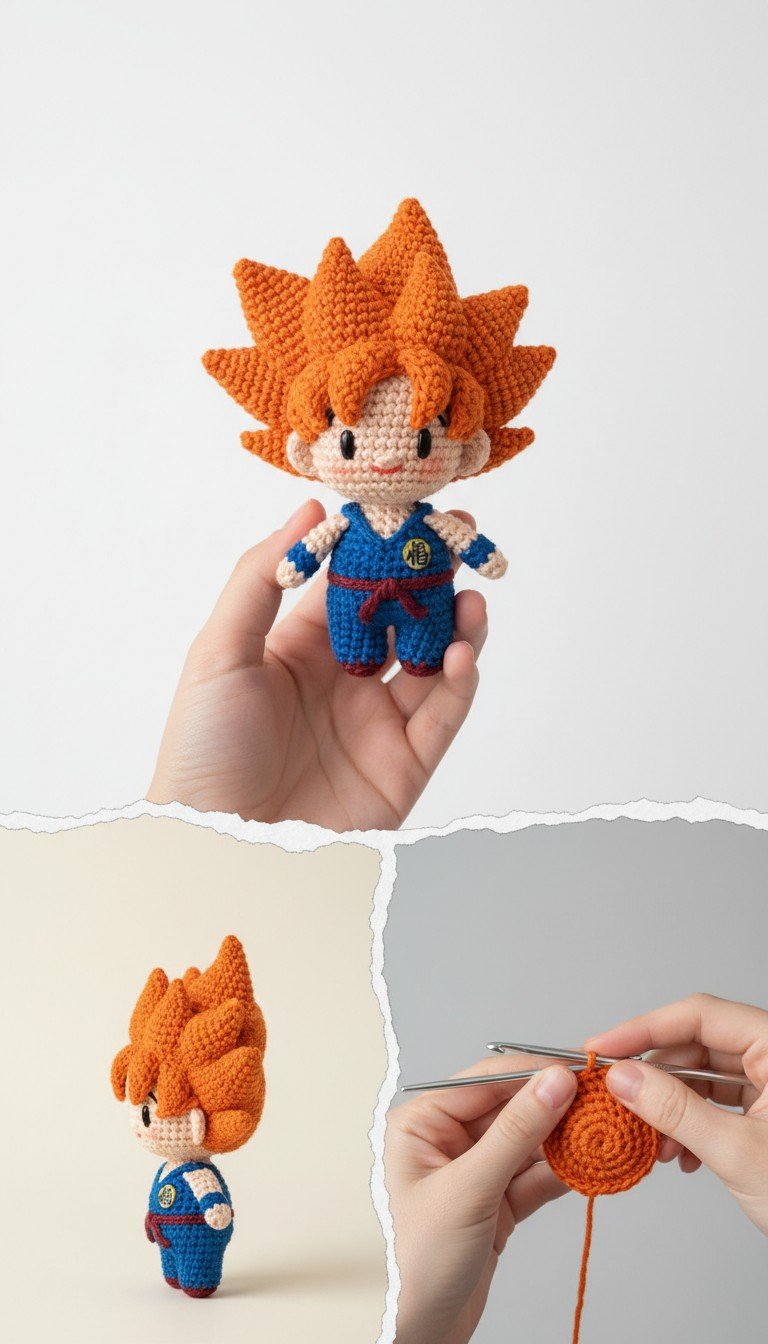
Are you ready to power up your crochet skills? This detailed pattern will guide you through creating your very own Son Goku amigurumi, inspired by the legendary Super Saiyan! Perfect for Dragon Ball Z fans, this adorable doll captures Goku’s iconic look, from his spiky orange hair to his classic blue gi. Get ready to embark on an epic crochet adventure and bring this beloved hero to life with your own hands.
Craft Your Own Legendary Super Saiyan
Imagine the joy of holding your favorite Saiyan warrior, handmade with love! This Goku amigurumi is not just a toy; it’s a testament to your fandom and crafting prowess. It makes a fantastic gift for any Dragon Ball Z enthusiast, a unique addition to your collection, or a charming desk buddy to inspire you. Get ready to infuse some Z-fighter energy into your creative space!
Crochet Pattern: Unleash Your Inner Super Saiyan: An Adorable Crochet Goku Amigurumi Pattern
Materials
Worsted weight yarn in: Light Peach (Skin Tone)
Bright Orange (Hair)
Royal Blue (Gi)
Dark Red (Belt/Accents)
Yellow (Kanji)
Black (for eyes/mouth embroidery)
2.5mm or 3.0mm crochet hook (adjust to your tension)
6mm or 8mm black safety eyes
Polyester fiberfill stuffing
Yarn needle
Scissors
Stitch marker
Optional: Pink blush and cotton swab for cheeks
Abbreviations
MR: Magic Ring
ch: chain
sc: single crochet
inc: increase (2 sc in one stitch)
dec: decrease (sc 2 stitches together)
sl st: slip stitch
FO: Fasten Off
BLO: Back Loop Only
FLO: Front Loop Only
(): Repeat instructions in parentheses for the specified number of times
[]: Total number of stitches at the end of the round
Instructions
Head (Light Peach Yarn)
MR 6sc [6]
Rnd 1: Inc around [12]
Rnd 2: (sc, inc) x 6 [18]
Rnd 3: (2 sc, inc) x 6 [24]
Rnd 4: (3 sc, inc) x 6 [30]
Rnd 5: (4 sc, inc) x 6 [36]
Rnd 6-12: Sc around (7 rounds) [36]
Place safety eyes between Rnd 9-10, about 6-7 stitches apart. Embroider nose and mouth.
Rnd 13: (4 sc, dec) x 6 [30]
Rnd 14: (3 sc, dec) x 6 [24]
Start stuffing firmly.
Rnd 15: (2 sc, dec) x 6 [18]
Rnd 16: (sc, dec) x 6 [12]
Rnd 17: Dec around [6]
FO, weave in tail and close hole.
Body & Legs
Legs (Make 2 – Royal Blue Yarn)
MR 6sc [6]
Rnd 1: Inc around [12]
Rnd 2-5: Sc around (4 rounds) [12]
FO one leg, do not cut yarn on second leg.
Join Legs & Body (Royal Blue Yarn)
Ch 2 from the second leg. Join to the first leg with a sc.
Rnd 6: Sc around the first leg (12 sc), sc in 2 ch, sc around the second leg (12 sc), sc in 2 ch [28]
Rnd 7-10: Sc around (4 rounds) [28]
Rnd 11: (5 sc, dec) x 4 [24]
Rnd 12-13: Sc around (2 rounds) [24]
Rnd 14: (4 sc, dec) x 4 [20]
Rnd 15-16: Sc around (2 rounds) [20]
Rnd 17: (3 sc, dec) x 4 [16]
Rnd 18: Sc around [16]
Stuff body firmly.
Change to Light Peach yarn.
Rnd 19: Sc around [16]
FO, leaving a long tail for sewing.
Arms (Make 2)
Start with Royal Blue Yarn
MR 6sc [6]
Rnd 1-2: Sc around [6]
Change to Light Peach yarn.
Rnd 3-7: Sc around (5 rounds) [6]
Stuff lightly. FO, leaving a long tail for sewing.
Hair Spikes (Make many – Bright Orange Yarn)
(Make approximately 15-20 spikes of varying sizes to achieve Goku’s spiky look. Mix small and medium sizes.)
Basic Small Spike
MR 4sc [4]
Rnd 1: Sc around [4]
Rnd 2: (sc, inc) x 2 [6]
Rnd 3-4: Sc around [6]
Rnd 5: (sc, dec) x 2 [4]
Stuff lightly. FO, leaving a tail for sewing. Close the hole.
Basic Medium Spike
MR 4sc [4]
Rnd 1: Inc around [8]
Rnd 2: Sc around [8]
Rnd 3: (sc, inc) x 4 [12]
Rnd 4-5: Sc around [12]
Rnd 6: (sc, dec) x 4 [8]
Rnd 7: Dec around [4]
Stuff lightly. FO, leaving a tail for sewing. Close the hole.
Belt (Dark Red Yarn)
Ch 25-30 (or desired length to wrap around waist). FO.
Kanji Symbol (Yellow Yarn and Black Yarn)
With Yellow yarn:
MR 6sc [6]
Rnd 1: Inc around [12]
Rnd 2: (sc, inc) x 6 [18]
FO, leaving a tail for sewing.
Embroider the ‘Goku’ Kanji symbol onto the yellow circle with black yarn using a tapestry needle.
Assembly
Attach Head to Body: Sew the head onto the neck opening of the body, ensuring it is centered and secure.
Attach Arms: Sew the arms to the sides of the body, just below the neck.
Attach Hair Spikes: Carefully arrange and sew the orange hair spikes onto Goku’s head, starting from the back and working forward, layering them to create his iconic spiky hairstyle. Use the smaller spikes for the front and sides, and larger ones for the top and back.
Add Belt: Wrap the dark red chain around Goku’s waist and secure it with a few stitches.
Attach Kanji: Sew the yellow Kanji symbol onto the front left side of Goku’s gi.
Facial Details: Use pink blush on the cheeks for a cute touch. Ensure all ends are woven in securely.