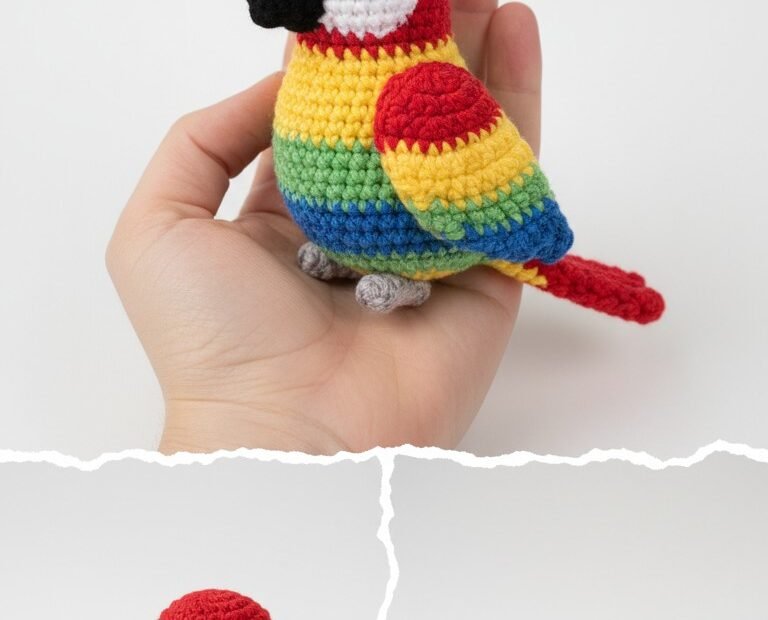
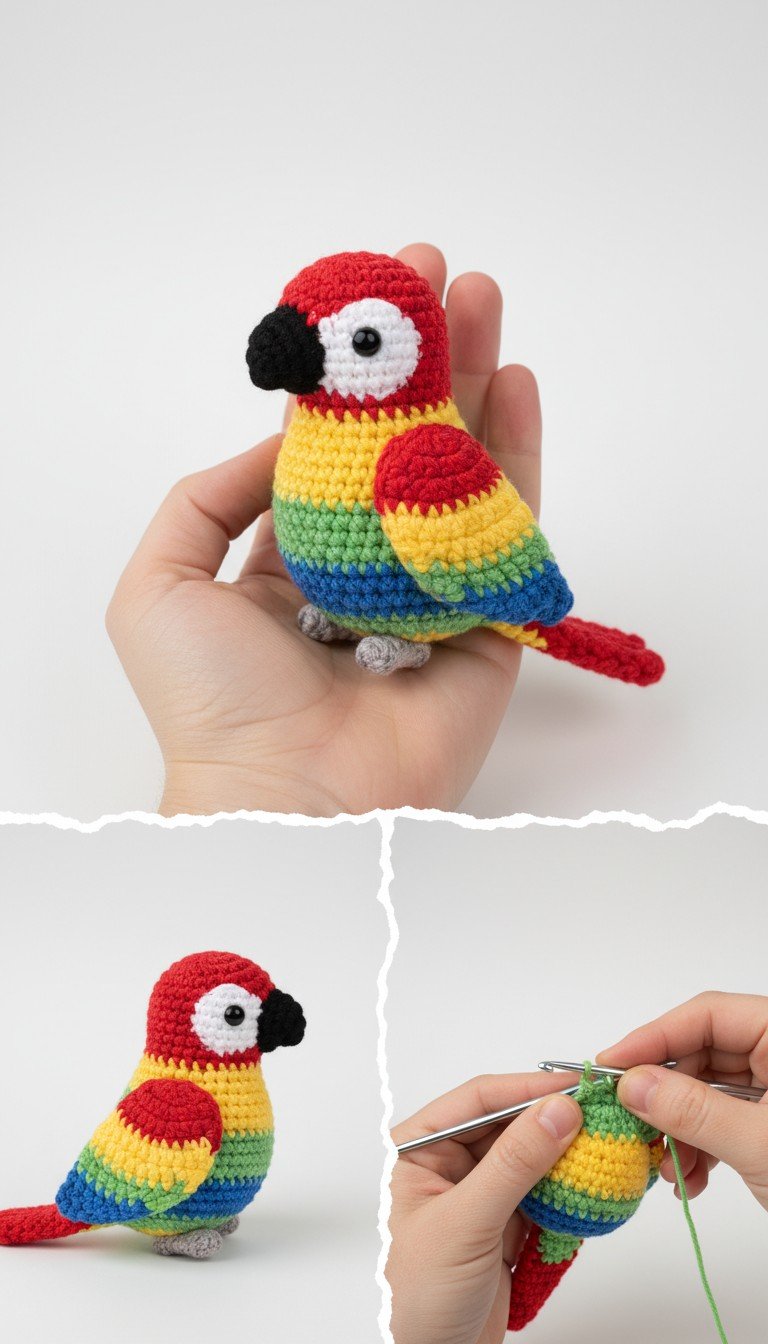
Dive into a vibrant world of color with this adorable Rainbow Macaw Amigurumi! Perfect for bird lovers and crochet enthusiasts alike, this pattern creates a charming, pocket-sized parrot that’s bursting with personality. Whether it’s a gift for a loved one or a cheerful addition to your own space, this little guy is sure to bring a smile.
Bring Joy to Your Home with a Hand-Crocheted Macaw There’s something incredibly rewarding about creating a beautiful piece with your own hands. This colorful macaw pattern is not just a project; it’s an opportunity to create a keepsake that radiates happiness. Imagine this charming bird perched on a shelf, adding a splash of tropical cheer to any room or becoming a treasured playtime companion.
Pattern Here
Crochet Pattern: Rainbow Macaw Amigurumi Pattern: Crochet Your Own Colorful Parrot! Materials Worsted weight yarn in Red, Yellow, Green, Blue, White, Black, Grey 2.5mm crochet hook 6mm safety eyes (2) Polyester fiberfill for stuffing Tapestry needle Scissors Abbreviations MR: Magic Ring sc: single crochet inc: increase (2 sc in one stitch) dec: decrease (sc 2 stitches together) sl st: slip stitch ch: chain FO: Fasten Off (): repeat instructions in parentheses Instructions This pattern is worked in continuous rounds unless otherwise stated. Use a stitch marker to keep track of your first stitch in each round.
Head and Body (Start with Red yarn) Round 1: Start with a MR, 6 sc into ring. (6)Round 2: (inc) x6. (12)Round 3: (sc, inc) x6. (18)Round 4: (2 sc, inc) x6. (24)Round 5-7: sc in each st around. (24) (3 rounds of Red) Change to Yellow yarn. Round 8-9: sc in each st around. (24) (2 rounds of Yellow) Change to Green yarn. Round 10-11: sc in each st around. (24) (2 rounds of Green) Change to Blue yarn. Round 12-13: sc in each st around. (24) (2 rounds of Blue) Begin stuffing firmly and continue to stuff as you go. Round 14: (2 sc, dec) x6. (18)Round 15: (sc, dec) x6. (12)Round 16: (dec) x6. (6)FO, leaving a long tail. Weave the tail through the front loop of the remaining 6 stitches and pull tight to close. Weave in end. Beak (Black yarn) Round 1: Start with a MR, 4 sc into ring. (4)Round 2: sc in each st around. (4)FO, leaving a long tail for sewing. Flatten the beak slightly. Eye Patches (White yarn, make 2) Round 1: Start with a MR, 6 sc into ring. (6)FO, leaving a long tail for sewing. Insert safety eyes through the center of these white circles. Wings (Make 2 – Red, Yellow, Blue yarn) Start with Red yarn. Ch 6.Row 1: sc in 2nd ch from hook, sc in next 4 ch. (5) Ch 1, turn.Row 2: sc in each st across. (5) Ch 1, turn.Change to Yellow yarn. Row 3-4: sc in each st across. (5) Ch 1, turn. (2 rows of Yellow) Change to Blue yarn. Row 5-6: sc in each st across. (5) Ch 1, turn. (2 rows of Blue) FO, leaving a long tail for sewing. Tail (Red yarn) Ch 5. Row 1: sc in 2nd ch from hook, sc in next 3 ch. (4) Ch 1, turn.Row 2-4: sc in each st across. (4) Ch 1, turn. (3 rows) FO, leaving a long tail for sewing. Feet (Grey yarn, make 2) Ch 3. Row 1: sc in 2nd ch from hook, sc in next ch. (2)FO, leaving a long tail for sewing. Assembly Position the safety eyes with white eye patches on the head, symmetrically. Insert and secure them. Sew the black beak onto the front of the head, just below the eyes. Attach the wings to the sides of the body, slightly angled, with the red part facing upwards/forwards. Sew the tail to the back/bottom of the body using the blue section as a guide for placement. Carefully sew the small grey feet to the bottom of the body, ensuring the parrot can stand or sit balanced. Weave in all remaining loose ends securely.