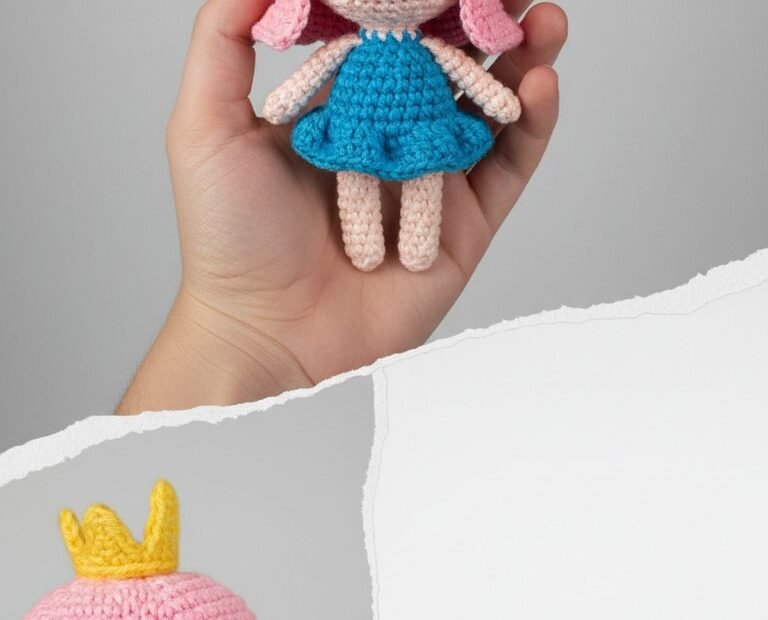
Step into a world of enchantment with this adorable crochet princess doll! Perfect for fairytale lovers of all ages, this amigurumi pattern guides you through creating a charming little royal with a sparkly crown and a beautiful dress. Whether for a gift or a delightful addition to your own collection, this project promises a magical crafting experience.
Bring Fairytale Magic to Life with Your Hook
There’s something truly special about creating a handmade toy, and this princess doll is no exception. Crafting her allows you to infuse each stitch with love and care, resulting in a unique keepsake. Imagine the joy on a child’s face receiving this personalized treasure, or adding a touch of whimsy to your home decor.
Crochet Pattern: Crochet Princess Doll Amigurumi Pattern: Craft Your Own Royal Companion
Materials
Worsted weight yarn in Light Pink (skin tone)
Worsted weight yarn in Bright Pink (hair)
Worsted weight yarn in Bright Blue (dress)
Worsted weight yarn in Yellow (crown)
Black embroidery floss (for eyes and mouth)
Pink embroidery floss (for blush)
2.5mm or 3.0mm crochet hook (or size suitable for your yarn)
Polyester fiberfill for stuffing
Tapestry needle
Stitch markers
Scissors
Abbreviations
MR: Magic Ring
sc: Single Crochet
inc: Increase (2 sc in one stitch)
dec: Decrease (single crochet two stitches together)
sl st: Slip Stitch
ch: Chain
FO: Fasten Off
BLO: Back Loop Only
FLO: Front Loop Only
hdc: Half Double Crochet
Instructions
Important: Work in continuous rounds unless otherwise specified. Use a stitch marker to keep track of the first stitch of each round.
HEAD (Light Pink)
R1: 6 sc in MR (6)
R2: 6 inc (12)
R3: (1 sc, inc) x6 (18)
R4: (2 sc, inc) x6 (24)
R5: (3 sc, inc) x6 (30)
R6-R12 (7 rounds): 30 sc (30)
R13: (3 sc, dec) x6 (24)
R14: (2 sc, dec) x6 (18) – Start stuffing firmly.
R15: (1 sc, dec) x6 (12)
R16: 6 dec (6)
FO, leaving a long tail for sewing. Close the remaining hole with the tail.
HAIR (Bright Pink)
R1: 6 sc in MR (6)
R2: 6 inc (12)
R3: (1 sc, inc) x6 (18)
R4: (2 sc, inc) x6 (24)
R5: (3 sc, inc) x6 (30)
R6-R9 (4 rounds): 30 sc (30)
R10: (4 sc, inc) x6 (36)
R11-R12 (2 rounds): 36 sc (36)
Sl st, FO, leaving a long tail for sewing.
CROWN (Yellow)
Ch 15, sl st to first ch to form a ring.
R1: Ch 1, sc in each ch around (15). Join with sl st.
R2: Ch 1, (sc in next st, ch 2, sl st in next st) x 5. (This creates the points of the crown).
Sl st to join, FO, leaving a long tail for sewing.
ARMS (Light Pink, make 2)
R1: 6 sc in MR (6)
R2-R8 (7 rounds): 6 sc (6)
FO, leaving a long tail for sewing. Do not stuff.
LEGS (Light Pink, make 2)
R1: 6 sc in MR (6)
R2: 6 inc (12)
R3-R5 (3 rounds): 12 sc (12)
R6: (1 sc, dec) x4 (8) – Stuff the foot lightly.
R7-R12 (6 rounds): 8 sc (8) – Continue stuffing lightly as you go.
FO, leaving a long tail for sewing.
BODY & DRESS
Body (Light Pink)
R1: 6 sc in MR (6)
R2: 6 inc (12)
R3: (1 sc, inc) x6 (18)
R4-R6 (3 rounds): 18 sc (18)
Dress (Bright Blue)
R7: Change to Bright Blue yarn. In FLO, (2 sc, inc) x6 (24). This creates a ridge for the ruffle.
FO, leaving a long tail for sewing. Finish stuffing.
Dress Ruffle (Bright Blue)
Reattach Bright Blue yarn to any BLO loop of R7 of the Body/Dress.
R1: Ch 2 (counts as hdc), 2 hdc in each BLO loop around (48 hdc). Sl st to join.
R2: Ch 2, (1 hdc, inc hdc) x 24 (72 hdc). Sl st to join.
FO and weave in ends.
ASSEMBLY
1. Attach Head to Body: Using the tail from the head, sew the head to the top of the body, ensuring it’s centered and secure.
2. Attach Legs: Sew the two legs to the bottom of the dress, evenly spaced.
3. Attach Arms: Sew the arms to the sides of the body, just below the neck.
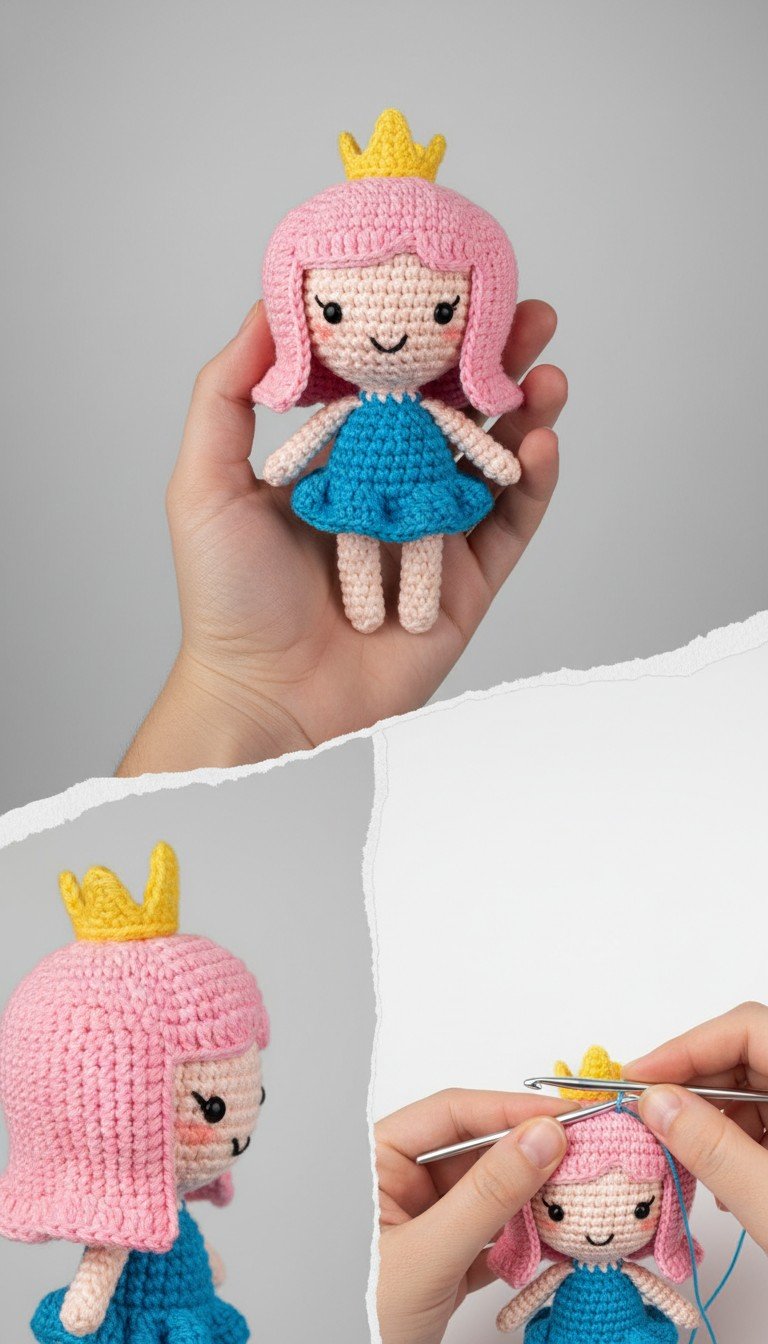
4. Attach Hair: Place the hair cap on the head, positioning it to create bangs and sideburns as desired (refer to image). Pin in place and sew securely to the head with the long tail.
5. Attach Crown: Sew the yellow crown to the top of the hair, slightly off-center for a whimsical touch.
6. Embroider Facial Features:
Using black embroidery floss, carefully embroider two small ‘V’ shapes for the eyes, positioned between R9 and R10 of the head, about 5-6 stitches apart.
Embroider a small curved line for the mouth just below the eyes.
Using pink embroidery floss, add small horizontal stitches for blush on each cheek, below the eyes.