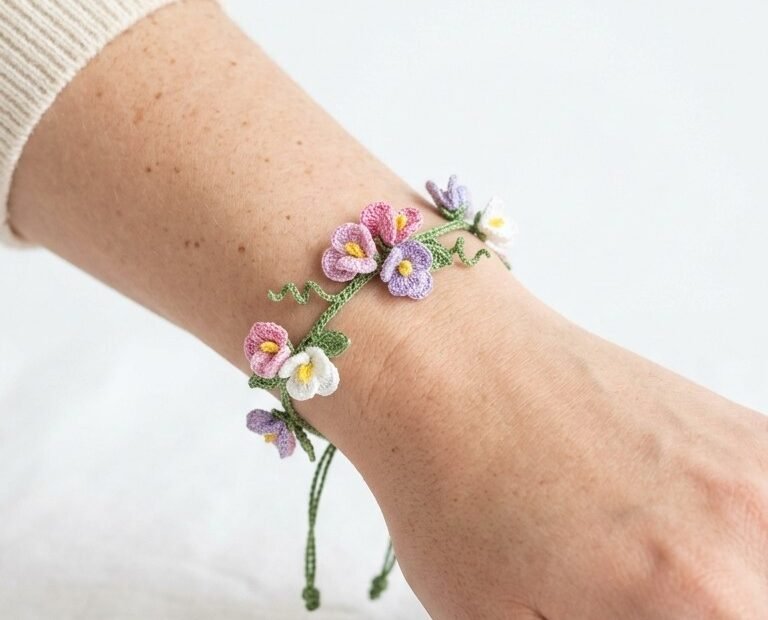
Adorn your wrist with the timeless beauty of a handmade floral bracelet! This delicate crochet pattern guides you through creating a charming accessory featuring tiny blossoms and whimsical vines. Perfect for adding a touch of spring to any outfit, this bracelet is surprisingly simple to make and ideal for both seasoned crocheters and adventurous beginners.
Craft Your Own Whimsical Floral Accessory
There’s something truly special about wearing a piece of jewelry crafted with your own hands. This crochet floral bracelet allows you to infuse your personal style into a unique accessory. Whether you choose vibrant colors for a bold statement or subtle pastels for a gentle touch, this pattern is a wonderful way to express creativity or make a thoughtful gift for a loved one.
Crochet Pattern: Delicate Blossom Crochet Bracelet: A Touch of Spring for Your Wrist
Materials
Embroidery floss (size 25 or similar) in: Green (for vine), Light Pink (for petals), Light Purple (for petals), White (for petals), Yellow (for flower centers)
Crochet Hook: 1.0mm – 1.5mm (depending on desired delicacy and floss thickness)
Tapestry Needle
Scissors
Abbreviations
ch: chain
sl st: slip stitch
dc: double crochet
MR: Magic Ring
Instructions
Embrace the beauty of small stitches to create this enchanting floral bracelet. The key is to maintain a consistent, tight tension for a delicate finish.
Flower Petal (Make 3 Pink, 3 Purple, 2 White flowers)
Step 1: With petal color yarn, make a MR.
Step 2: (Ch 2, dc, ch 2, sl st into MR). This completes one petal.
Step 3: Repeat Step 2 four more times to create a total of 5 petals.
Step 4: Gently pull the MR tail to close the center of the flower. Fasten off, leaving a 4-inch tail for sewing.
Step 5: With yellow embroidery floss and a tapestry needle, create a small French knot in the center of each flower for the stamen. Secure yarn tails.
Main Vine & Ties
Step 1: With green yarn, ch 40. This forms the first tie string.
Step 2: Ch 60 more stitches for the main vine length.
Step 3: Ch 40 more stitches for the second tie string. You should now have a very long chain (approx. 140 stitches).
Step 4: Working back down the chain, sl st into the 2nd ch from hook and continue to sl st into each ch across the entire length of the vine and both tie strings. This will strengthen and thicken the vine.
Adding Tendrils (Optional)
Step 1: As you sl st along the main vine section, periodically pause to add a tendril.
Step 2: To create a tendril: Ch 7, then sl st into the 2nd ch from hook and into each of the remaining 5 ch stitches.
Step 3: Sl st back into the main vine in the same stitch you started the tendril from. Continue sl st along the main vine. Create 3-5 tendrils spaced out along the vine.
Assembly
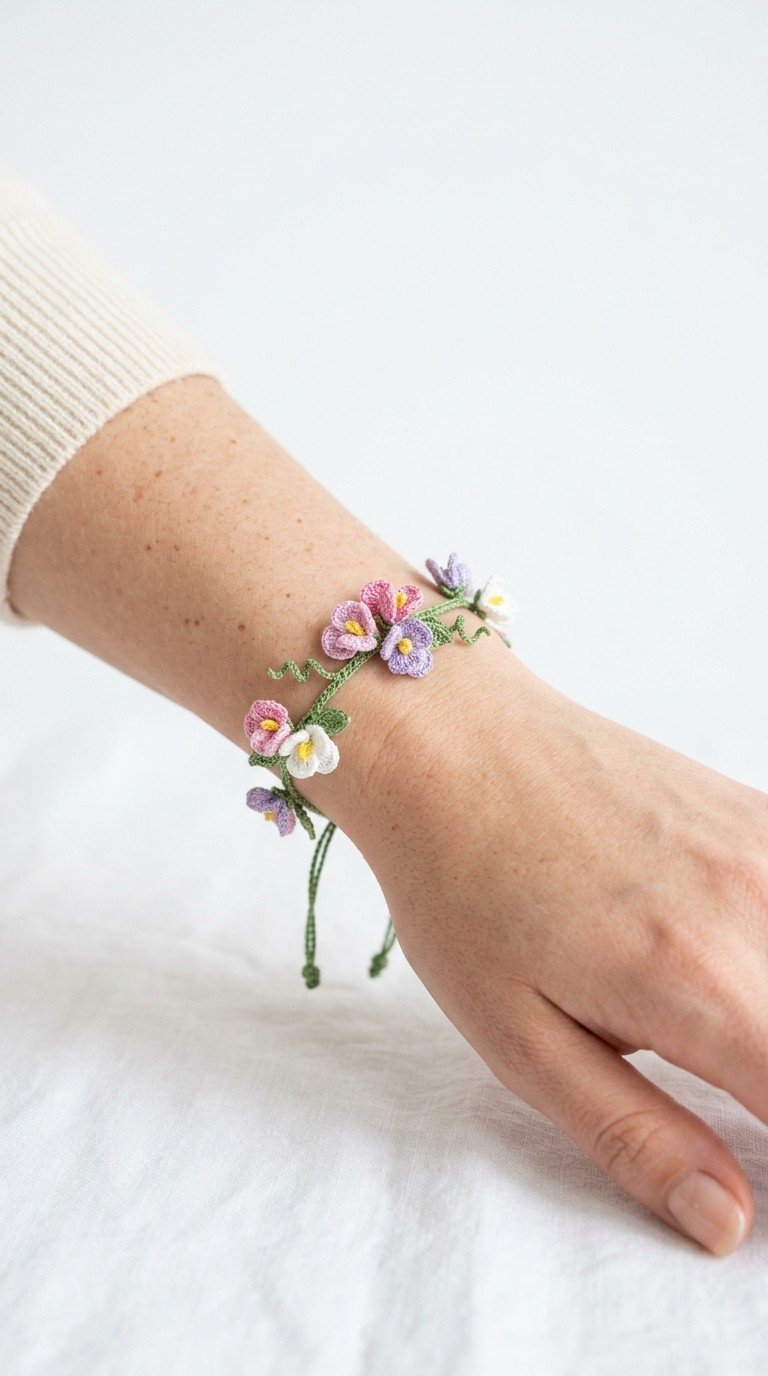
Step 1: Using the yarn tails from your finished flowers and a tapestry needle, carefully sew the flowers onto the main vine at desired intervals. Refer to the image for placement inspiration, spacing different colored flowers evenly.
Step 2: Weave in all remaining loose ends securely.
Step 3: To wear, simply tie the two green strings together to secure the bracelet around your wrist.