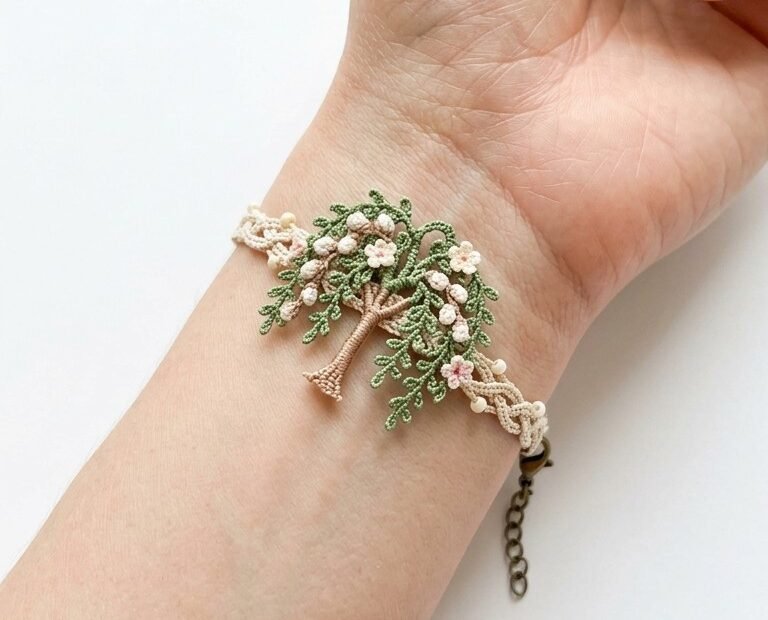
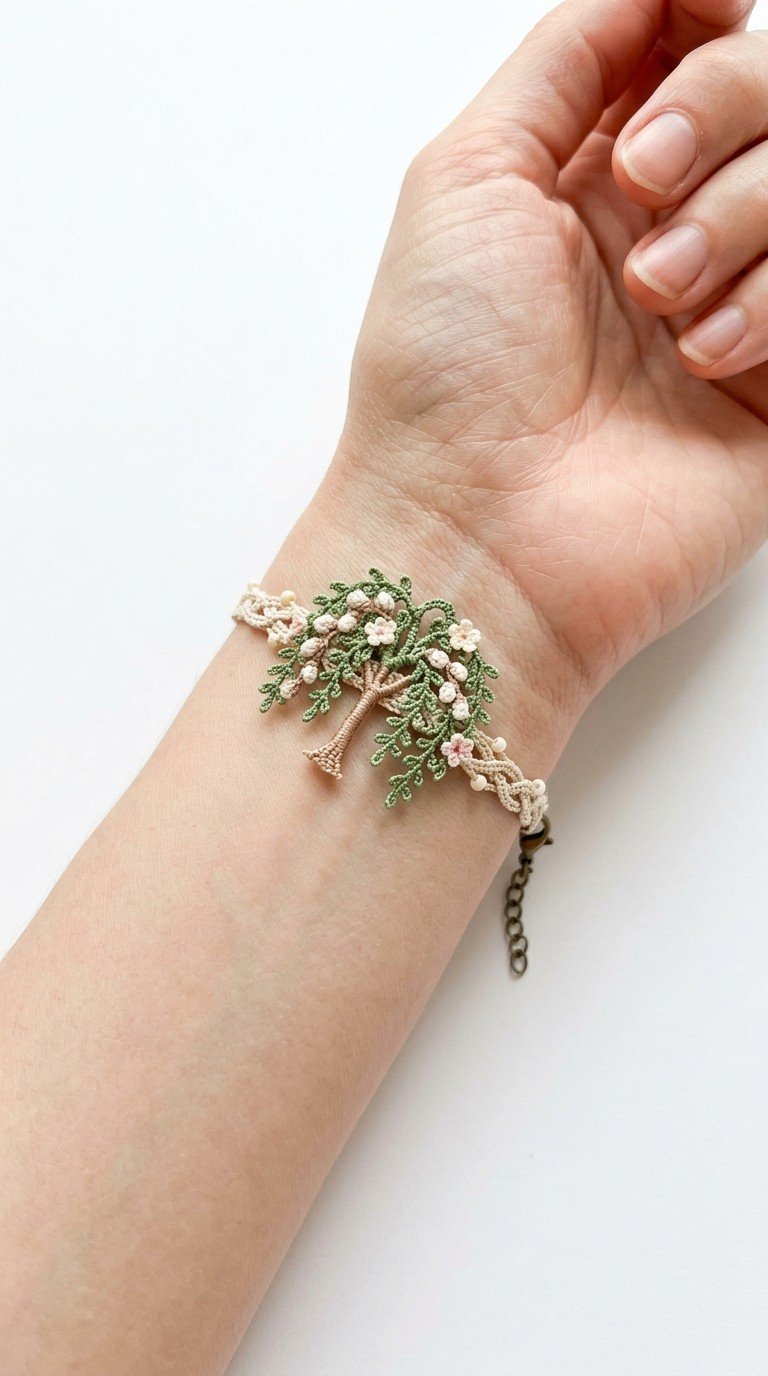
Embrace the beauty of spring with our exquisite Delicate Crochet Cherry Blossom Tree Bracelet! This charming accessory features an intricately detailed tree motif adorned with tiny blossoms and berries, set upon a delicate lace band. Perfect for adding a touch of nature-inspired elegance to any outfit, this pattern is a wonderful way to celebrate the season or create a thoughtful handmade gift.
Crafting Your Own Wearable Woodland Art
This unique crochet bracelet isn’t just an accessory; it’s a wearable piece of art. The detailed tree design, with its delicate leaves and blossoming flowers, captures the serene beauty of a spring day. Creating this piece allows you to hone your fine crochet skills and enjoy the meditative process of bringing such a detailed design to life, resulting in a truly special item.
Crochet Pattern: Delicate Crochet Cherry Blossom Tree Bracelet: A Symbol of Spring
Materials
Fine Crochet Thread (Size 20 or 30) in Light Beige (for band)
Fine Crochet Thread (Size 20 or 30) in Light Brown/Tan (for trunk)
Fine Crochet Thread (Size 20 or 30) in Sage Green (for foliage)
Embroidery Floss in Light Pink (for blossoms)
Steel Crochet Hook (approx. 1.0mm or size needed for thread)
Small white seed beads
Tapestry needle for weaving in ends
Sewing needle for beads and embroidery
Jewelry pliers
2 Jump rings
1 Lobster clasp
1 Extender chain
Abbreviations
ch: chain
sl st: slip stitch
sc: single crochet
picot: (ch3, sl st in 3rd ch from hook)
st(s): stitch(es)
FO: Fasten off
Instructions
This pattern creates a delicate, lace-like bracelet featuring a charming cherry blossom tree motif. Work with a very fine thread and a small hook for the best results.
Tree Motif (Make 1)
Trunk (with Light Brown/Tan Thread):
Row 1: Ch 5. Sc in 2nd ch from hook and in each remaining ch across. (4 sc)
Row 2-3: Ch 1, turn. Sc in each sc across. (4 sc)
Row 4: Ch 1, turn. Sc in first sc, sl st in next 2 sc, sc in last sc. (2 sc, 2 sl st) This creates a slight bend.
Row 5-6: Ch 1, turn. Sc in each sc and sl st across. (4 sts)
Shaping a branch (left side): Ch 7, sl st in 2nd ch from hook, sl st in next 2 ch. Sl st back into the last sc of the trunk.
Continue Trunk: Ch 1, sc in next 2 sts on trunk. Ch 5, sl st in 2nd ch from hook, sl st in next 2 ch. Sl st back into last sc on trunk.
Main Branching: Ch 1, sc in last 2 sts on trunk. Create another branch similar to above (e.g., Ch 7, sl st back 3 sts, sl st into trunk). Continue shaping the trunk and main branches with sc and short chains for the basic tree structure. FO.
Foliage (with Sage Green Thread):
Attach green thread to the top/outer tips of your brown tree branches.
For Leaves: Work picot stitches. *Ch 3, make a picot (ch3, sl st in 3rd ch from hook), ch 3, sl st into the base of the previous picot or an adjacent stitch on the branch structure. Repeat from * to cover the upper branches and canopy of the tree, varying the number of chains between picots (e.g., ch1 to ch3) to create a natural, dense leaf effect.
To incorporate white beads: Before making some picots, string a small white seed bead onto your green thread. When you want a bead, slide it close to your hook and crochet the picot or a single crochet stitch around it, securing it in place. Distribute beads naturally among the leaves. FO, weave in ends.
Pink Blossoms (with Light Pink Embroidery Floss):
Using a sewing needle, embroider tiny French knots or single lazy daisy stitches sparsely over the green foliage to represent cherry blossoms.
Bracelet Band (Make 2 identical strips with Light Beige Thread)
Each strip will be a delicate chain lace.
Row 1 (Foundation): Ch 40 (or to your desired length minus 1-2 inches for clasp/extender).
Row 2: Ch 1, turn. Sc in 2nd ch from hook. *Ch 3, skip 2 ch, sc in next ch. Repeat from * across the foundation chain.
Row 3: Ch 1, turn. Sl st in first sc. Sc in first ch-3 space. *Ch 3, sc in next ch-3 space. Repeat from * across. Sl st in last sc. FO.
Create a second identical strip.
Joining the Band Strips and Attaching Tree Motif:
Lay the two lace strips parallel to each other.
Using light beige thread, sl st or sc between corresponding ch-3 spaces of the two strips along their length, every few stitches, to connect them and form the bracelet band. This creates the braided/connected look.
Center the finished tree motif on the joined bracelet band. Carefully sew the trunk and some of the lower foliage edges to the band using matching thread, ensuring it lies flat and securely.
Finishing:
Attach a jump ring to one end of the bracelet band, then attach the lobster clasp to this jump ring.
Attach a second jump ring to the other end of the bracelet band, then attach the extender chain to this jump ring.