Embrace the joy of spring with this delightful DIY crocheted daisy chain bracelet! Perfect for adding a touch of floral charm to any outfit, this pattern is designed for crafters looking for a quick and rewarding project. Create a beautiful accessory for yourself or a thoughtful handmade gift for a friend. Its delicate design and vibrant colors will brighten anyone’s day.
Craft Your Own Whimsical Floral Bracelet
Handmade jewelry carries a special charm, and this crocheted flower bracelet is no exception. It’s a fantastic way to utilize small yarn scraps and practice intricate detailing. Imagine wearing a little garden on your wrist, bringing a fresh and playful vibe to your ensemble. This project offers a wonderful opportunity to create something truly unique and personalize it with your favorite color combinations.
Crochet Pattern: Charming DIY Crocheted Daisy Chain Bracelet Pattern for Spring
Materials
DMC Embroidery Floss (or similar fine cotton yarn) in: White, Bright Yellow, Light Pink, Light Blue, Light Green, Cream/Beige
1.75mm crochet hook
Tapestry needle
Scissors
Small wooden bead (approx. 6-8mm)
Abbreviations
ch – chain
sl st – slip stitch
sc – single crochet
hdc – half double crochet
dc – double crochet
MR – magic ring
FO – fasten off
Instructions
Part 1: Crocheting the Flowers and Leaves
Large Daisy (Make 1)
Center (Bright Yellow): Start with a MR, ch 1, work 6 sc into the ring. Sl st to the first sc to join. FO, leaving a tail for sewing.
Petals (White): Join white yarn to any sc on the yellow center. *Ch 2, (dc, ch 2, sl st) into the same sc.* Repeat from * around (6 petals total). Sl st to the first ch to close. FO, leaving a tail for sewing.
Small Flowers (Make 2 of each color: Light Pink, Light Blue, Bright Yellow – total 6)
Using desired color: Start with a MR, ch 1. *(Ch 2, dc, ch 2, sl st) into the ring.* Repeat from * 4 times (5 petals total). Sl st to the first ch to close. FO, leaving a tail for sewing.
Leaves (Make 4-6, Light Green)
Ch 5. Sc into the 2nd ch from hook, hdc into the next ch, dc into the next ch, sc into the last ch. Ch 1, turn. Sl st back along the other side of the chain stitches to form a leaf shape. FO, leaving a tail for sewing.
Part 2: Making the Braided Bracelet Cord
Cut three strands of yarn, each approximately 60-70 cm long (adjust for desired bracelet length). Use one strand of Light Green, one strand of Cream/Beige, and one strand of Bright Yellow.
Hold all three strands together and make an overhand knot about 5cm from one end.
Braid the three strands together until the braided section is about 15-20 cm long, or the desired length for the section where flowers will be attached.
Make another overhand knot at this point to secure the braid.
Part 3: Assembly
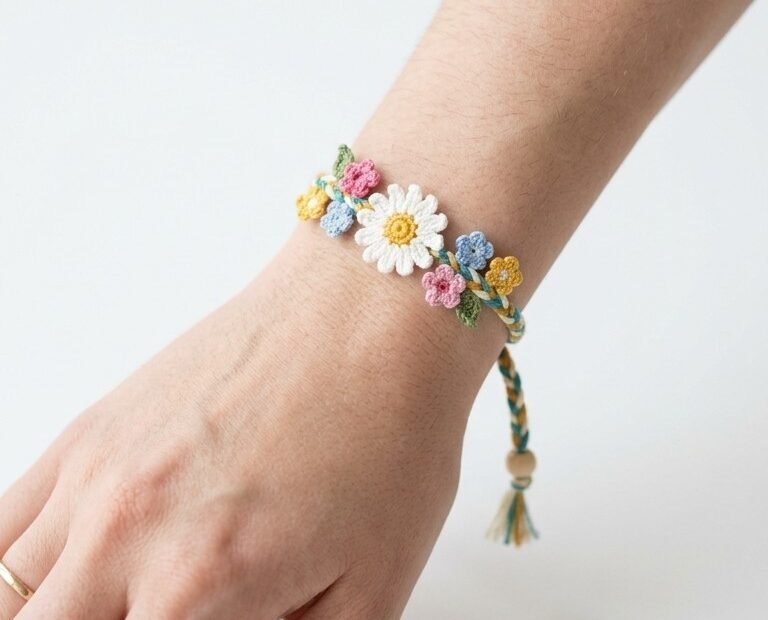
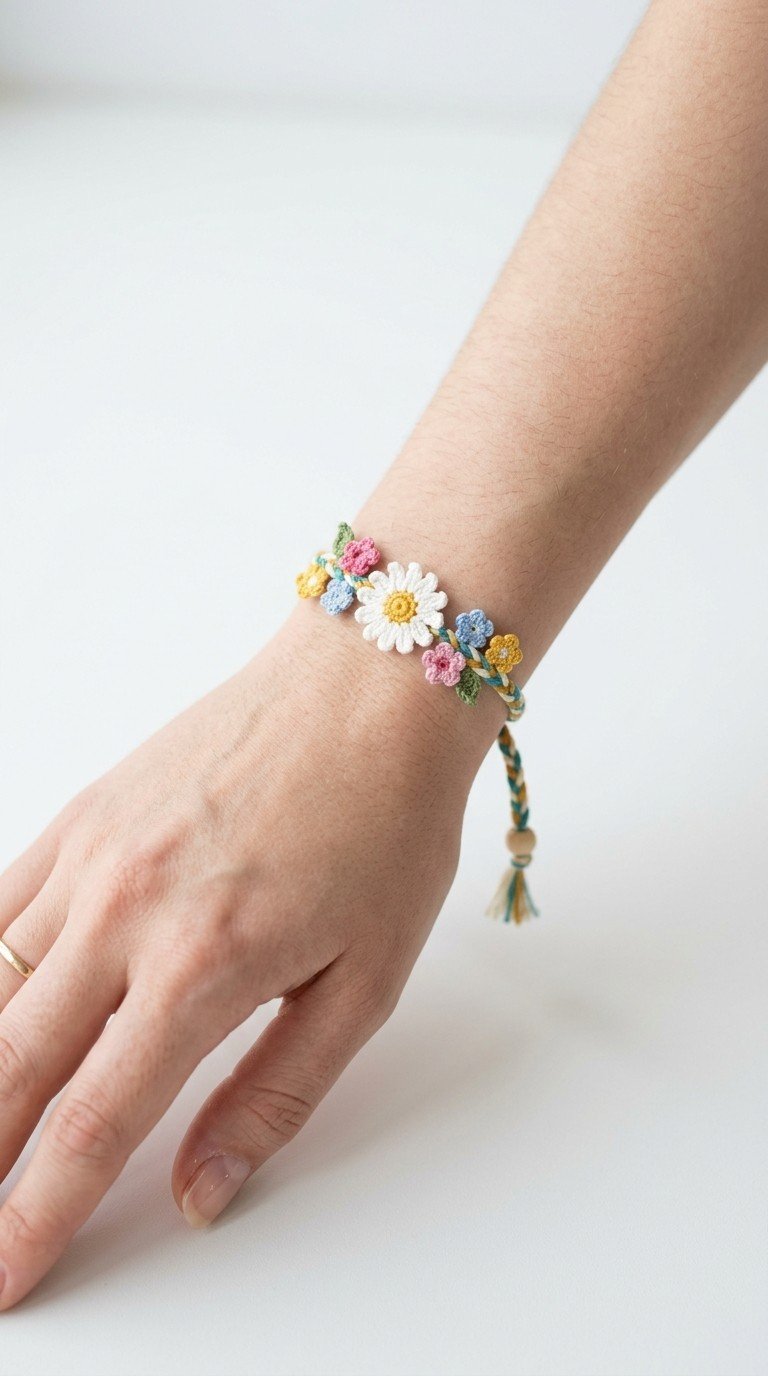
Arrange the crocheted flowers and leaves on the braided section of the cord. Place the large daisy in the center, flanked by the smaller flowers and leaves, mimicking the look in the image.
Using a tapestry needle and the yarn tails you left earlier, carefully sew each flower and leaf securely onto the braided cord. Weave in any remaining yarn ends discreetly into the back of the work or the braid.
Finishing the Bracelet:
On one end of the braided cord (the longer tail section), thread the small wooden bead onto the three strands.
Make an overhand knot immediately after the bead to secure it in place.
Make another overhand knot a few inches further down the strands to create a loop for adjusting the bracelet size.
Trim the ends of the strands to create a neat small tassel.
The other end of the bracelet (the short tail section before the first knot) will be used to tie to the loop created by the bead and the knot, allowing for adjustable sizing.