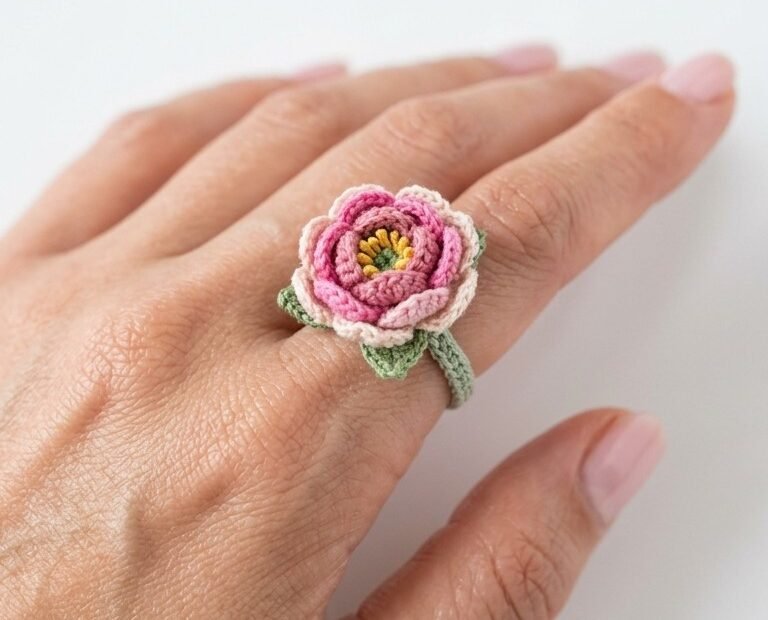
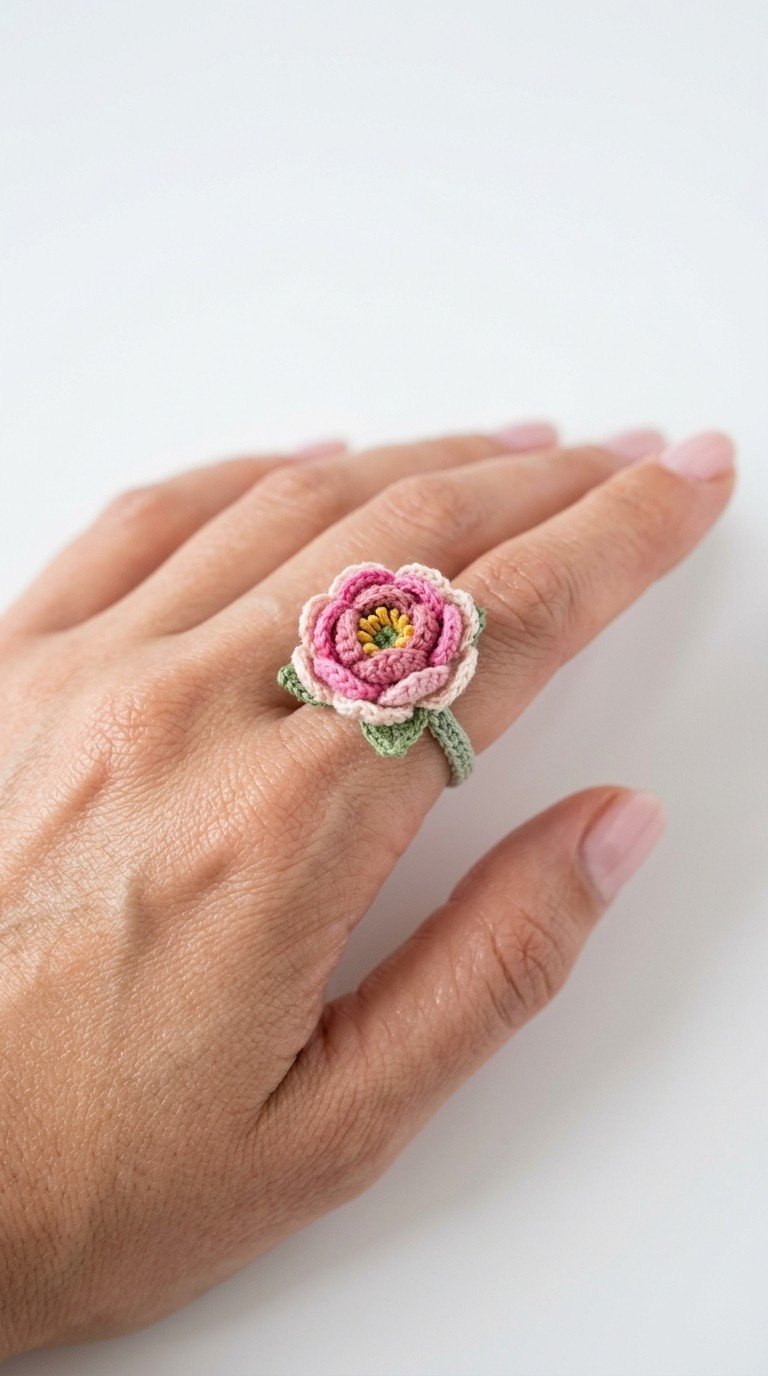
Add a touch of floral elegance to your everyday look with this adorable crochet rose ring! Perfect for spring, summer, or as a charming handmade gift, this pattern guides you through creating a miniature rose that sits beautifully on your finger. It’s a quick and rewarding project for crocheters of all levels looking to craft unique accessories.
Craft Your Own Botanical Bling: The Charm of a Handmade Flower Ring
There’s something uniquely special about wearing a piece of jewelry crafted by your own hands. This crochet rose ring allows you to express your creativity, personalize your style, and even make thoughtful gifts for friends and loved ones. It’s a delightful way to carry a piece of nature-inspired beauty with you wherever you go, ensuring compliments galore!
Crochet Pattern: Bloom with Style: Easy Crochet Rose Ring Pattern for Delicate Handmade Jewelry
Materials
Crochet thread or fine yarn in: Yellow (approx. 1 yard), Pink (approx. 3 yards), Light Pink/Cream (approx. 5 yards), Light Green (approx. 10 yards)
1.75mm or 2.0mm crochet hook (or hook size appropriate for your chosen yarn)
Tapestry needle
Scissors
Abbreviations
ch: chain
sl st: slip stitch
sc: single crochet
hdc: half double crochet
dc: double crochet
FL: front loop
BL: back loop
st(s): stitch(es)
MR: magic ring
Instructions
Flower Center (Yellow Yarn)
Rnd 1: Start with a MR, ch 1, work 6 sc into the MR. Join with a sl st to the first sc. Pull the MR tight. (6 sts)
Fasten off, weave in ends.
Inner Petals (Pink Yarn)
Rnd 2: Join Pink yarn to any FL of Rnd 1. Work into the FLs only for this layer. *Ch 2, 2 hdc in the same FL, ch 2, sl st in the next FL.* Repeat from * to * 3 times around for 3 petals. (3 petals)
Fasten off, weave in ends.
Outer Petals (Light Pink/Cream Yarn)
Rnd 3: Join Light Pink/Cream yarn to any unused BL of Rnd 1 (these are behind the pink petals). Work into the BLs only for this layer. *Ch 2, (dc, ch 1, dc) in the same BL, ch 2, sl st in the next unused BL.* Repeat from * to * 3 times around for 3 larger petals. (3 petals)
Fasten off, weave in ends.
Leaves (Light Green Yarn)
Step 1: Join Light Green yarn to the very base of the flower (e.g., into one of the slip stitches between the outer petals, or around a post of Rnd 1 if accessible).
Step 2: To make a leaf: Ch 4, sl st in the 2nd ch from hook, sc in the next ch, hdc in the last ch. Sl st back into the base where you joined.
Step 3: Repeat Step 2 to create 2-3 leaves evenly spaced around the base of the flower.
Fasten off, leaving a long tail for sewing.
Ring Band (Light Green Yarn)
Row 1: Ch 45 (adjust length to fit your finger circumference comfortably, ensuring it’s snug but not tight when joined). Sl st to the first ch to form a ring, being careful not to twist the ch.
Rnd 2: Ch 1, sc in each ch around. Join with a sl st to the first sc. (45 sts or your adjusted count)
Fasten off, leaving a long tail for sewing.
Assembly
Using the long tail from the leaves, position the flower onto the sc band. Securely sew the flower to the center of the ring band using a tapestry needle. Ensure all layers are stitched down firmly.