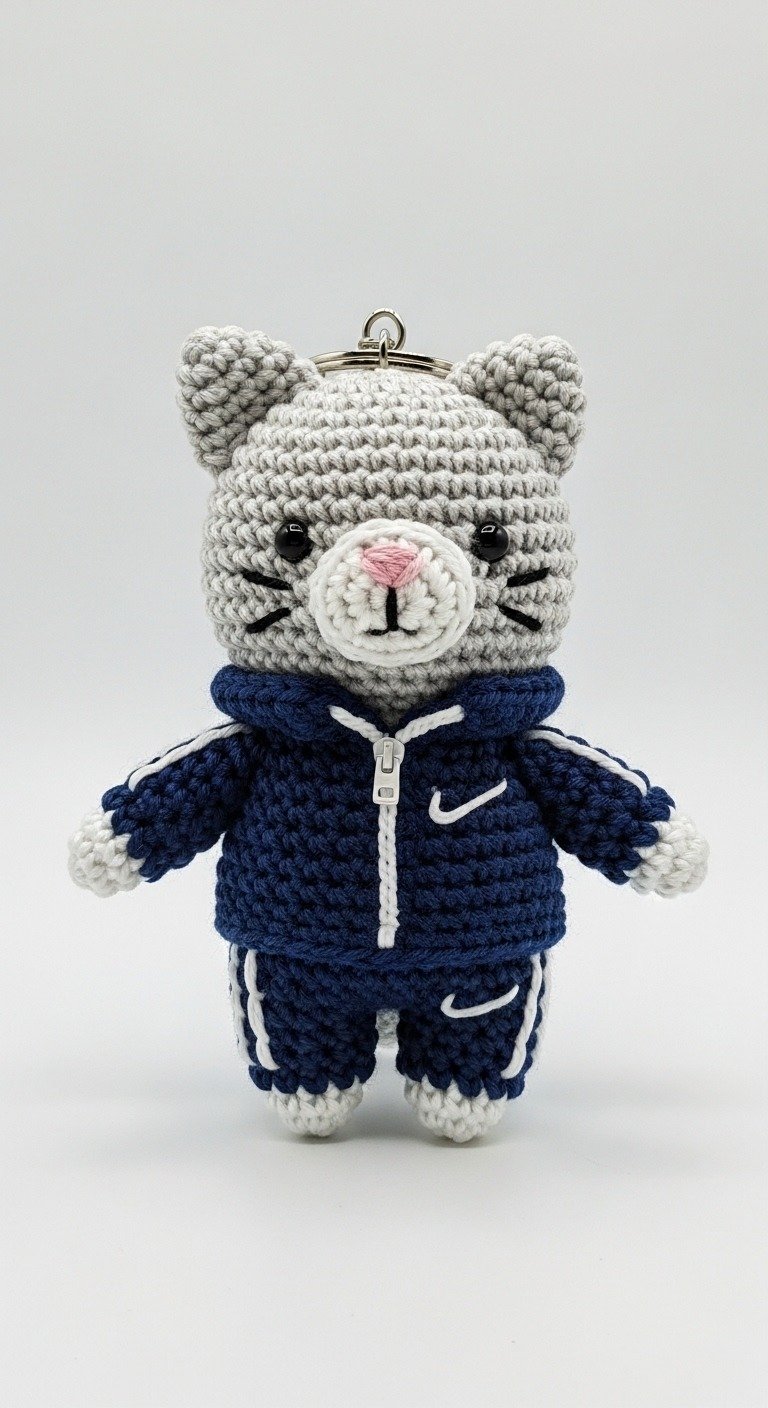
Get ready to hit the track or simply add a touch of athletic charm to your keys with this adorable crochet cat keychain! Dressed in a cool tracksuit, this amigurumi kitty is full of personality and makes a perfect gift for sports enthusiasts or cat lovers. This pattern is designed to guide you through creating your own miniature feline friend.
Unleash Your Inner Athlete with This Adorable Crochet Kitty
This cute and sporty amigurumi cat is more than just a keychain; it’s a statement piece that brings a smile wherever it goes. Its unique tracksuit design makes it stand out, offering a fun way to personalize your belongings or create a thoughtful, handmade gift. Perfect for all skill levels, this pattern will help you craft a cherished item.
Crochet Pattern: Sporty Amigurumi Cat Keychain: Free Crochet Pattern for a Tracksuit Kitty
Materials
Light Grey Worsted Weight Yarn
White Worsted Weight Yarn
Dark Blue Worsted Weight Yarn
Pink Embroidery Floss
Black Embroidery Floss
2.5mm or 3.0mm Crochet Hook (to achieve a tight gauge)
6mm or 8mm Safety Eyes
Polyester Fiberfill for stuffing
Yarn Needle
Stitch Markers
Keychain Ring
Abbreviations
MR: Magic Ring
ch: Chain
sc: Single Crochet
inc: Increase (2 sc in one stitch)
dec: Decrease (sc 2 together)
sl st: Slip Stitch
FO: Fasten Off
Rnd: Round
st(s): Stitch(es)
Instructions
Head & Body (Light Grey)
Rnd 1: Start with MR, 6 sc. (6)
Rnd 2: Inc in each st around. (12)
Rnd 3: (Sc 1, inc) x 6. (18)
Rnd 4: (Sc 2, inc) x 6. (24)
Rnd 5: (Sc 3, inc) x 6. (30)
Rnd 6-10: Sc in each st around. (30)
Insert safety eyes between Rnd 8-9, about 6-7 sts apart.
Rnd 14: (Sc 2, dec) x 3. (9) Continue to body or sl st, FO and leave a long tail if making separate. If continuing, Rnd 14 forms the neck.
Rnd 15 (Body): Inc in each st around. (18)
Rnd 16: (Sc 2, inc) x 6. (24)
Rnd 17-20: Sc in each st around. (24)
Rnd 21: (Sc 2, dec) x 6. (18)
Rnd 22: (Sc 1, dec) x 6. (12) Finish stuffing.
Rnd 23: Dec in each st around. (6) Sl st, FO, weave in tail to close.
Snout (White)
Rnd 1: Start with MR, 6 sc. (6)
Rnd 2: Inc in each st around. (12)
Rnd 3: Sc in each st around. (12) Sl st, FO, leave a long tail for sewing. Lightly stuff and sew onto the face, centered below the eyes.
Ears (Make 2, Light Grey)
Rnd 1: Start with MR, 4 sc. (4)
Rnd 2: (Sc 1, inc) x 2. (6)
Rnd 3: (Sc 2, inc) x 2. (8) Sl st, FO, leave a long tail for sewing. Pinch flat and sew to the top of the head.
Arms (Make 2)
Start with White yarn.
Rnd 1: Start with MR, 6 sc. (6)
Switch to Dark Blue yarn.
Rnd 2-6: Sc in each st around. (6)
FO, leave a long tail for sewing. Lightly stuff and sew to the sides of the body.
Legs (Make 2)
Start with White yarn.
Rnd 1: Start with MR, 6 sc. (6)
Switch to Dark Blue yarn.
Rnd 2-7: Sc in each st around. (6)
FO, leave a long tail for sewing. Lightly stuff and sew to the bottom of the body.
Tracksuit Top (Dark Blue)
Base: Chain 20. Sl st to form a ring. (This will be the bottom of the top)
Rnd 1-5: Sc in each st around. (20)
Sleeves (make 2): Attach dark blue yarn to 4 stitches on each side of the top opening. Ch 1, sc 4. Turn. Sc 4 for 4-5 rows. FO.
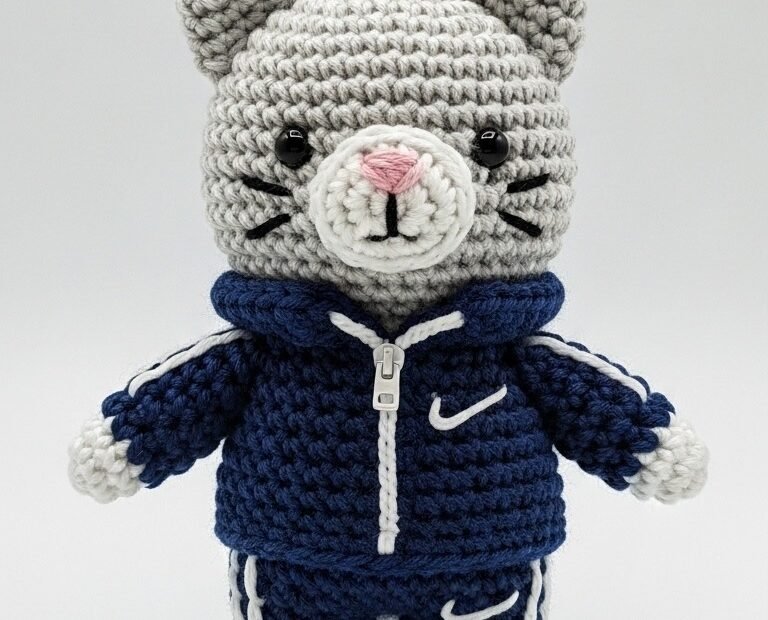
Assembly: Use white yarn to embroider stripes on the sleeves and a small ‘swoosh’ design on the front. Embroider a zipper line down the front with white yarn.
Tracksuit Bottoms (Dark Blue)
Leg 1: Chain 12. Sl st to form a ring. (12)
Rnd 1-5: Sc in each st around. (12)
FO.
Leg 2: Repeat for second leg.
Joining: Join the two leg pieces together with a sc in the next available stitch on each leg. Continue to sc around the joined opening (approx 24 sts) for 2-3 rounds to form the body of the shorts/pants.
Assembly: Use white yarn to embroider stripes down the side of each leg and a small ‘swoosh’ design on one leg.
Finishing
Using pink embroidery floss, stitch a small triangular nose onto the white snout.
Using black embroidery floss, stitch a small inverted ‘Y’ for the mouth below the nose, and two or three straight lines on each side for whiskers.