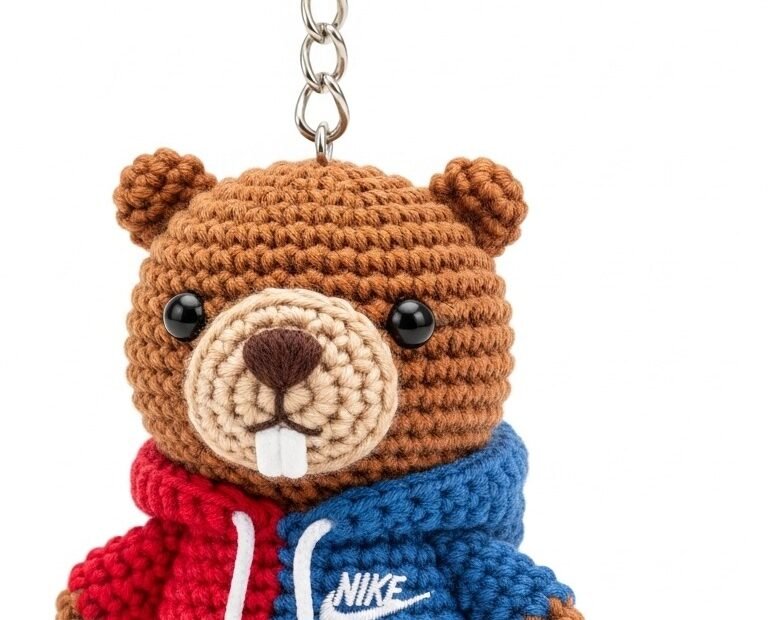
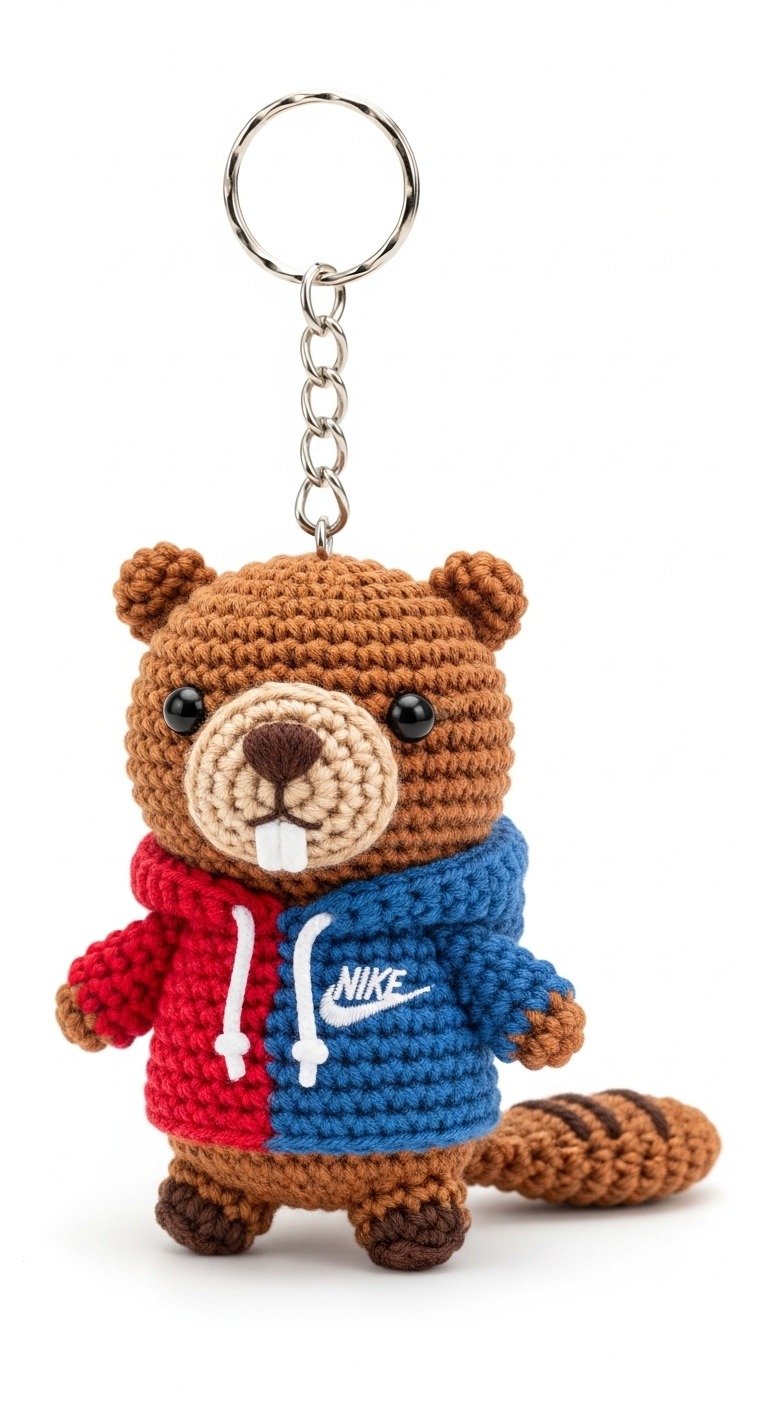
Get ready to crochet the cutest little beaver keychain, sporting a stylish, two-tone hoodie! This adorable amigurumi pattern is perfect for adding a touch of handmade charm to your keys, bag, or backpack. With its friendly smile and iconic sportswear, this beaver makes a fantastic gift for animal lovers and crochet enthusiasts alike. Dive in and create your very own pocket-sized pal!
Craft Your Own Custom Beaver Buddy
This detailed pattern allows you to personalize your beaver with unique color combinations for its hoodie, making each creation truly one-of-a-kind. Whether you’re making it for a friend, a child, or yourself, the joy of crafting a bespoke item that brings a smile is immeasurable. Follow these easy steps to bring this delightful character to life and enjoy the process of creating a cherished keepsake.
Crochet Pattern: Cute Beaver Keychain Amigurumi: Free Crochet Pattern for a Sporty Companion
Materials
Worsted weight yarn in: Main Brown (for beaver body), Light Tan (for snout), Dark Brown (for nose, tail stripes, feet pads), Red (for hoodie), Blue (for hoodie), White (for teeth, hoodie drawstrings, logo)
2.5mm or 3.0mm crochet hook (or size suitable for your yarn to achieve tight stitches)
6mm or 7mm black safety eyes
Polyester fiberfill for stuffing
Tapestry needle
Stitch markers
Scissors
Keychain ring
Abbreviations
MR: Magic Ring
ch: chain
sc: single crochet
inc: increase (2 sc in one stitch)
dec: decrease (sc 2 together)
sl st: slip stitch
BLO: back loop only
FO: Fasten off
(): repeat instructions in parentheses
[]: total number of stitches at the end of the round
Instructions
Head (Main Brown)
Rnd 1: MR 6 sc [6]
Rnd 2: (inc) x6 [12]
Rnd 3: (1 sc, inc) x6 [18]
Rnd 4: (2 sc, inc) x6 [24]
Rnd 5: (3 sc, inc) x6 [30]
Rnd 6-10: sc around (5 rounds) [30]
Insert safety eyes between Rnd 7 and 8, about 5 stitches apart.
Rnd 11: (3 sc, dec) x6 [24]
Rnd 12: (2 sc, dec) x6 [18]
Start stuffing firmly.
Body (Main Brown – continue from Head)
Rnd 13: (2 sc, inc) x6 [24]
Rnd 14: (3 sc, inc) x6 [30]
Rnd 15-19: sc around (5 rounds) [30]
Rnd 20: (3 sc, dec) x6 [24]
Rnd 21: (2 sc, dec) x6 [18]
Rnd 22: (1 sc, dec) x6 [12]
Rnd 23: (dec) x6 [6]
FO, leave a long tail for sewing. Close opening and weave in end. Finish stuffing firmly.
Snout (Light Tan)
Rnd 1: ch 4, sc in 2nd ch from hook, 1 sc, 3 sc in last ch. Working on other side of chain: 1 sc, inc [8]
Rnd 2: inc, 1 sc, 3 inc, 1 sc, 2 inc [14]
Rnd 3: sc around [14]
FO, leave a long tail for sewing. Lightly stuff and shape.
Using Dark Brown yarn, embroider a small triangle for the nose on the top of the snout.
Using White yarn, embroider two small rectangular teeth below the nose.
Ears (Main Brown, make 2)
Rnd 1: MR 6 sc [6]
Rnd 2: (inc) x6 [12]
Sl st to first sc and FO, leave a long tail for sewing. Flatten the circle into a semi-circle.
Arms (Main Brown, make 2)
Rnd 1: MR 6 sc [6]
Rnd 2-5: sc around (4 rounds) [6]
FO, leave a long tail for sewing. Do not stuff.
Legs (Main Brown, make 2)
Rnd 1: MR 6 sc [6]
Rnd 2: (1 sc, inc) x3 [9]
Rnd 3-5: sc around (3 rounds) [9]
FO, leave a long tail for sewing. Stuff lightly.
Using Dark Brown yarn, embroider small oval pads on the bottom of the feet.
Tail (Main Brown & Dark Brown)
With Main Brown: ch 6
Row 1: sc in 2nd ch from hook, 4 sc [5]
Row 2: ch 1, turn, inc, 3 sc, inc [7]
Row 3: ch 1, turn, sc around [7]
Row 4: ch 1, turn, inc, 5 sc, inc [9]
Row 5: ch 1, turn, sc around [9]
Row 6: ch 1, turn, dec, 5 sc, dec [7]
Row 7: ch 1, turn, sc around [7]
Row 8: ch 1, turn, dec, 3 sc, dec [5]
Ch 1, sc evenly around the entire edge of the tail to create a neat finish. FO, leave a long tail for sewing.
Using Dark Brown yarn, embroider 3-4 horizontal stripes across the tail.
Hoodie (Red & Blue & White)
Hoodie Body (Red & Blue)
With Red yarn, ch 26. Join with sl st to form a ring, being careful not to twist.
Rnd 1: ch 1, sc in each ch around. [26]
Rnd 2-3: ch 1, sc around. [26]
Rnd 4 (Color Split): ch 1, 13 sc in Red. Switch to Blue yarn. 13 sc in Blue. Join with sl st to first sc. [26]
Rnd 5 (Color Split): ch 1, 13 sc in Blue. Switch to Red yarn. 13 sc in Red. Join with sl st to first sc. [26]
Repeat Rnd 4 & 5 two more times (for a total of 7 rounds of color split from Rnd 4 to Rnd 10).
FO, weave in ends.
Sleeves (Make 1 Red, 1 Blue)
With appropriate color yarn: MR 8 sc [8]
Rnd 1-4: sc around [8]
FO, leave a long tail for sewing. Do not stuff.
Hood (Red & Blue)
With Red yarn, ch 13.
Row 1: sc in 2nd ch from hook, 11 sc. [12]
Row 2-4: ch 1, turn, sc across. [12]
Switch to Blue yarn.
Row 5-7: ch 1, turn, sc across. [12]
FO.
Fold this rectangular piece in half (red side on one half, blue on the other). Sew the top edge together to form the curve of the hood.
Details
Using White yarn, embroider the ‘NIKE’ logo (a checkmark and ‘NIKE’ text) onto the blue side of the hoodie body.
Using White yarn, embroider two vertical lines on the front of the hoodie, one on the red side and one on the blue side, starting from the neckline and coming down, to resemble drawstrings.
Assembly
Sew the Snout to the front of the Head, centering it below the eyes.
Sew the Ears to the top sides of the Head, folding them slightly.
Sew the Arms to the sides of the Body, just below the neck.
Sew the Legs to the bottom of the Body.
Sew the Tail to the back of the Body, near the bottom.
Attach the Sleeves to the armholes of the Hoodie Body.
Sew the Hood to the top opening of the Hoodie Body, aligning the red and blue sections.
Dress the beaver in its completed hoodie. Secure with a few stitches if desired.
Attach a keychain ring to the top center of the Head.