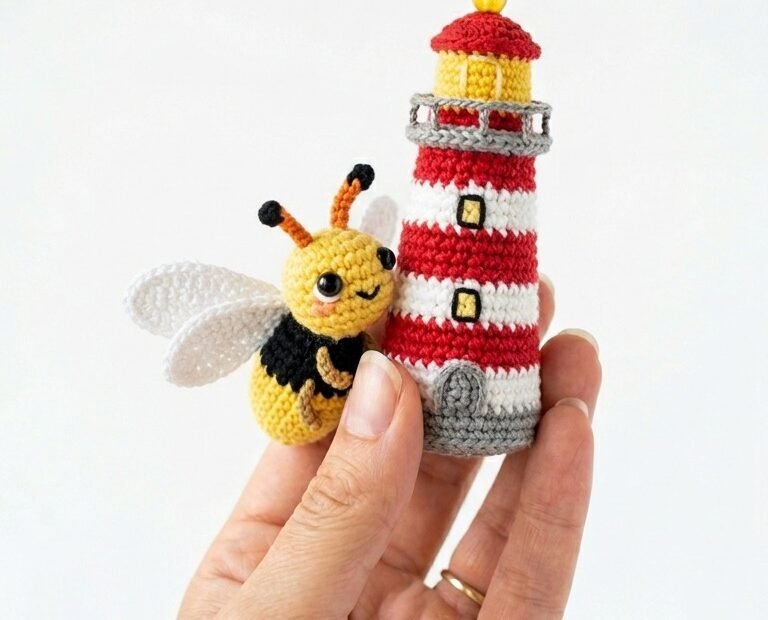
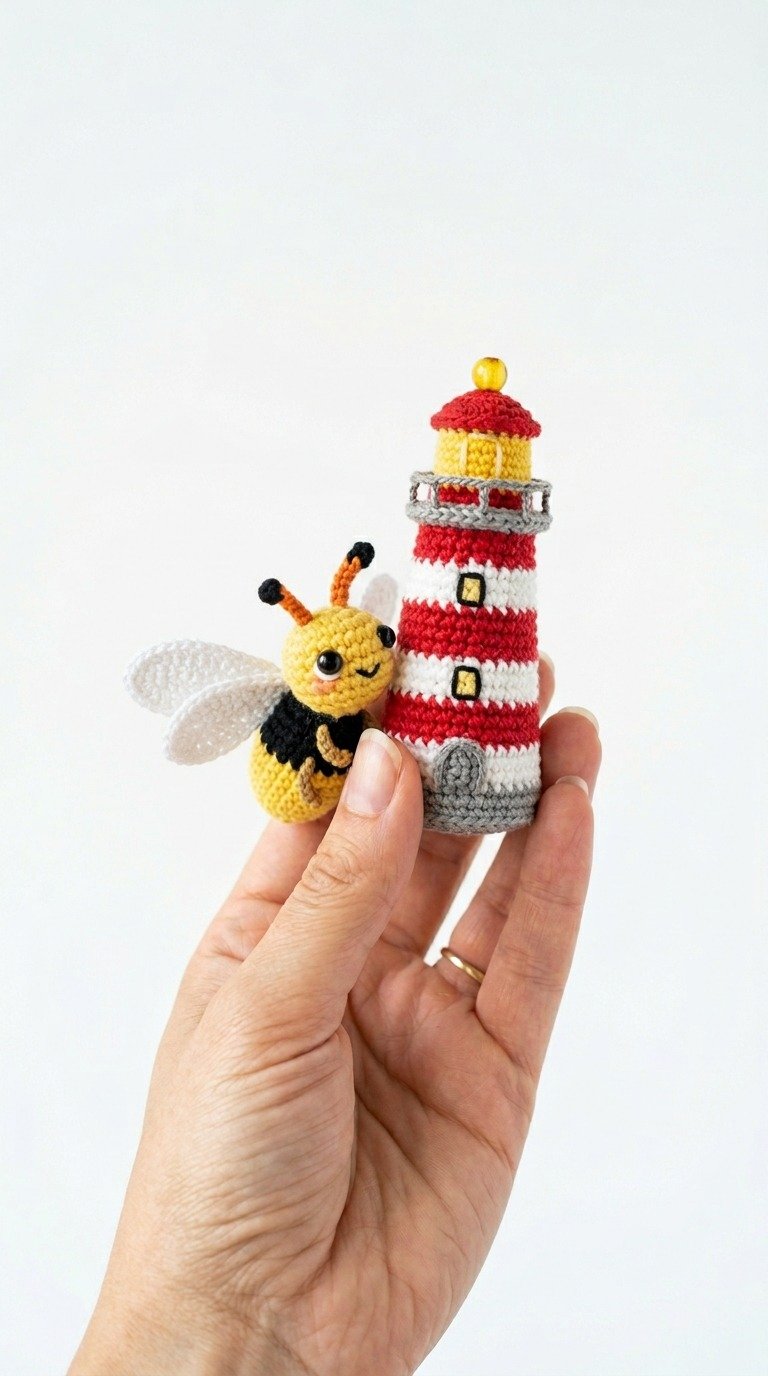
Bring a wave of seaside cheer to your crochet collection with this incredibly adorable crochet mini lighthouse and companion bee amigurumi! Perfect for keychains, desk accessories, or unique handmade gifts, this delightfully small pattern is a fantastic way to practice color changes and detailed amigurumi shaping. Dive into this sea-inspired craft today!
Why This Tiny Seaside Duo is the Perfect Quick Project
This pocket-sized amigurumi set is not only highly cute but also exceptionally practical, making it the ultimate scrap-buster project. With simple stitches, alternating red and white stripes, and small embroidered details, you can create a whimsical narrative right in the palm of your hand. It’s a quick, satisfying pattern that brings a cozy coastal vibe to any space.
Crochet Pattern: Crochet Mini Lighthouse and Bee Amigurumi Free Pattern
Materials
Sport weight cotton yarn in red, white, yellow, grey, black, and orange
2.0 mm crochet hook
6mm safety eyes (for the bee)
Polyester fiberfill stuffing
Yarn needle and embroidery thread (black and pink)
A small yellow bead for the lighthouse topper
Abbreviations
ch (chain)
sc (single crochet)
inc (increase)
dec (decrease)
sl st (slip stitch)
BLO (back loops only)
FLO (front loops only)
MR (magic ring)
Instructions
Lighthouse Base & Body:
Using grey yarn, make a magic ring.
Rnd 1: 6 sc in MR (6)
Rnd 2: inc in each st around (12)
Rnd 3: (sc, inc) * 6 (18)
Rnd 4: BLO sc in each st around (18)
Rnd 5-6: sc around (18)
Change to white yarn.
Rnd 7-8: sc around (18)
Change to red yarn.
Rnd 9-11: sc around (18)
Change to white yarn.
Rnd 12-14: sc around (18)
Change to red yarn.
Rnd 15-17: sc around (18)
Change to white yarn.
Rnd 18: sc around (18)
Stuff the body firmly with fiberfill.
Lighthouse Balcony & Light:
Change to grey yarn.
Rnd 19: FLO sc around (18)
Rnd 20: ch 1, sl st in each st around to create the balcony rail. Fasten off grey.
Attach yellow yarn to the BLO of Rnd 18.
Rnd 21-23: sc around (18)
Change to red yarn for the roof.
Rnd 24: BLO (sc, dec) * 6 (12)
Rnd 25: dec * 6 (6)
Fasten off, weave in ends, and sew a small yellow bead to the top of the red roof.
Mini Bee Body:
Using yellow yarn, make a magic ring.
Rnd 1: 6 sc in MR (6)
Rnd 2: inc * 6 (12)
Rnd 3: (sc, inc) * 6 (18)
Rnd 4-6: sc around (18). Insert 6mm safety eyes between rounds 4 and 5, leaving 4 stitches between them.
Change to black yarn.
Rnd 7-8: sc around (18)
Change to yellow yarn.
Rnd 9-10: sc around (18)
Change to black yarn.
Rnd 11: (sc, dec) * 6 (12)
Stuff the body.
Rnd 12: dec * 6 (6)
Fasten off, sew the opening closed, and weave in ends.
Bee Wings (Make 2):
Using white yarn, ch 6.
Row 1: sc in second ch from hook, hdc in next 3 chs, 3 sc in last ch. Turn to work along opposite side of chain: hdc in next 3 chs, sc in last ch. Fasten off, leaving a tail for sewing.
Assembly & Details:
Sew the wings onto the back of the bee over the black stripes.
Embroider small pink cheeks just below the eyes and a small curved black smile.
Attach orange yarn to the top of the head, chain 3, and add a small black knot on the tip for the antennae.
For the lighthouse, embroider small yellow window rectangles outlined in black, and a small grey door arch at the base.