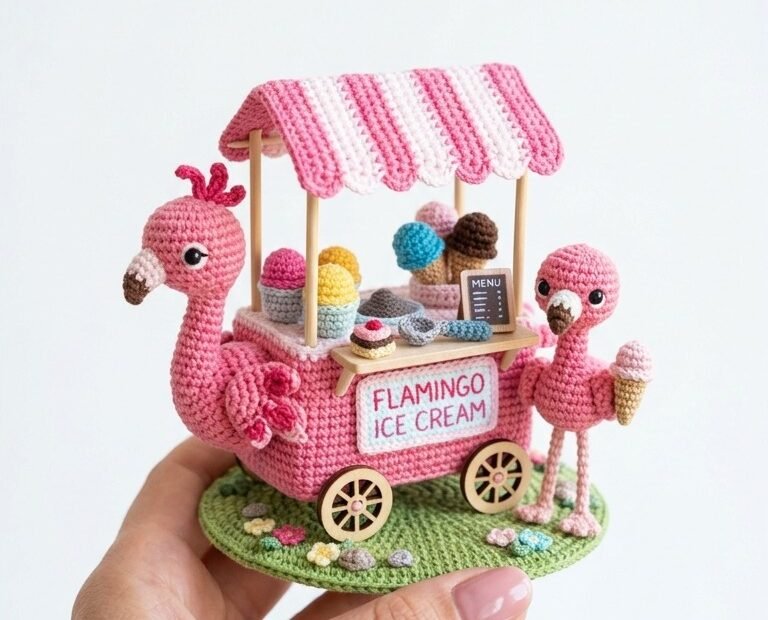
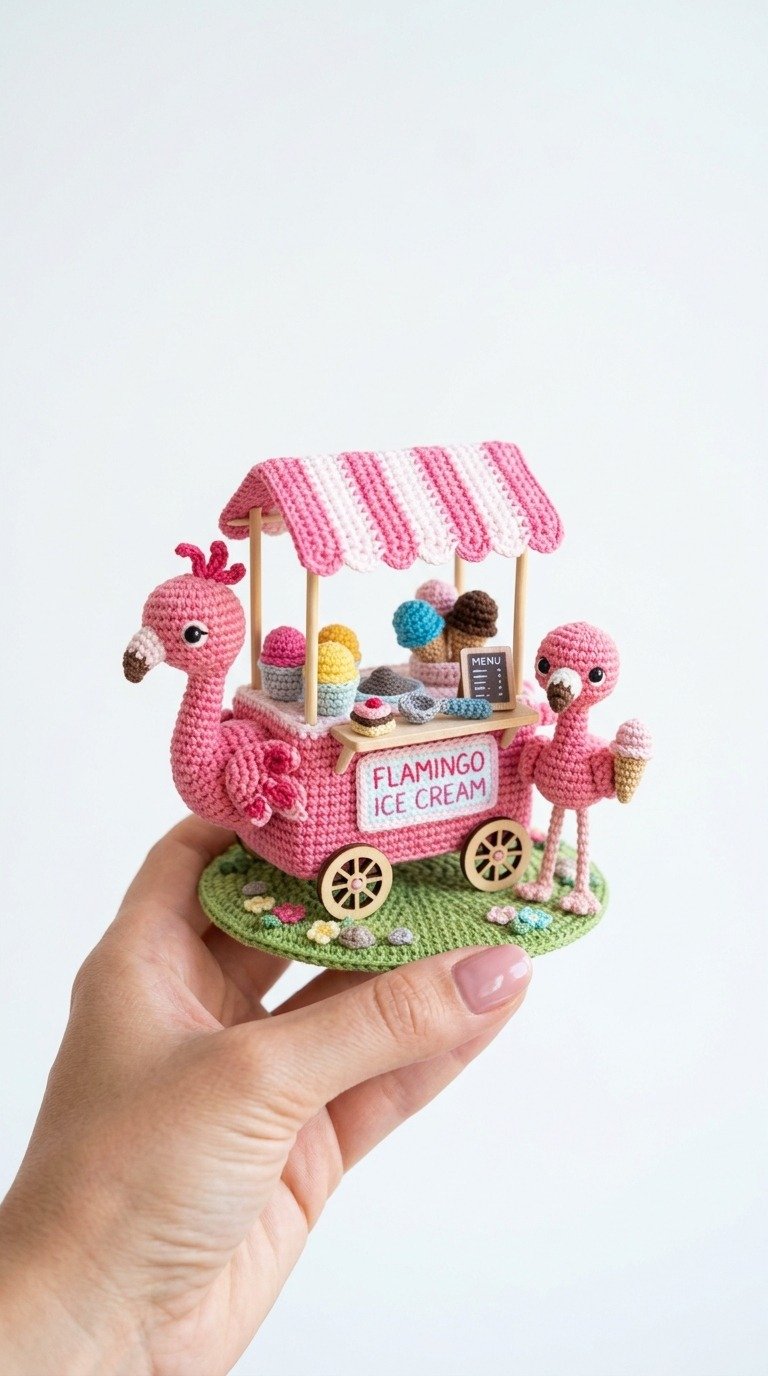
Bring a touch of sweet summer whimsy into your home with this adorable Flamingo Ice Cream Cart Amigurumi! This highly detailed crochet set features a charming pink ice cream cart, complete with a striped pink and white canopy, tiny colorful ice cream scoops, and a sweet little flamingo helper. Perfect for advanced crocheters who love miniature projects, this delightful creation makes a stunning display piece.
Why You’ll Love Crafting This Miniature Amigurumi Scene
This flamingo ice cream cart pattern is the ultimate showcase of your crochet skills, combining precise amigurumi work with structural crafting. It offers a wonderful way to play with pastel yarn colors and practice shaping techniques. Creating the miniature elements—from the tiny ice cream scoops to the elegant flamingo neck—brings an incredible sense of accomplishment and results in a truly unique collector’s piece.
Row 1: ch 16. sc in second ch from hook and each ch across, turn. (15 sts)
Row 2-15: ch 1, sc across, turn. (This forms the flat bottom of the cart).
Rnd 1: Now, work in rounds around the edge of the rectangle. ch 1, sc 60 around all four sides of the rectangle, join with sl st.
Rnd 2-12: ch 1, sc in each st around (60 sts), join.
Fasten off, leaving a long tail. Cut a piece of cardboard or plastic canvas to fit inside the cart to keep its rectangular shape rigid. Insert it before stuffing lightly.
Striped Canopy (alternating Pink and White yarn):
With pink yarn, ch 21.
Row 1-2: sc in each st across, turn. (20 sts)
Switch to white yarn.
Row 3-4: sc in each st across, turn. (20 sts)
Repeat alternating pink and white stripes until you have a total of 5 pink stripes and 4 white stripes.
To make the scalloped border on the long edges: [sk 1, 5 dc in next st, sk 1, sl st] across. Fasten off and weave in ends.
Flamingo Helper (using Pink yarn):
Rnd 1: 6 sc in MR (6).
Rnd 2: inc in each st (12).
Rnd 3: [sc, inc] x6 (18).
Rnd 4-7: sc in each st around (18).
Rnd 8: [sc, dec] x6 (12). (Insert 3mm safety eyes between rounds 5 and 6, keeping them 4 stitches apart).
Rnd 9-16 (Neck): sc in each st around (12).
Rnd 17 (Body Start): [sc, inc] x6 (18).
Rnd 18: [2 sc, inc] x6 (24).
Rnd 19-23: sc in each st around (24).
Rnd 24: [2 sc, dec] x6 (18). Stuff the neck and body firmly with fiberfill.
Rnd 25: [sc, dec] x6 (12).
Rnd 26: dec x6 (6).
Fasten off, leaving a tail to weave through the remaining stitches and pull closed.
Beak (using Black and White yarn):
Start with black yarn. Rnd 1: 4 sc in MR.
Rnd 2: [sc, inc] x2 (6).
Switch to white yarn. Rnd 3-4: sc in each st around (6).
Fasten off, leaving a tail. Sew the beak directly onto the flamingo head between the eyes.
Mini Ice Cream Scoops (make multiple in Mint, Pink, Yellow, and Brown):
Rnd 1: 6 sc in MR.
Rnd 2: inc in each st (12).
Rnd 3: sc in each st around (12).
Rnd 4: [sc, dec] x4 (8). Stuff lightly.
Fasten off and sew onto tiny crocheted cones or place them directly onto the cart counter.
Grassy Base (using Green yarn):
Rnd 1: 6 sc in MR.
Rnd 2: inc in each st (12).
Rnd 3: [sc, inc] x6 (18).
Rnd 4: [2 sc, inc] x6 (24).
Rnd 5: [3 sc, inc] x6 (30).
Continue increasing by 6 stitches each round until you reach a flat disc of about 72 stitches. Fasten off and weave in ends.
Assembly:
Glue or stitch the cart body to the grassy base. Use wooden dowels to support the striped canopy above the cart body.
Glue the wooden wheels onto the bottom sides of the cart.
Decorate the cart surface with mini ice cream scoops and menu signs.
Place the standing flamingo next to the cart, securing its legs with wire or stitching to the base.