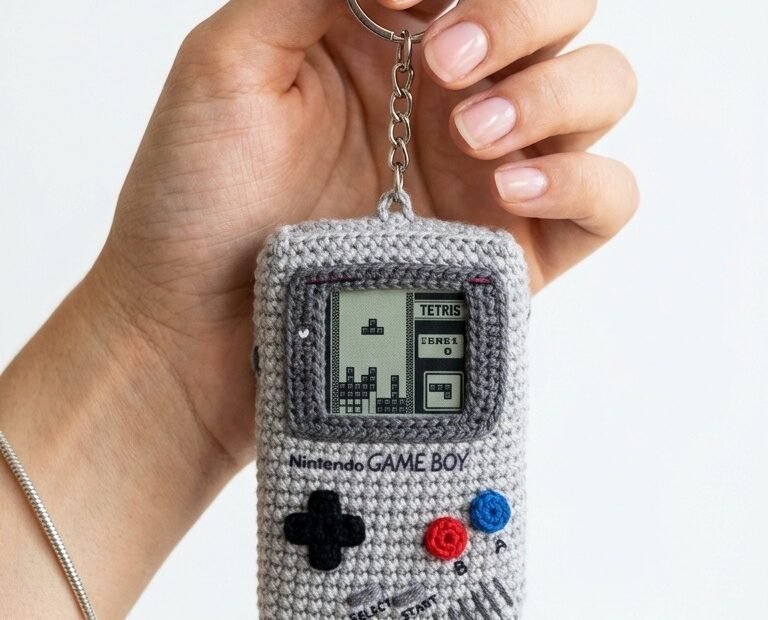
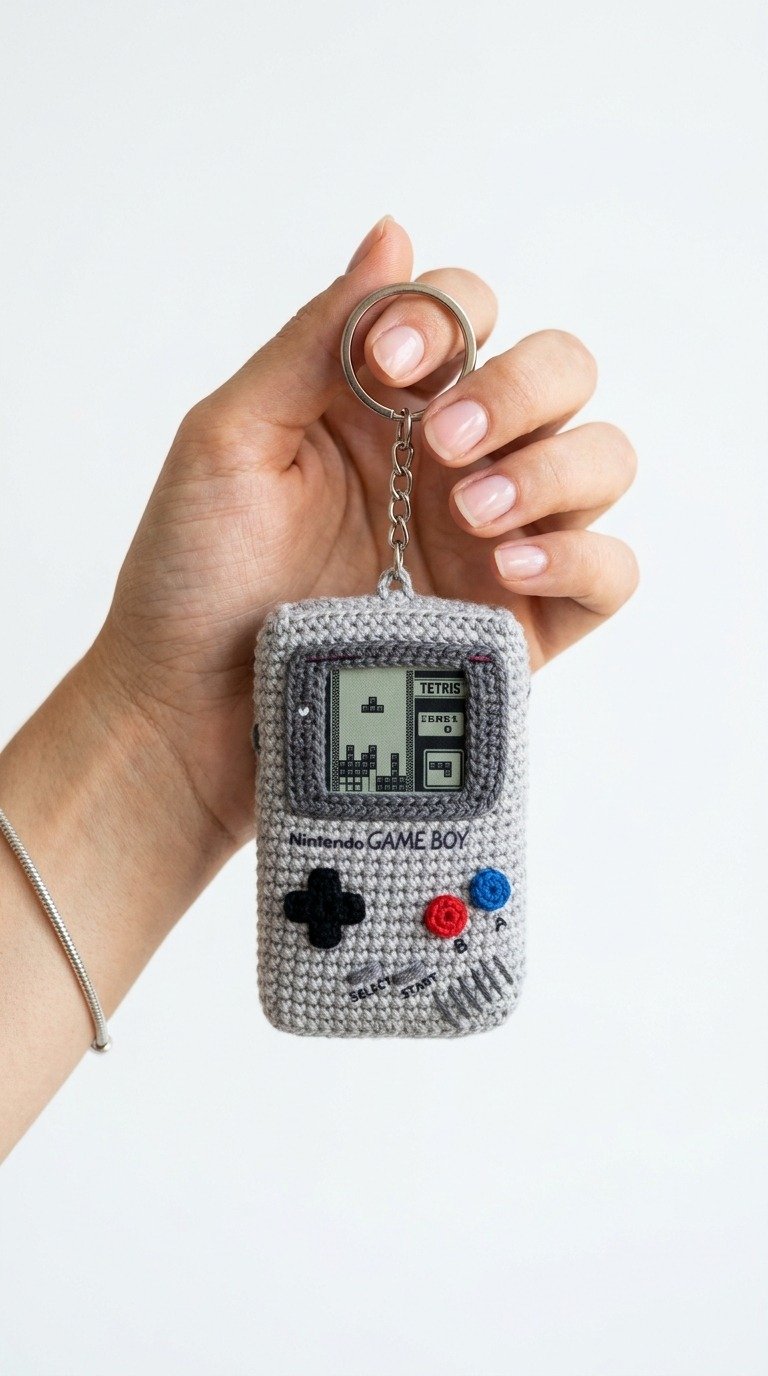
Crochet Pattern: Retro Crochet Game Boy Keychain Free Pattern
Materials
- Sport weight yarn in light gray, dark gray, black, red, and blue
- 2.25mm crochet hook
- Black embroidery floss and needle
- Printed Tetris screen on fabric/paper or light-green felt piece
- Polyester fiberfill stuffing
- Keychain ring with chain
- Fabric glue (optional, for screen attachment)
Abbreviations
- ch – chain
- sc – single crochet
- inc – increase (2 sc in one stitch)
- dec – decrease (sc 2 together)
- st(s) – stitch(es)
- sl st – slip stitch
Instructions
Main Body (Make 2 Panels – Front and Back):
Using light gray yarn, chain 15.
Row 1: Start in the second ch from hook, sc in each of the next 14 ch, turn. (14 sts)
Rows 2-24: ch 1, sc in each st across, turn. (14 sts)
Fasten off. For the front panel, you will attach the screen and buttons before sewing the panels together. For the back panel, leave a long tail for assembly.
Side Border (Gusset):
Using light gray yarn, chain 4.
Row 1: Start in the second ch from hook, sc in each of the next 3 ch, turn. (3 sts)
Rows 2-74: ch 1, sc in each st across, turn. (3 sts)
Fasten off, leaving a long tail for sewing. (Adjust row count if needed to fit perfectly around the perimeter of your front/back panels).
Screen Frame:
Using dark gray yarn, chain 16.
Row 1: Start in the second ch from hook, sc in each of the next 15 ch, turn. (15 sts)
Rows 2-10: ch 1, sc in each st across, turn. (15 sts)
Fasten off. Cut a small window inside the frame or stitch a light-green felt/printed screen piece onto the center of the dark gray frame. Sew the entire frame unit onto the upper portion of the front panel.
D-Pad Button:
Using black yarn, ch 5. Start in the second ch from hook, sc in next 4 sts. Turn and work sc in the sides to form a cross shape, or simply embroider a neat cross with thick black yarn directly below the screen on the left side.
A and B Buttons:
Using red yarn (B button) and blue yarn (A button), make a Magic Ring, work 5 sc into the ring, sl st to join, and fasten off. Sew them diagonally below and to the right of the D-pad.
Details & Embroidery:
Using black embroidery floss, stitch “Nintendo GAME BOY” text directly under the screen frame. Embroider two small diagonal gray/black lines for the SELECT and START buttons, and add several slanted lines in the bottom-right corner for the speaker grill.
Assembly:
Sew the side border strip around the front panel. Pin the back panel to the other side of the border strip. Begin sewing them together, stuffing firmly with fiberfill before closing. Attach the keychain ring to the top-center loop of the console.