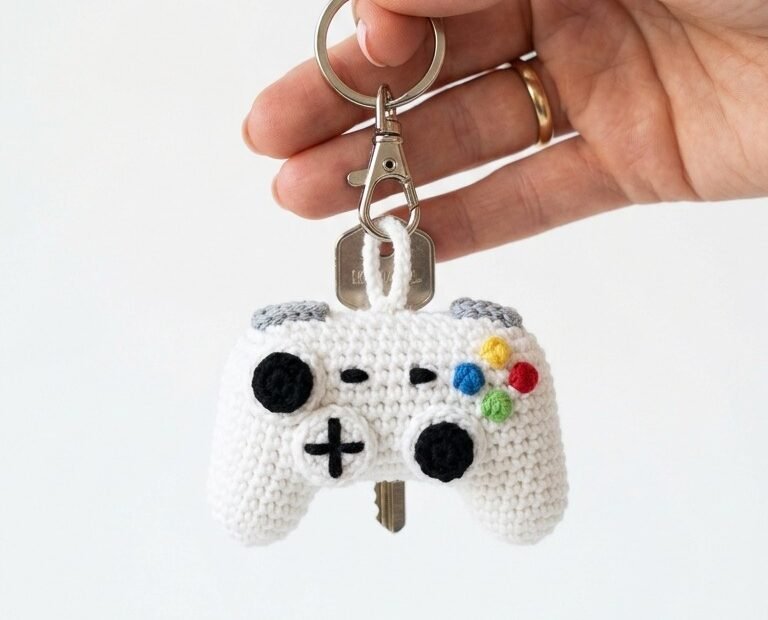
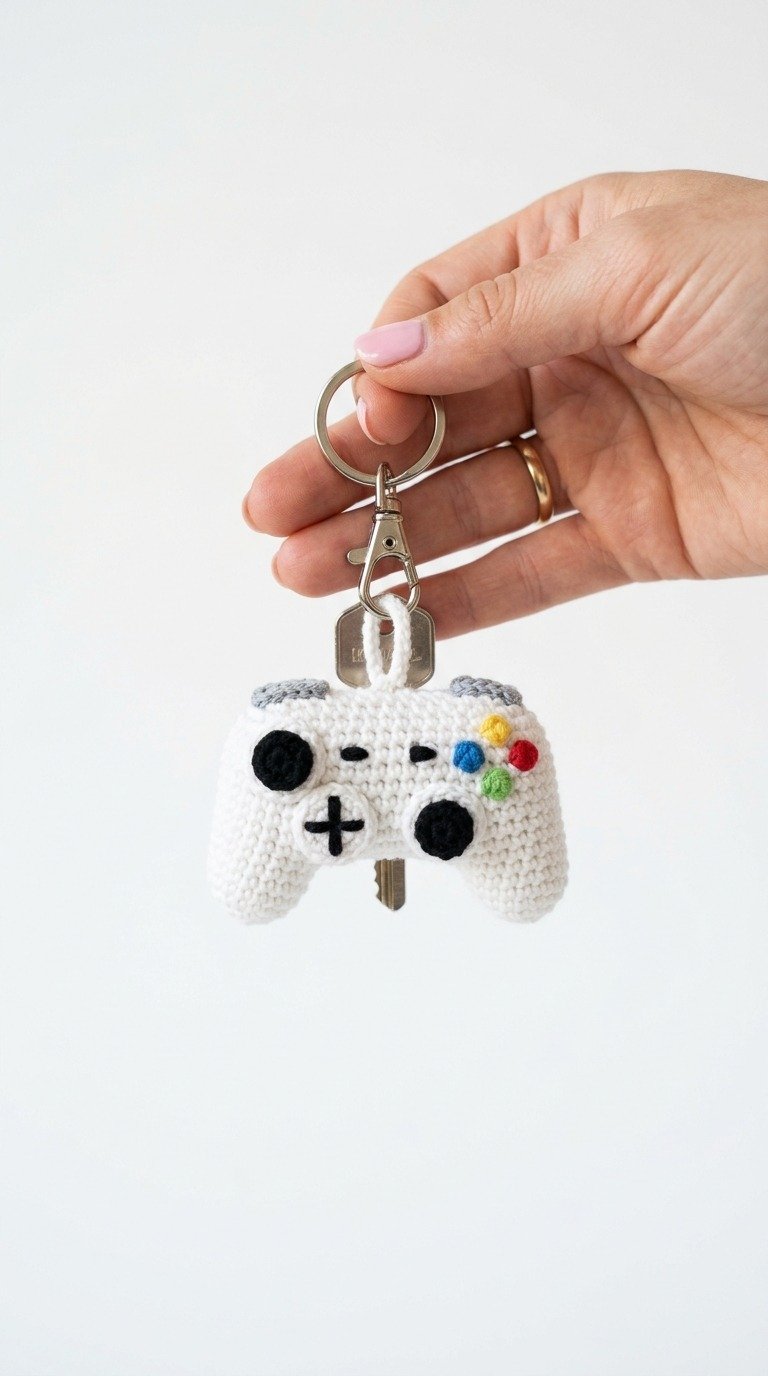
Level up your crochet game with this super cute crochet gamer controller keychain pattern! Perfect for the video game enthusiast in your life, this mini retro-style gamepad is not only an adorable accessory but also highly functional, keeping your keys neatly tucked away. Whether you’re a PlayStation fan or an Xbox lover, this quick and easy project makes the perfect handmade gift.
Why You’ll Love This Clever Crochet Key Cover
This ingenious design does double duty as a protective key cover and a stylish keychain accessory! Crocheted with durable cotton yarn, it features finely embroidered details that perfectly mimic classic analog joysticks and colorful action buttons. It’s a fantastic scrap-buster project that works up in under an hour, making it an excellent choice for last-minute gifts or craft fair best-sellers.
DK weight cotton yarn in White, Black, Grey, and scraps of Yellow, Blue, Red, and Green
2.5 mm crochet hook
Tapestry needle
Polyester fiberfill stuffing
Metal keychain ring with clasp
Scissors
Abbreviations
ch – chain
sc – single crochet
inc – increase (2 single crochets in one stitch)
dec – decrease (single crochet 2 stitches together)
sl st – slip stitch
st(s) – stitch(es)
Rnd – round
Instructions
Left Grip (Make 1 in White):
Rnd 1: Start with a magic ring, 6 sc in ring. (6)
Rnd 2: [inc] x 6. (12)
Rnd 3: [1 sc, inc] x 6. (18)
Rnd 4-9: sc in each st around. (18)
Fasten off, leaving a short tail. Set aside.
Right Grip (Make 1 in White):
Rnd 1-9: Repeat the instructions for the Left Grip, but do not fasten off.
Joining and Main Body:
Rnd 10: Ch 6, join to the Left Grip with a sc. Sc in the remaining 17 sts of the Left Grip, sc in the 6 ch sts, sc in the 18 sts of the Right Grip, and sc in the opposite side of the 6 ch sts. (48 sts total)
Rnd 11-18: sc in each st around. (48)
Rnd 19: [6 sc, dec] x 6. (42)
Rnd 20: [5 sc, dec] x 6. (36)
Rnd 21: [4 sc, dec] x 6. (30)
Start stuffing the grips firmly, leaving the center slightly flatter to accommodate the key slot if using as a key cover.
Rnd 22: [3 sc, dec] x 6. (24)
Rnd 23: [2 sc, dec] x 6. (18)
Rnd 24: [1 sc, dec] x 6. (12)
Rnd 25: [dec] x 6. (6)
Fasten off, leaving a tail to sew the top closed. Leave a small 1cm opening at the bottom center if you want to slide a key through.
Top Bumpers (Make 2 in Grey):
Ch 6. Starting in the second ch from hook, sc in each of the next 4 chs, 3 sc in the last ch. Work down the opposite side of the chain: 3 sc, inc in the last st. Fasten off, leaving a tail for sewing. Sew them onto the top left and right shoulders of the controller.
Joysticks (Make 2 in Black):
Rnd 1: Magic ring, 6 sc in ring. Join with a sl st and fasten off, leaving a tail. Sew them to the lower-middle front section of the controller.
D-Pad and Face Buttons:
D-Pad (Black): Using black yarn and a tapestry needle, embroider a neat ‘+’ cross shape on the left-middle side of the controller.
Buttons (Yellow, Blue, Red, Green): Using scrap yarn, make French knots on the right-middle side of the controller to resemble the classic four-button layout (Yellow at the top, Blue on the left, Red on the right, Green at the bottom).
Center Buttons (Black): Embroider two small horizontal lines in the center of the controller for the ‘Select’ and ‘Start’ buttons.
Finishing:
Weave in all remaining yarn tails securely.
Attach a white yarn loop through the top center of the controller, loop it through your keychain clasp, and secure it tightly inside the body. Your gamer keychain is ready!