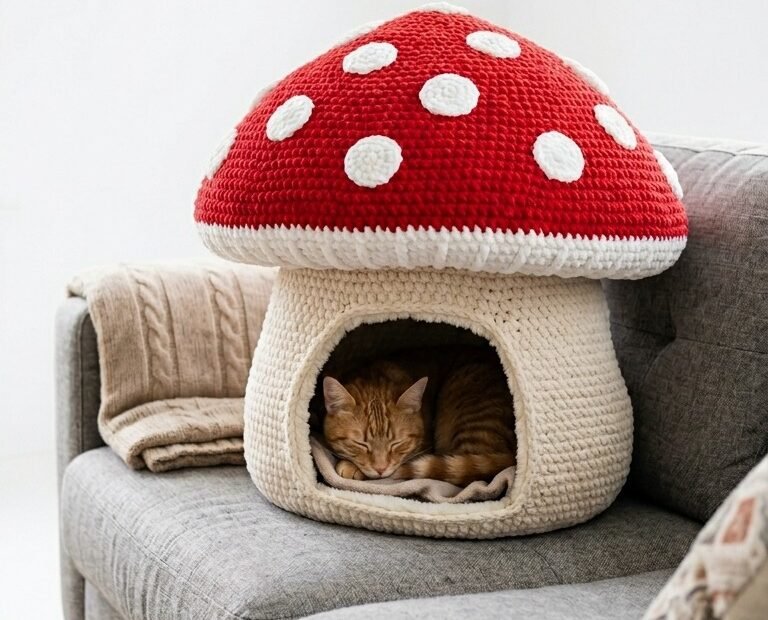
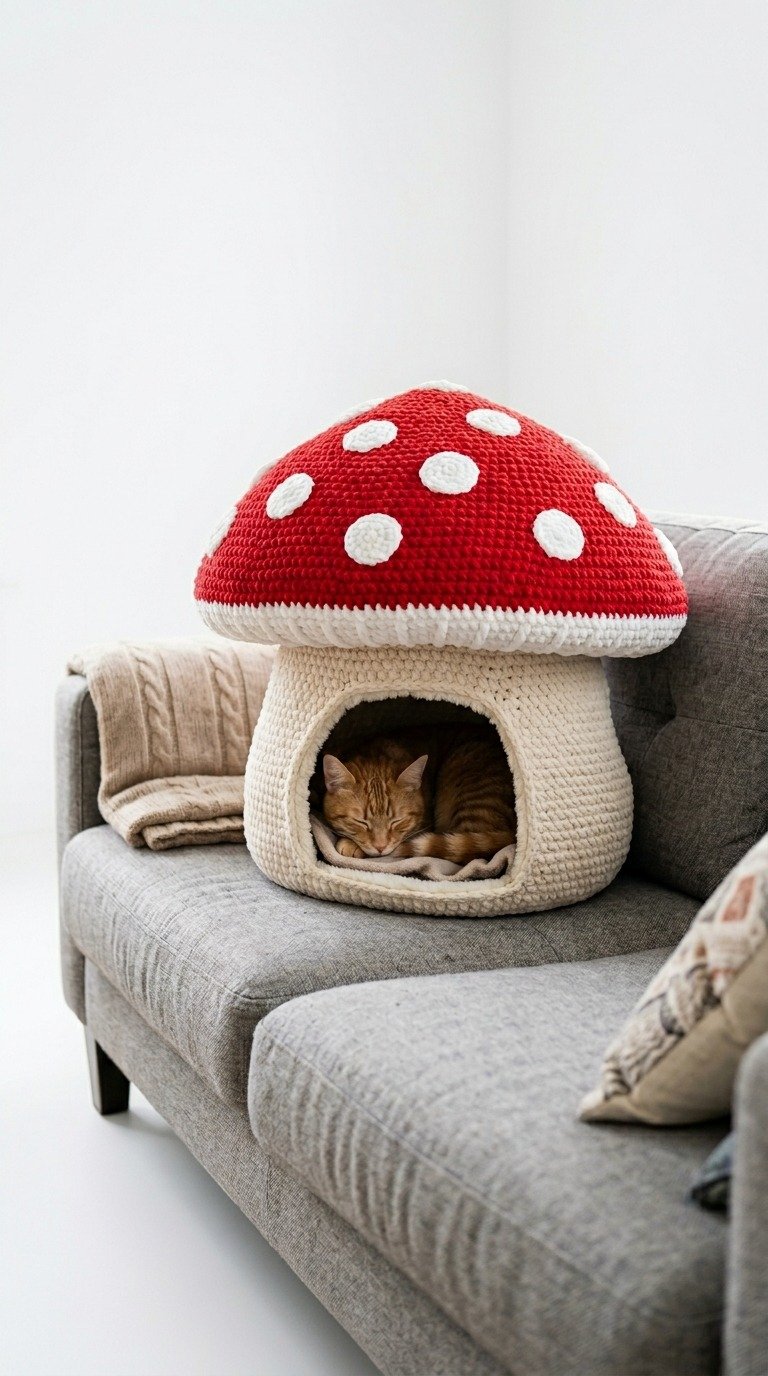
Crochet Pattern: Cozy Crochet Mushroom Cat Bed Free Pattern
Materials
- Super bulky chenille or velvet yarn (Size 6) in Beige/Cream (approx. 400g), Red (approx. 300g), and White (approx. 50g)
- 9.0 mm (M/N-13) crochet hook (or size needed to obtain a tight, stiff fabric)
- Optional: Rigid plastic canvas or foam insert to reinforce the structure
- Large yarn needle
- Stitch markers
- Scissors
Abbreviations
- ch – chain
- sc – single crochet
- inc – increase (2 sc in the same stitch)
- dec – decrease (sc 2 stitches together)
- sl st – slip stitch
- st(s) – stitch(es)
Instructions
Note on Tension: Work your stitches tightly so the cat bed maintains its dome shape. If your stitches feel too loose, drop down a hook size.
Mushroom Base (Beige/Cream Yarn)
Round 1: Start with a magic ring, work 8 sc into the ring. (8 sts)
Round 2: [inc] in each st around. (16 sts)
Round 3: [sc, inc] repeat around. (24 sts)
Round 4: [2 sc, inc] repeat around. (32 sts)
Round 5: [3 sc, inc] repeat around. (40 sts)
Round 6: [4 sc, inc] repeat around. (48 sts)
Round 7: [5 sc, inc] repeat around. (56 sts)
Round 8: [6 sc, inc] repeat around. (64 sts)
Round 9: Working in back loops only, sc in each st around to form the base rim. (64 sts)
Rounds 10-14: Working in both loops, sc in each st around. (64 sts)
Creating the Doorway (Rows):
We will now work back and forth in rows to create the opening for the cat.
Row 15: Sc in next 48 sts, ch 1, turn (leave remaining 16 sts unworked for the opening).
Rows 16-24: Sc across the 48 sts, ch 1, turn.
Rejoining the Round:
Round 25: Sc across 48 sts, ch 16 (to span across the top of the door opening), join to the first st of the row. (64 sts)
Round 26: Sc in each of the next 48 sts, sc in each of the 16 ch sts. (64 sts)
Rounds 27-32: Sc in each st around. Sl st to join, fasten off, and weave in ends.
Mushroom Cap (Red Yarn)
Round 1: Start with a magic ring, work 6 sc into the ring. (6 sts)
Round 2: [inc] in each st around. (12 sts)
Round 3: [sc, inc] repeat around. (18 sts)
Round 4: [2 sc, inc] repeat around. (24 sts)
Round 5: [3 sc, inc] repeat around. (30 sts)
Round 6: [4 sc, inc] repeat around. (36 sts)
Round 7: [5 sc, inc] repeat around. (42 sts)
Round 8: [6 sc, inc] repeat around. (48 sts)
Round 9: [7 sc, inc] repeat around. (54 sts)
Round 10: [8 sc, inc] repeat around. (60 sts)
Round 11: [9 sc, inc] repeat around. (66 sts)
Round 12: [10 sc, inc] repeat around. (72 sts)
Rounds 13-22: Sc in each st around. (72 sts)
Round 23: [11 sc, inc] repeat around. (78 sts)
Round 24: Sc in each st around. Change to Cream/Beige yarn on the last stitch. (78 sts)
Cap Brim (Cream/Beige Yarn)
Round 25: Working in front loops only, [12 sc, inc] repeat around. (84 sts)
Round 26: Sc in each st around. Sl st to join and fasten off, leaving a very long tail for sewing.
White Spots (Make 6-8 in White Yarn)
Round 1: Start with a magic ring, work 6 sc into the ring. (6 sts)
Round 2: [inc] in each st around. (12 sts)
Round 3: [sc, inc] repeat around. (18 sts). Sl st to join, fasten off, leaving a tail for sewing.
Assembly and Finishing
- Sew the white spots randomly across the red mushroom cap using a yarn needle and the white yarn tails.
- To ensure the mushroom cap maintains its shape without collapsing, you can insert a circle of stiff plastic canvas or foam inside the cap, or lightly stuff the brim area.
- Align the cap over the base stem. Sew the lower edge of the cap brim securely to the top edge of the base using the long cream yarn tail.
- To finish the doorway, attach cream yarn to any stitch on the opening and work 1 round of slip stitches around the raw edge of the opening to create a clean, finished trim. Fasten off and weave in all remaining loose ends.