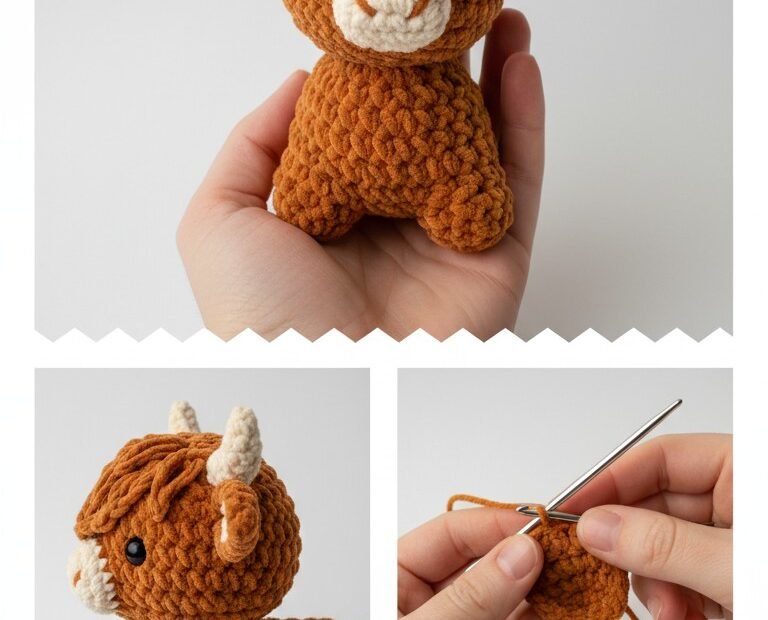
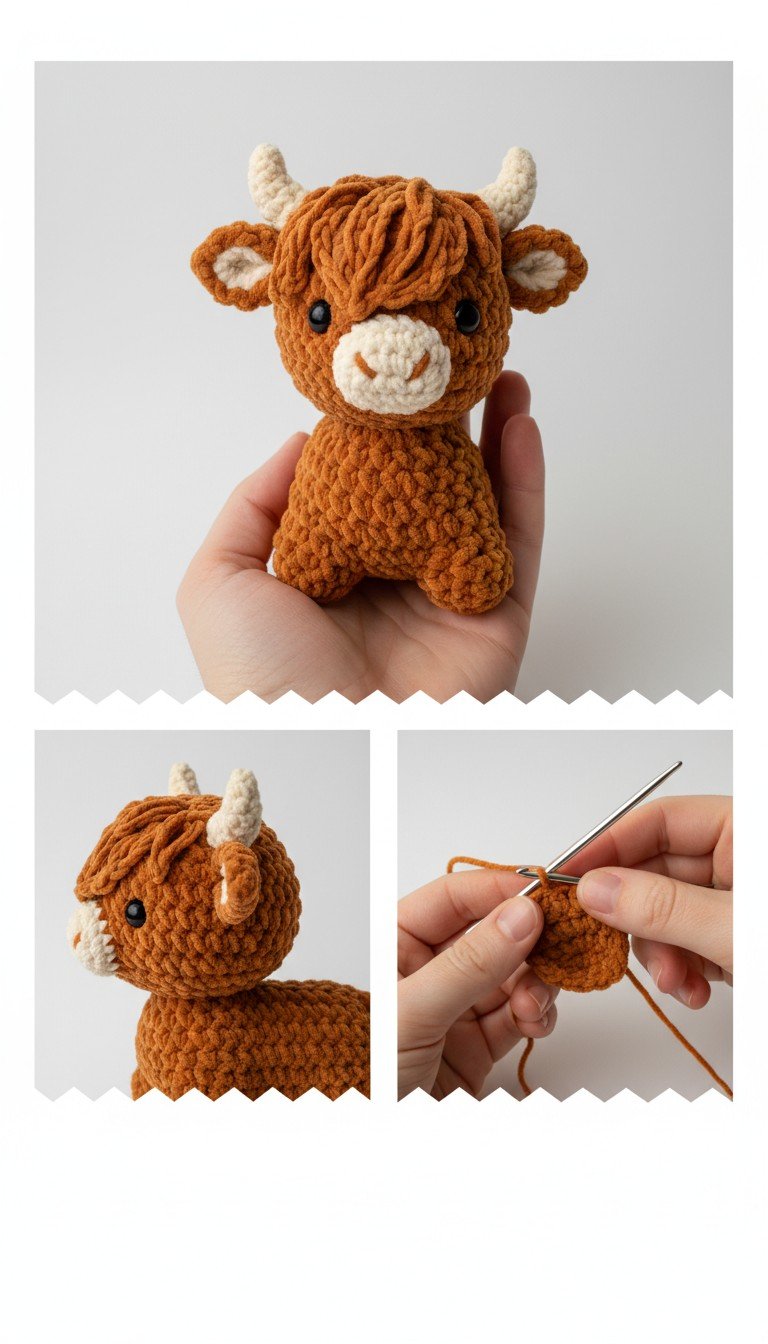
Get ready to create the most charming little farm friend with this adorable Highland Cow amigurumi pattern! Known for their shaggy coats and sweet faces, these miniature bovines make perfect gifts or delightful additions to your own collection. This pattern is designed for intermediate beginners, guiding you through each step to bring your own fluffy coo to life.
Craft Your Own Shaggy-Haired Highland Friend
There’s something irresistibly charming about a Highland Cow, and now you can capture that magic in yarn! This pattern allows you to crochet a cute, cuddly companion that evokes rustic charm and warmth. Perfect for brightening a nursery, gifting to an animal lover, or simply enjoying the creative process of amigurumi. You’ll love the distinctive mane and tiny horns!
Worsted weight chenille yarn in Burnt Orange/Terracotta (Main Color)
Worsted weight chenille yarn in Cream/Off-white (Contrast Color)
3.5mm crochet hook (or size suitable for your yarn)
9mm safety eyes (black)
Polyester fiberfill for stuffing
Tapestry needle
Stitch markers
Scissors
Abbreviations
MR: Magic Ring
ch: chain
sc: single crochet
inc: increase (2 sc in one stitch)
dec: decrease (sc two stitches together)
sl st: slip stitch
st(s): stitch(es)
FO: Fasten Off
R: Round/Row
Instructions
Head and Body (Main Color)
R1: Start with MR, 6 sc (6)
R2: inc in each st around (12)
R3: (sc, inc) x 6 (18)
R4: (2 sc, inc) x 6 (24)
R5: (3 sc, inc) x 6 (30)
R6-R10: sc in each st around (30) – 5 rounds
R11: (3 sc, dec) x 6 (24)
R12: (2 sc, dec) x 6 (18)
Begin stuffing the body firmly.
R13: (sc, inc) x 9 (27) – Start of head
R14: (2 sc, inc) x 9 (36)
R15-R21: sc in each st around (36) – 7 rounds
Place 9mm safety eyes between R18 and R19, about 6-7 stitches apart.
R22: (4 sc, dec) x 6 (30)
R23: (3 sc, dec) x 6 (24)
R24: (2 sc, dec) x 6 (18)
R25: (sc, dec) x 6 (12)
Continue stuffing the head firmly.
R26: dec x 6 (6)
FO, leave a long tail. Weave tail through front loop of remaining 6 stitches and pull tight to close. Weave in ends.
Muzzle (Contrast Color)
Ch 4
R1: Sc in 2nd ch from hook, sc in next, 3 sc in last ch. Working on the other side of the chain: sc in next, 2 sc in the first ch (the one you worked into previously). (8)
R2: inc, sc, inc, sc, inc, sc, inc, sc (12)
R3: sc in each st around (12)
Sl st, FO, leave a long tail for sewing.
Horns (Contrast Color) – Make 2
R1: Start with MR, 4 sc (4)
R2: (sc, inc) x 2 (6)
R3: sc in each st around (6)
R4: (2 sc, inc) x 2 (8)
R5: sc in each st around (8)
FO, leave a long tail for sewing. Stuff lightly.
Ears (Main Color) – Make 2
Ch 5
R1: Sc in 2nd ch from hook, sc in next 3 sts. (4)
R2: Ch 1, turn, sc in each st across. (4)
R3: Ch 1, turn, sc, dec, sc. (3)
R4: Ch 1, turn, sc in each st across. (3)
R5: Ch 1, turn, sc, dec. (2)
FO, leave a long tail for sewing. Pinch the bottom edges together when attaching to create a slight curve.
Mane (Main Color)
Cut many 4-5 inch strands of Main Color yarn.
Using your crochet hook, attach these strands to the top of the head in rows across the forehead and between the horns. Insert hook, grab the center of a folded strand, pull through, then pull the ends of the strand through the loop to create a knot (latch hook method).
Continue attaching strands until you achieve a full, shaggy mane.
Trim the mane to your desired length and shape.
Assembly
Sew the muzzle onto the face, centered below the safety eyes. With a length of main color yarn and your tapestry needle, embroider a small ‘v’ or ‘y’ shape for the nose/mouth.
Sew the ears onto the sides of the head, behind and slightly above the safety eyes.
Sew the horns behind the ears, angled slightly forward.
Ensure all parts are securely attached and ends are woven in.