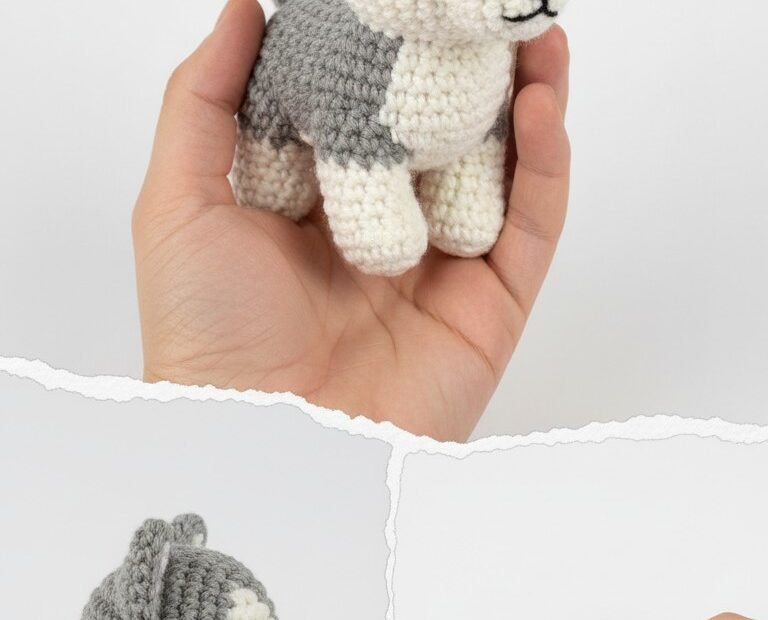
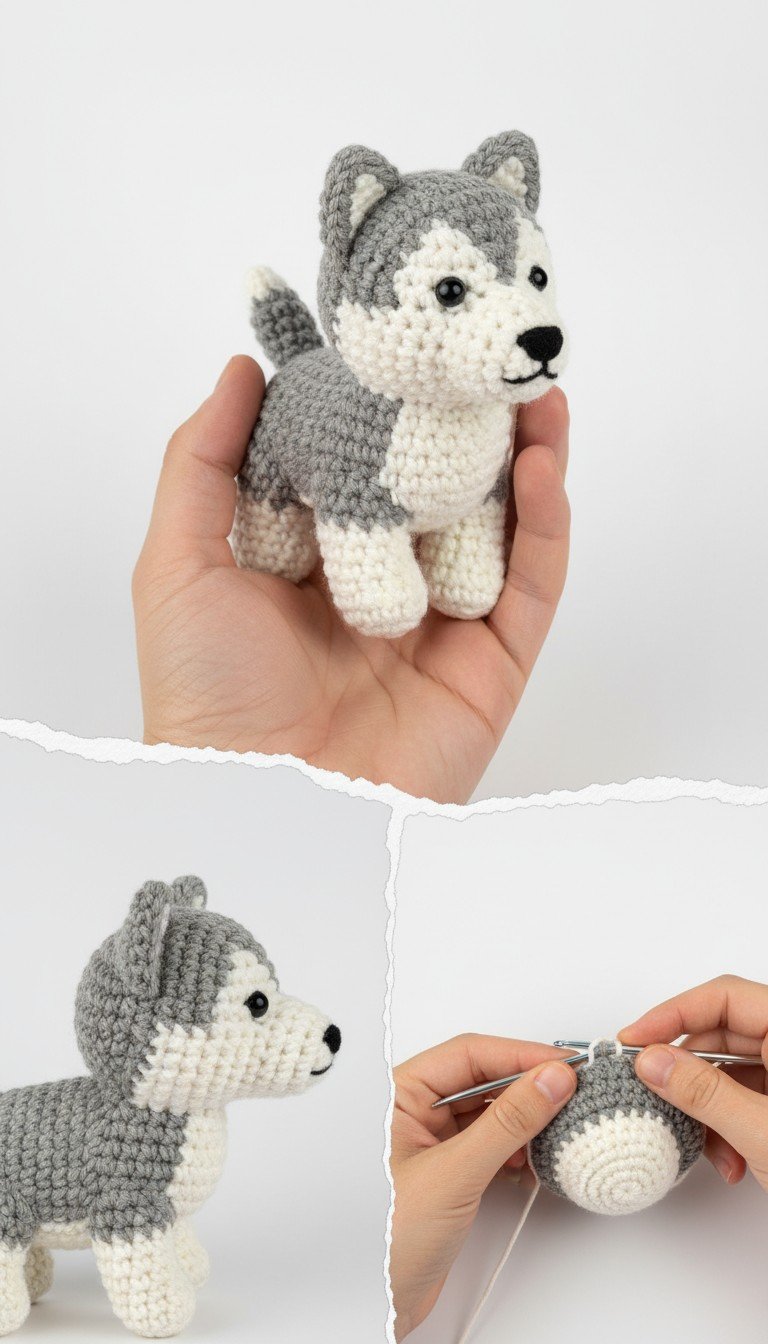
Bring the charm of a Siberian Husky to life with this adorable crochet amigurumi pattern! Perfect for dog lovers and crafters alike, this little husky features classic grey and white markings and a playful expression. Get ready to hook up your new best friend, a delightful project that’s as fun to make as it is to cuddle.
Why This Crochet Husky Will Steal Your Heart
There’s something truly special about creating a handmade companion. This amigurumi husky isn’t just a toy; it’s a loyal friend that embodies the spirit of these majestic dogs in a miniature, squishable form. It makes a thoughtful gift for any animal enthusiast or a charming addition to your own collection, bringing warmth and personality wherever it goes.
Crochet Pattern: Adorable Crochet Husky Amigurumi Pattern: Craft Your Own Loyal Companion
Start introducing Grey yarn for the top/sides of the head, carrying the unused yarn color along the back or using separate balls for each color section:
R9: 14 sc (White), 22 sc (Grey) [36]
R10: 12 sc (White), 24 sc (Grey) [36]
R11: 10 sc (White), 26 sc (Grey) [36]
Insert 6mm safety eyes between R10 and R11, approximately 8 stitches apart, positioned symmetrically within the grey sections.
R12: 8 sc (White), 28 sc (Grey) [36]
R13: (4 sc, dec) x6 [30] (Work decreases naturally, switching yarn at the last pull through of the decrease to maintain color. If too complex, make the entire round in the dominant color for that section, e.g., switch to grey and make 30sc, then embroider white later.)
R14: (3 sc, dec) x6 [24]
R15: (2 sc, dec) x6 [18]
Stuff head firmly with fiberfill.
R16: (1 sc, dec) x6 [12]
R17: 6 dec [6]
FO, weave in tail and close hole.
Body (Grey and White)
Using Grey yarn:
R1: MR 6 sc [6]
R2: 6 inc [12]
R3: (1 sc, inc) x6 [18]
R4: (2 sc, inc) x6 [24]
R5: (3 sc, inc) x6 [30]
R6-R8: 30 sc (3 rounds) [30]
Introduce White yarn for the chest/belly section:
R9: 10 sc (White), 20 sc (Grey) [30]
R10: 10 sc (White), 20 sc (Grey) [30]
Switch back to Grey yarn:
R11-R13: 30 sc (3 rounds) [30]
R14: (3 sc, dec) x6 [24]
R15: 24 sc [24]
Stuff body firmly with fiberfill. FO, leaving a long tail for sewing.
Legs (Make 4 – White and Grey)
Using White yarn:
R1: MR 6 sc [6]
R2: 6 inc [12]
R3: BLO 12 sc [12] (This creates a flat base for the foot)
R4: 12 sc [12]
Switch to Grey yarn:
R5-R7: 12 sc (3 rounds) [12]
Stuff lightly. FO, leaving a long tail for sewing.
Ears (Make 2 – Grey and White)
Outer Ear (Grey):
Ch 4. Sc in 2nd ch from hook, sc in next 2 ch. Ch 1, turn. [3]
Row 2: 3 sc. Ch 1, turn. [3]
Row 3: Dec, 1 sc. Ch 1, turn. [2]
Row 4: Dec. FO. [1]
Inner Ear (White):
Ch 3. Sc in 2nd ch from hook, sc in next ch. Ch 1, turn. [2]
Row 2: 2 sc. Ch 1, turn. [2]
Row 3: Dec. FO. [1]
Assembly: Sew the white inner ear piece onto the grey outer ear piece. Fold the base of the grey ear to form a slight curve and sew to secure.
Tail (Grey and White)
Using Grey yarn:
R1: MR 6 sc [6]
R2-R3: 6 sc (2 rounds) [6]
R4: (1 sc, inc) x3 [9]
R5-R6: 9 sc (2 rounds) [9]
Switch to White yarn:
R7-R8: 9 sc (2 rounds) [9]
Stuff lightly. FO, leaving a long tail for sewing.
Assembly
Sew the Head to the Body, ensuring the white face mask is facing forward.
Sew the four Legs to the underside of the Body, evenly spaced.
Sew the Ears to the top of the Head, positioned slightly towards the front.
Sew the Tail to the back of the Body.
Using black embroidery floss, embroider a small triangular nose and a smile onto the white muzzle of the head.