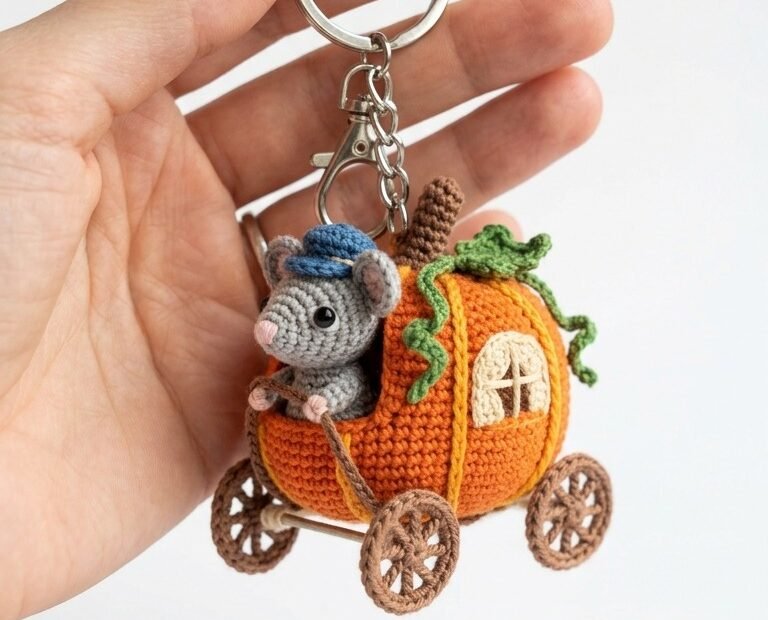
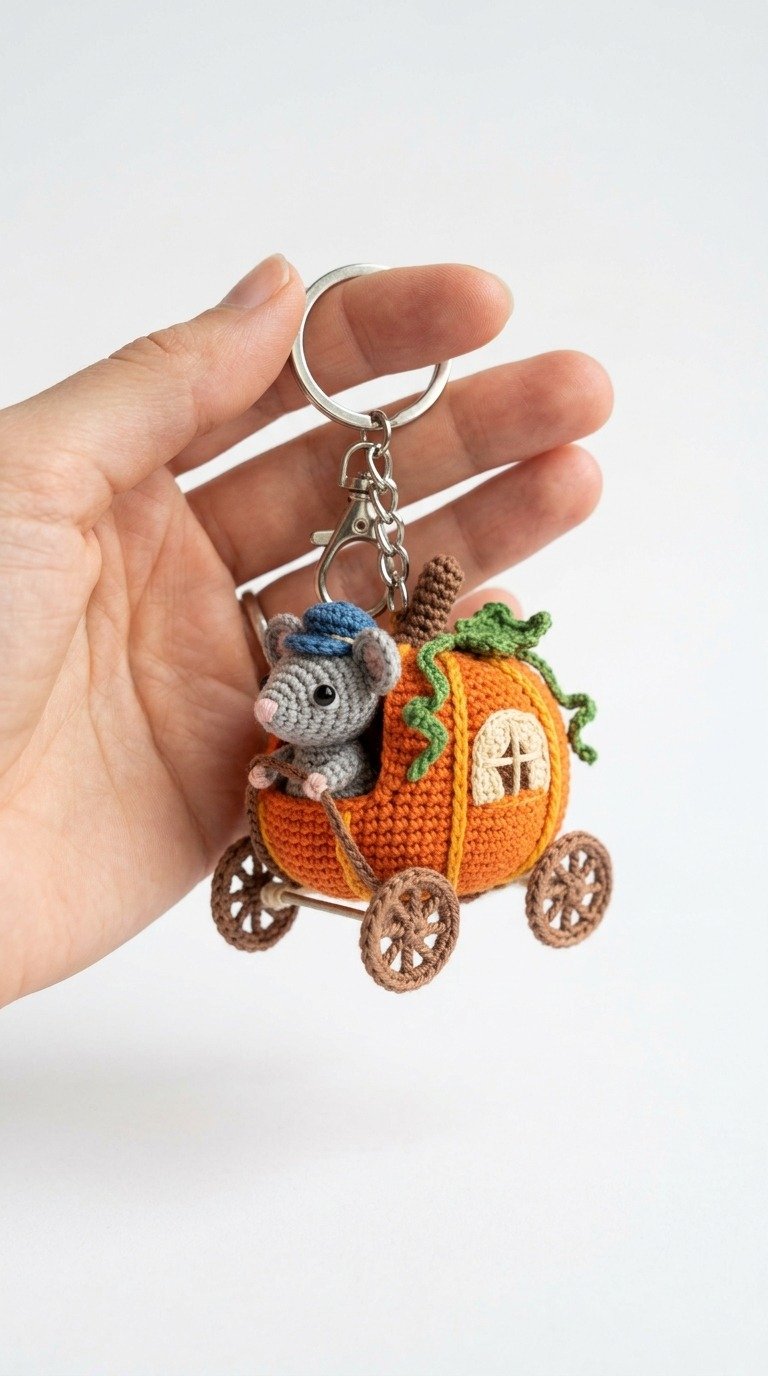
Step into a miniature fairytale with this adorable Pumpkin Carriage Keychain crochet pattern! This incredibly detailed micro-amigurumi project features a tiny grey mouse steering an orange pumpkin carriage, complete with realistic brown wheels, a winding vine, and a cute little blue hat. It’s the perfect autumn accessory or spooky-season bag charm to showcase your advanced crochet skills.
Bring Fairytales to Life with Micro-Amigurumi Details
This magical pumpkin carriage keychain design combines classic amigurumi shaping with delicate detailing. From the custom-sculpted pumpkin ridges to the tiny window framing, every stitch is crafted to maximize cuteness on a miniature scale. Using sport or embroidery weight yarn ensures a crisp, professional finish that will enchant everyone who sees it hanging from your keys.
Sport weight yarn in Orange, Grey, Dark Brown, Forest Green, Cream, and Royal Blue
Fine pink embroidery thread for the mouse’s nose and ears
2.0 mm crochet hook
Two 3mm safety eyes
Polyester fiberfill stuffing
Keychain ring with link chain
Tapestry needle, scissors, and jewelry wire (optional for wheel axles)
Abbreviations
MR – Magic Ring
ch – chain
sc – single crochet
inc – increase (2 sc in one stitch)
dec – decrease (sc 2 together)
hdc – half double crochet
dc – double crochet
sl st – slip stitch
BLO – back loops only
FLO – front loops only
Instructions
Pumpkin Carriage Body:
Using Orange yarn:
R1: 6 sc in MR (6)
R2: 6 inc (12)
R3: (1 sc, inc) x 6 (18)
R4: (2 sc, inc) x 6 (24)
R5: (3 sc, inc) x 6 (30)
R6: (4 sc, inc) x 6 (36)
R7: (5 sc, inc) x 6 (42)
R8: (6 sc, inc) x 6 (48)
R9-18: sc around (48)
R19: To create the front driver opening, start working in rows instead of continuous rounds. Ch 1, turn, sc in next 36 sts, leaving 12 sts unworked for the opening.
R20-22: Ch 1, turn, sc in each st across (36)
R23: (4 sc, dec) x 6 (30)
R24: (3 sc, dec) x 6 (24)
R25: (2 sc, dec) x 6 (18)
Stuff the carriage firmly.
R26: (1 sc, dec) x 6 (12)
R27: 6 dec (6). Fasten off and weave in ends.
Use long strands of Orange yarn to wrap vertically around the sphere, pulling tight to indent and sculpt the 6 pumpkin ridges.
Carriage Window:
Using Cream yarn:
Ch 5. Starting in 2nd ch from hook, sc in next 3 sts, 3 sc in last chain. Work along opposite side: sc in next 2 sts, inc. Join with sl st.
Sew a tiny cross stitch inside with brown thread to represent window panes, then sew onto the side of the carriage.
Pumpkin Stem & Vines:
Using Brown yarn (Stem):
R1: 5 sc in MR (5)
R2-6: sc around (5). Sew to the top center of the pumpkin.
Using Green yarn (Vines):
Ch 20. Work 2 sc in each ch across to create a natural spiral. Sew next to the stem and drape over the carriage.
Tiny Mouse:
Using Grey yarn (Head):
R1: 5 sc in MR (5)
R2: 5 inc (10)
R3: (1 sc, inc) x 5 (15)
R4-7: sc around (15)
Insert 3mm safety eyes between R3 and R4.
R8: (1 sc, dec) x 5 (10)
Stuff head lightly.
R9: 5 dec (5). Fasten off, leaving a tail. Embroider a tiny pink nose.
Using Grey yarn (Ears – Make 2):
R1: 6 sc in MR. Join with sl st and sew to the head. Add a pink thread center.
Using Blue yarn (Hat):
R1: 6 sc in MR.
R2: 6 inc (12)
R3: BLO 12 sc.
R4: FLO (ch 1, hdc, dc, hdc, sl st in next st) to make the small brim. Sew between ears.
Wheels (Make 4):
Using Brown yarn:
R1: 6 sc in MR.
R2: ch 3, sl st into next st (repeat 6 times to form the spokes).
R3: (sc in the ch-3 loop, ch 2) around to complete the rim. Fasten off.
Optionally thread a sturdy wire or toothpick through the lower pumpkin body, attaching the wheels on each end to keep them stable and straight.
Assembly:
Place and stitch the tiny mouse inside the carriage driver opening.
Securely sew the four wheels to the bottom-sides of the pumpkin.
Attach a keychain ring through the pumpkin stem at the top. Your carriage is ready to ride!