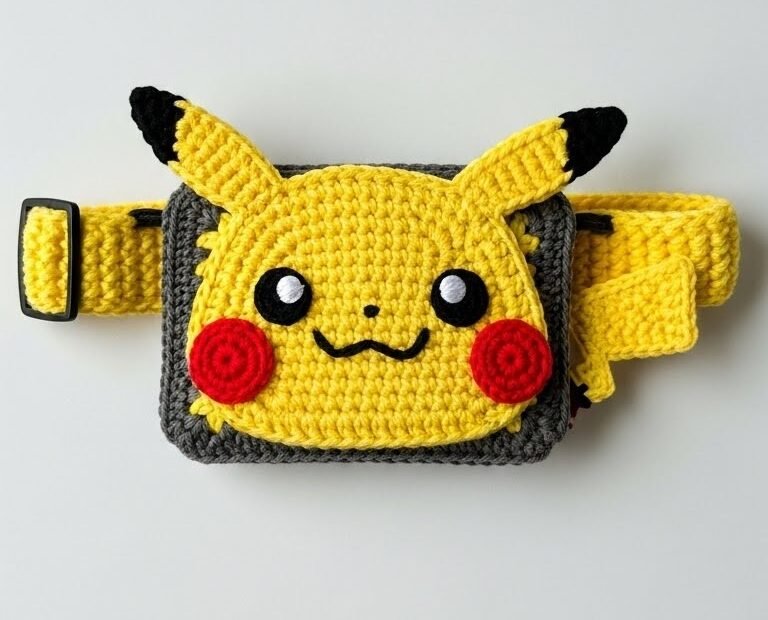
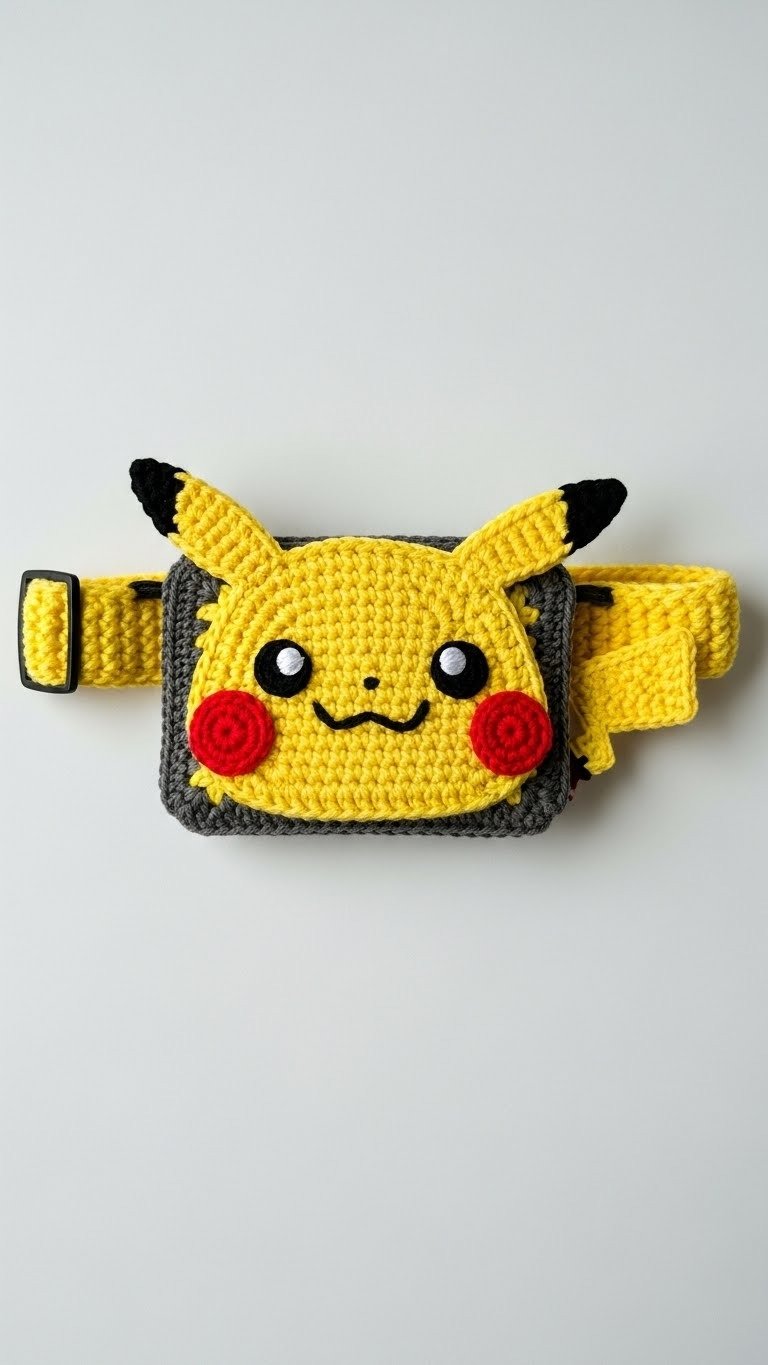
Calling all Pokémon trainers and crochet enthusiasts! Get ready to level up your accessory game with this charming Crochet Pikachu Fanny Pack. Perfect for conventions, daily errands, or just showing off your love for the iconic Electric-type Pokémon, this pattern will guide you through creating a functional and undeniably cute belt bag. It’s a fantastic project for intermediate crocheters looking for a fun challenge!
Stitch Your Way to Pokémon Adventure!
Imagine the delight of carrying your essentials in a custom-made fanny pack featuring everyone’s favorite electric mouse! This project isn’t just about crafting; it’s about bringing a piece of the Pokémon world into your everyday life. It makes a unique gift for any fan, a fantastic cosplay accessory, or a playful addition to your own wardrobe. Plus, the satisfaction of creating something so adorable and practical is truly electrifying!
Crochet Pattern: Catch ‘Em All with This Adorable Crochet Pikachu Fanny Pack Pattern!
Materials
Worsted weight yarn in bright yellow
Worsted weight yarn in dark grey/charcoal
Worsted weight yarn in black
Worsted weight yarn in red
Small amount of white embroidery floss or thin white yarn
Worked in continuous rounds. Use a stitch marker to keep track of the first stitch of each round.
R1: 6 sc in MR (6)
R2: 6 inc (12)
R3: (sc, inc) x6 (18)
R4: (2 sc, inc) x6 (24)
R5: (3 sc, inc) x6 (30)
R6: (4 sc, inc) x6 (36)
R7: (5 sc, inc) x6 (42)
R8: (6 sc, inc) x6 (48)
R9: (7 sc, inc) x6 (54)
R10: (8 sc, inc) x6 (60)
R11: (9 sc, inc) x6 (66)
R12: (10 sc, inc) x6 (72)
Sl st to the next st to join. FO, leaving a long tail for sewing.
Pikachu Ear (Make 2 – Bright Yellow & Black Yarn)
Yellow Part:
Ch 5.
R1: Sc in 2nd ch from hook and next 3 ch. Ch 1, turn. (4 sc)
R2-4: Sc in each st across. Ch 1, turn. (4 sc)
R5: Sc2tog, sc in next 2 st. Ch 1, turn. (3 sc)
R6-7: Sc in each st across. Ch 1, turn. (3 sc)
R8: Sc2tog, sc in next st. Ch 1, turn. (2 sc)
R9: Sc2tog. Ch 1, turn. (1 sc)
R10: Sc. FO. (1 sc)
Black Tip:
Ch 4.
R1: Sc in 2nd ch from hook and next 2 ch. Ch 1, turn. (3 sc)
R2-3: Sc in each st across. Ch 1, turn. (3 sc)
R4: Sc2tog, sc. Ch 1, turn. (2 sc)
R5: Sc2tog. FO. (1 sc)
Sew the black tip to the yellow ear piece.
Pikachu Cheek (Make 2 – Red Yarn)
Worked in continuous rounds.
R1: 6 sc in MR (6)
R2: 6 inc (12)
Sl st to the next st to join. FO, leaving a tail for sewing.
Pikachu Eye (Make 2 – Black Yarn)
Worked in continuous rounds.
R1: 6 sc in MR (6)
Sl st to the next st to join. FO, leaving a tail for sewing.
Bag Base (Dark Grey Yarn)
Worked in joined rounds.
Ch 26.
R1: Sc in 2nd ch from hook, sc in next 23 ch, 3 sc in last ch. Working on the other side of the chain, sc in next 23 ch, 2 sc in last ch. Join with sl st to first sc. (52 sc)
R2: Ch 1, sc in each st around. Join with sl st. (52 sc)
R3-12: Repeat R2. (12 rounds total for depth)
FO, leaving a long tail for sewing.
Belt Strap (Bright Yellow Yarn)
Ch 10.
R1: Sc in 2nd ch from hook and next 8 ch. Ch 1, turn. (9 sc)
R2-100 (or desired length): Sc in each st across. Ch 1, turn. (9 sc)
FO, leaving a long tail.
Belt Loop (Bright Yellow Yarn)
Ch 6.
R1: Sc in 2nd ch from hook and next 4 ch. Ch 1, turn. (5 sc)
R2: Sc in each st across. FO. (5 sc)
Assembly
1. Face Details: Sew the red cheeks onto the lower part of the yellow Pikachu face. Sew the black eyes above the cheeks. Embroider white highlights onto the eyes and a black wavy mouth below the eyes using a yarn needle and black/white yarn.
2. Ears: Attach the prepared ears to the top edge of the Pikachu face.
3. Attach Face to Bag: Center and sew the completed Pikachu face onto one side of the dark grey bag base using the yellow tail from the face.
4. Attach Belt: Attach one end of the yellow belt strap to each side of the grey bag base, sewing securely.
5. Buckle: Thread one end of the belt strap through one side of the black plastic buckle, fold it back, and sew securely. The other end will remain adjustable.
6. Belt Loop: Form the small belt loop piece into a circle and sew it near the buckle to hold the excess strap in place.