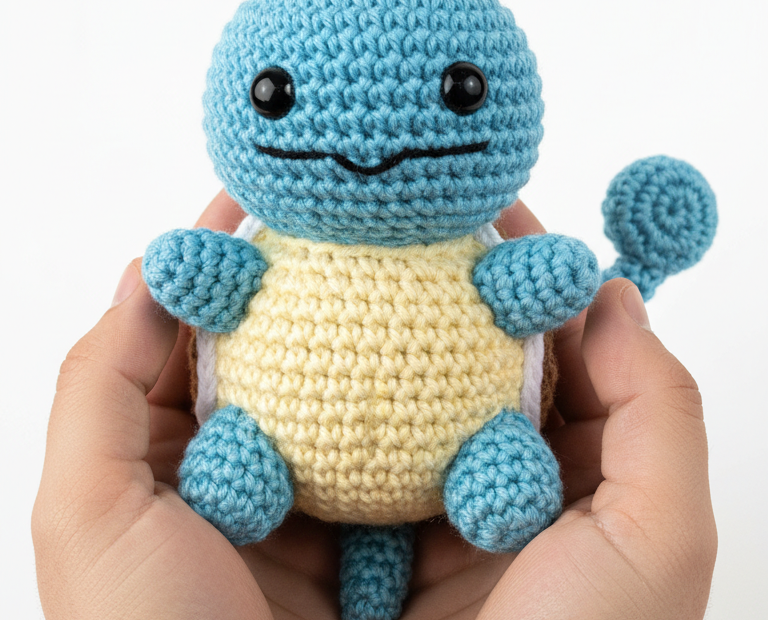
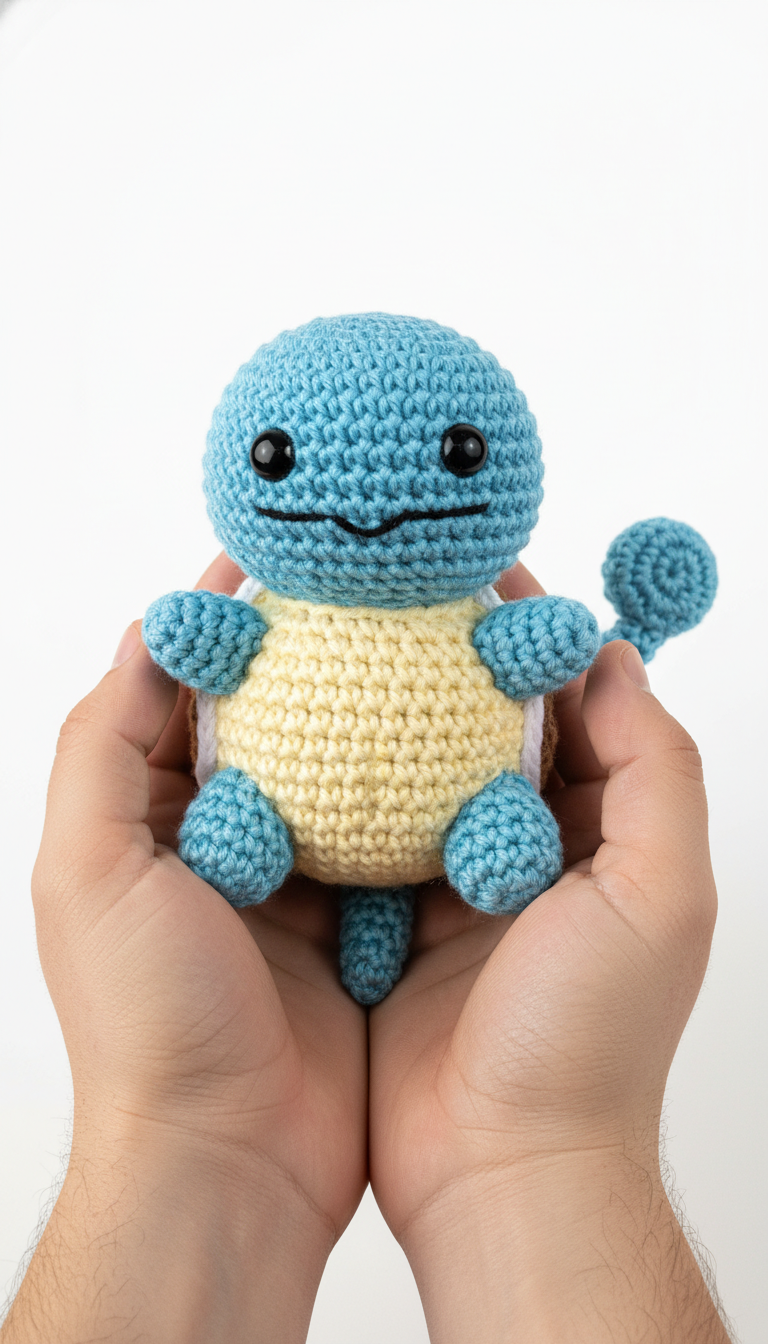
Dive into the world of Pokémon with our charming Crochet Squirtle Amigurumi pattern! This beginner-friendly guide will help you craft your very own water-type companion, perfect for gifting to a fan or adding a touch of nostalgia to your collection. Get ready to crochet a super cute, cuddly Squirtle that’s ready for any adventure!
Bring Your Favorite Water Pokémon to Life with Yarn!
There’s nothing quite like the satisfaction of creating a beloved character with your own hands. This Squirtle amigurumi project isn’t just about making a toy; it’s about capturing the essence of a classic Pokémon in soft, cuddly yarn. It’s a fantastic way to practice your amigurumi skills and delight any Pokémon enthusiast.
Crochet Pattern: Catch ‘Em All with This Adorable Crochet Squirtle Amigurumi Pattern!
Materials
Worsted weight yarn in Light Blue (for body, limbs, tail)
Worsted weight yarn in Light Yellow/Cream (for belly)
Worsted weight yarn in White (for shell rim)
Worsted weight yarn in Light Brown (for shell back)
3.5mm crochet hook (or size appropriate for your yarn)
6mm or 8mm black safety eyes
Polyester fiberfill for stuffing
Tapestry needle
Black embroidery floss (for mouth)
Stitch marker
Abbreviations
MR: Magic Ring
sc: single crochet
inc: increase (2 sc in one stitch)
dec: decrease (sc two stitches together)
sl st: slip stitch
ch: chain
FO: Fasten Off
st(s): stitch(es)
Instructions
Gauge: Not crucial for this project, just ensure your stitches are tight enough so stuffing doesn’t show through.
Notes: Work in continuous rounds unless otherwise specified. Use a stitch marker to keep track of the first stitch of each round.
Head & Body (Light Blue)
Round 1: 6 sc in MR (6)
Round 2: inc in each st around (12)
Round 3: (sc, inc) x6 (18)
Round 4: (2 sc, inc) x6 (24)
Round 5: (3 sc, inc) x6 (30)
Round 6-10: sc in each st around (30)
Place safety eyes between Rounds 8 and 9, about 5-6 stitches apart. Embroider a smile with black floss.
Round 11: (3 sc, dec) x6 (24)
Round 12: (2 sc, dec) x6 (18)
Start stuffing firmly.
Round 13: (sc, dec) x6 (12)
Round 14: sc in each st around (12)
Round 15: (sc, inc) x6 (18)
Round 16: (2 sc, inc) x6 (24)
Round 17-20: sc in each st around (24)
Round 21: (2 sc, dec) x6 (18)
Continue stuffing.
Round 22: (sc, dec) x6 (12)
Round 23: dec in each st around (6)
FO, leave a long tail, weave through remaining sts and pull tight to close. Weave in end.
Belly (Light Yellow/Cream)
Row 1: Ch 7. sc in 2nd ch from hook and next 4 ch, 3 sc in last ch. Working down other side of ch, sc in next 4 ch, 2 sc in last ch (14)
FO, leave a long tail for sewing. Sew onto the front of the body, stuffing lightly before fully closing to give it some dimension.
Shell Back (Light Brown)
Round 1: 6 sc in MR (6)
Round 2: inc in each st around (12)
Round 3: (sc, inc) x6 (18)
Round 4: (2 sc, inc) x6 (24)
Round 5: (3 sc, inc) x6 (30)
Round 6: sc in each st around (30)
FO, leave a long tail for sewing.
Shell Rim (White)
Row 1: Ch 25. sc in 2nd ch from hook and across (24)
FO, leave a long tail for sewing.
Sew the brown shell onto the back of the body. Then, wrap the white strip around the edge of the brown shell and sew it in place, attaching it to both the brown shell and the blue body, creating a neat border.
Arms (Make 2 – Light Blue)
Round 1: 6 sc in MR (6)
Round 2: inc in each st around (12)
Round 3-4: sc in each st around (12)
Round 5: (dec, 4 sc) x2 (10)
Stuff lightly.
Round 6: dec x5 (5)
FO, leave a long tail, weave through remaining sts and pull tight to close. Weave in end.
Legs (Make 2 – Light Blue)
Round 1: 6 sc in MR (6)
Round 2: inc in each st around (12)
Round 3-5: sc in each st around (12)
Stuff lightly.
Round 6: (dec, 4 sc) x2 (10)
Round 7: dec x5 (5)
FO, leave a long tail, weave through remaining sts and pull tight to close. Weave in end.
Tail (Light Blue)
Round 1: 6 sc in MR (6)
Round 2-3: sc in each st around (6)
Round 4: (sc, inc) x3 (9)
Round 5-8: sc in each st around (9)
Stuff lightly.
Round 9: dec, 7 sc (8)
Round 10: dec, 6 sc (7)
FO, leave a long tail for sewing. Slightly curl the tail if desired and sew to the back of the body, below the shell.
Assembly
Sew the arms to the sides of the body, just below the neck.
Sew the legs to the bottom front of the body, so your Squirtle can sit.
Sew the tail to the back of the body, centered below the shell.