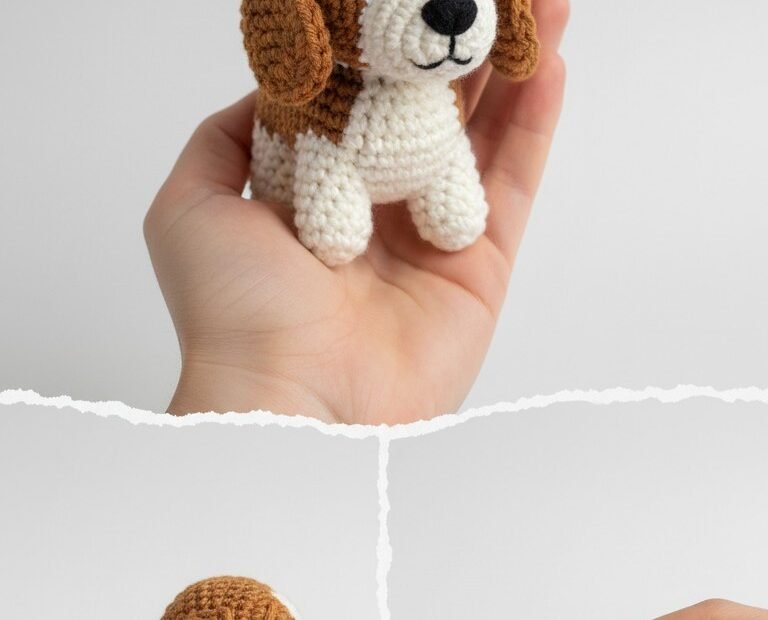
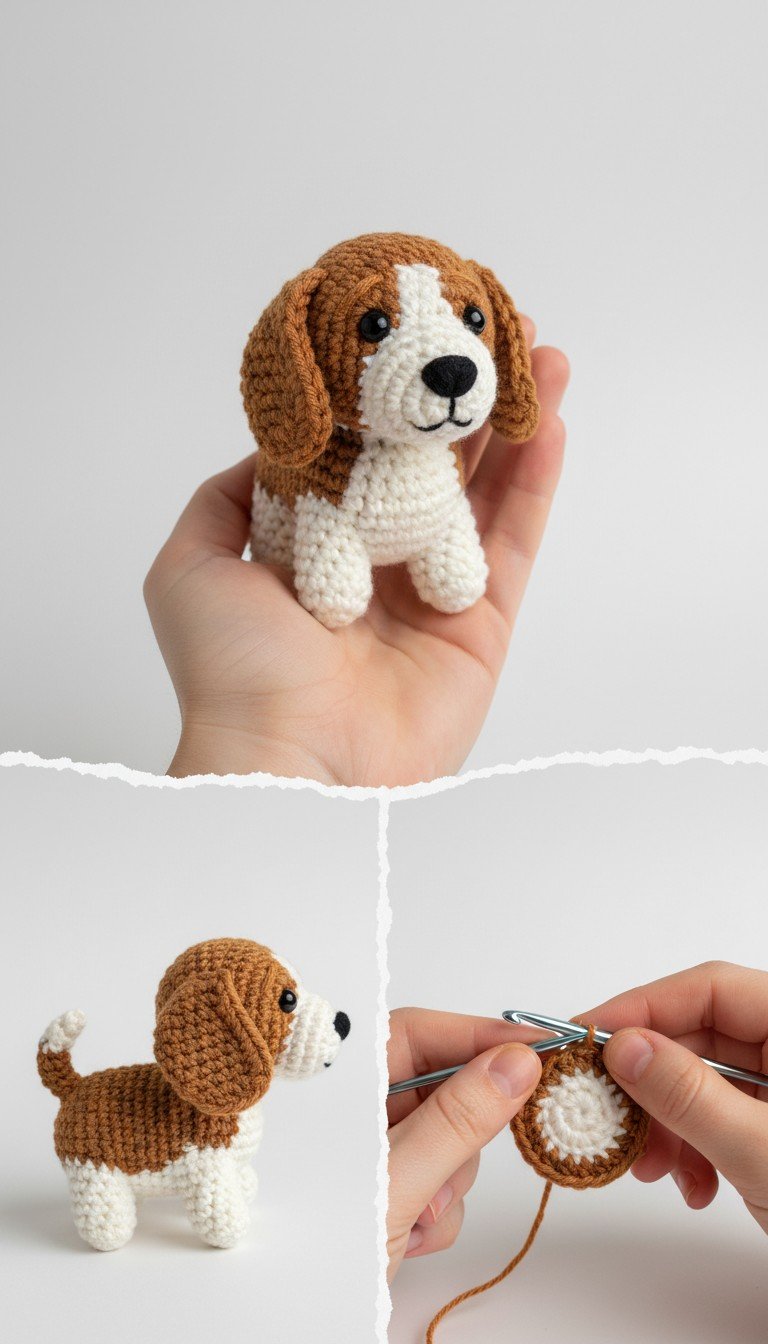
Bring home a loyal and cuddly friend with this charming crochet beagle puppy amigurumi pattern! Perfect for dog lovers and crafters alike, this little fella captures the classic markings and sweet expression of a beagle. Its compact size makes it an ideal desk companion or a treasured gift for any age.
Stitch Your Very Own Loyal Companion There’s nothing quite like the joy of creating a handmade gift, and this amigurumi beagle puppy is sure to melt hearts. Whether you’re making it for a child’s toy, a decorative piece, or a thoughtful present, the process is as rewarding as the finished product. Embrace the fun of crochet and watch this adorable hound come to life!
Pattern Here
Crochet Pattern: Craft an Adorable Amigurumi Beagle Puppy: Free Crochet Pattern! Materials Worsted weight yarn in White (Color A) Worsted weight yarn in Brown (Color B) Small amount of Black embroidery floss 2.5mm or 3.0mm crochet hook 6mm or 8mm safety eyes Polyester fiberfill for stuffing Yarn needle Stitch marker Scissors Abbreviations MR: Magic Ring sc: single crochet inc: increase (2 sc in one stitch) dec: decrease (sc2tog) sl st: slip stitch ch: chain FO: Fasten off R: Round Instructions This pattern is worked in continuous rounds unless otherwise specified. Use a stitch marker to mark the beginning of each round.
Head (Start with Color A – White) R1: 6 sc in MR (6)R2: 6 inc (12)R3: (1 sc, inc) x 6 (18)R4: (2 sc, inc) x 6 (24)R5: (3 sc, inc) x 6 (30)R6-R8: 30 sc (3 rounds)R9: With Color A, 7 sc, switch to Color B, 16 sc, switch to Color A, 7 sc (30)R10: With Color A, 6 sc, switch to Color B, 18 sc, switch to Color A, 6 sc (30)R11: With Color A, 5 sc, switch to Color B, 20 sc, switch to Color A, 5 sc (30)Insert safety eyes between R9 and R10, approximately 6-7 stitches apart in the brown section. Begin stuffing. R12: With Color A, 5 sc, switch to Color B, (3 sc, dec) x 4, switch to Color A, 5 sc (26)R13: With Color A, 4 sc, switch to Color B, (2 sc, dec) x 4, switch to Color A, 4 sc (22)R14: With Color A, 3 sc, switch to Color B, (1 sc, dec) x 4, switch to Color A, 3 sc (18)Continue stuffing firmly. R15: With Color A, 3 sc, switch to Color B, 4 dec, switch to Color A, 3 sc (14)R16: With Color A, 2 sc, switch to Color B, 3 dec, switch to Color A, 2 sc (11)FO, leaving a long tail for sewing. Finish stuffing and close the remaining hole. Embroider the nose with black floss. Body (Start with Color A – White) R1: 6 sc in MR (6)R2: 6 inc (12)R3: (1 sc, inc) x 6 (18)R4: (2 sc, inc) x 6 (24)R5: (3 sc, inc) x 6 (30)R6-R8: 30 sc (3 rounds)R9: Switch to Color B, 30 sc (30)R10-R15: 30 sc (6 rounds in Color B)R16: Switch to Color A, (3 sc, dec) x 6 (24)R17: (2 sc, dec) x 6 (18)Start stuffing firmly. R18: (1 sc, dec) x 6 (12)FO, leaving a long tail for sewing. Finish stuffing. Ears (Make 2 in Color B – Brown) R1: Ch 6. Sc in 2nd ch from hook, 3 sc, 3 sc in last ch. Continue on other side of chain: 4 sc (11)R2: Inc, 3 sc, 3 inc, 3 sc, inc (16)R3-R5: 16 sc (3 rounds)R6: (6 sc, dec) x 2 (14)R7: (5 sc, dec) x 2 (12)R8: (4 sc, dec) x 2 (10)FO, leaving a long tail for sewing. Do not stuff. Flatten the ear. Legs (Make 4 in Color A – White) R1: 6 sc in MR (6)R2: (1 sc, inc) x 3 (9)R3-R6: 9 sc (4 rounds)Stuff lightly. FO, leaving a long tail for sewing. Tail (Start with Color A – White) R1: 5 sc in MR (5)R2: 5 sc (5)R3: Switch to Color B, 5 sc (5)R4: (1 sc, inc) x 2, 1 sc (7)R5: 7 sc (7)Stuff lightly. FO, leaving a long tail for sewing. Assembly Sew the Head to the Body securely. Attach the Ears to the sides of the head, slightly folding them forward as shown in the image. Sew the four Legs to the bottom of the Body. Position them to allow the puppy to stand. Attach the Tail to the back of the Body, slightly curled upwards. Weave in all remaining ends.