Unleash your inner artisan with this exquisite Irish crochet lace necklace pattern. Inspired by nature’s graceful curves, this statement piece features delicate lacework, subtle colors, and sparkling beads, making it a truly unique accessory. Dive into the art of freeform crochet and craft a wearable masterpiece that reflects your personal style and creativity.
Embrace Elegance with Handcrafted Lace
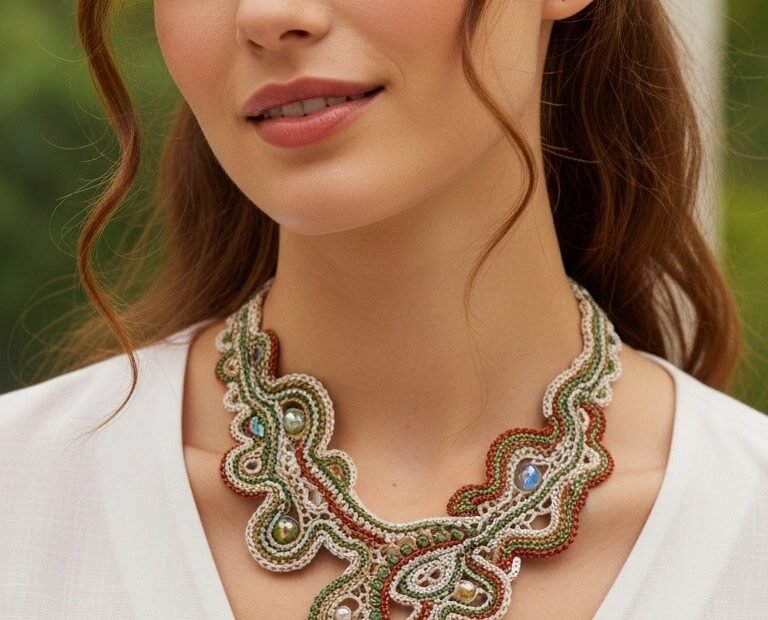
This pattern invites you to explore the timeless beauty of Irish crochet, transforming fine threads into a breathtaking textile art piece. The intricate details, from the raised cord elements to the tiny picots and integrated beads, create a rich texture and dimension. Design a unique necklace that adds a touch of bespoke sophistication to any outfit, perfect for special occasions or elevating everyday wear.
Fine crochet thread (size 10 or 20) in Sage Green, Terracotta/Rust, and Cream/Ecru
Steel crochet hook (1.5mm or 1.75mm, suitable for thread)
Assorted glass beads: 4-6 large (approx. 8mm-10mm) iridescent greenish-blue beads
Assorted small (approx. 4mm-6mm) pearl or opalescent beads
Tapestry needle for weaving in ends
Sewing needle and matching thread for securing beads (optional)
Optional: Fabric stiffener for shape retention
Optional: Necklace clasp/closure
Abbreviations
ch: chain
sl st: slip stitch
sc: single crochet
dc: double crochet
picot: ch 3, sl st into 1st ch
FO: finish off
rep: repeat
st(s): stitch(es)
sk: skip
Instructions
This pattern embraces the freeform nature of Irish crochet lace. While specific stitch counts are provided for foundational elements, feel free to adapt the curves and joining points to create a truly unique piece, inspired by the organic flow seen in the image.
Part 1: Basic Corded Elements (Make various lengths and shapes)
Using Cream thread, ch a desired length (e.g., 20-40 chs for initial curves).
Row 1: Sc in 2nd ch from hook and in each ch across. Ch 1, turn.
Row 2: Sc in each sc across. FO, leaving a long tail for sewing.
Alternatively, for a more defined cord: ch desired length, then sl st into 2nd ch from hook and each ch across. Then sc around this chain (working into the space around the chain itself, not into individual stitches) to create a raised cord. Repeat with Green and Terracotta threads. Create various lengths and gentle curves by adding extra stitches on the outer edge of turns.
Part 2: Picot Edging & Detail (Apply to selected corded elements)
Attach Green or Terracotta thread to the edge of a finished corded element.
Work (sc, picot, sc) into selected stitches along the edge, creating a decorative, lacy finish. Space them irregularly for an organic look.
For larger curves, you might work (sc, picot, 2sc) or similar to accommodate the curve.
Experiment with working rows of sc or sl st in contrasting colors alongside the main cord for layered effects, as seen in the image.
Part 3: Incorporating Beads
Small Pearl Beads: Attach Cream thread. Work sc around the pearl bead (by inserting hook through the bead hole, catching yarn, pulling loop through, then completing sc), then 1-2 sc along the cord. Or, simply thread the beads onto your working yarn and slide them into place before a sc or sl st.
Large Iridescent Beads: For the prominent large beads, create a small crochet “cup” or “setting” to hold them. Using Green or Terracotta, ch 4, sl st to first ch to form a ring. Work 6-8 sc into the ring. In the next round, work (sc, ch 1, sc) in each st, or enough stitches to create a small flat base. Place bead on top and sl st around the base of the bead to secure it, or crochet directly around it with sc. These can be pre-made and then joined, or worked directly onto a developing motif.
Part 4: Assembly & Shaping the Necklace
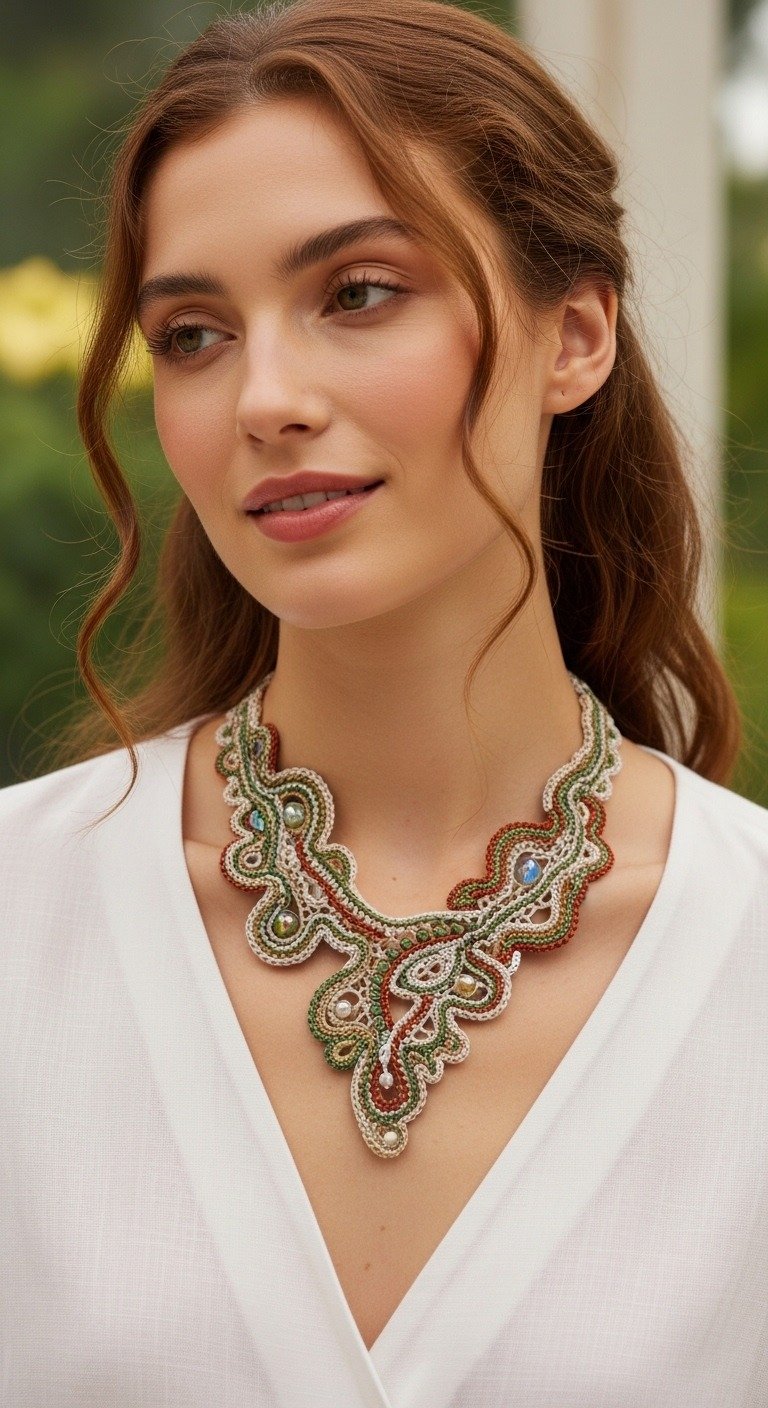
Lay out your finished corded elements, picot edgings, and beaded components on a flat surface, arranging them to mimic the intricate, swirling shape of the necklace in the image. Focus on building the main central part first, then extending outwards.
Use the Cream, Green, and Terracotta elements, overlapping and intertwining them.
Joining: Once satisfied with the arrangement, carefully join the pieces.
Sl St Joining: Using a matching thread, sl st through corresponding loops of two adjacent elements to join them seamlessly.
Sc or Ch Joining: For bridging gaps, ch 3-5, then sl st or sc into an adjacent element.
Sewing: Use a tapestry needle and matching thread to discreetly sew elements together from the back.
Integrate the large iridescent beads by either sewing them securely into the center of a motif or by crocheting a small base around them and joining this base to surrounding elements.
Ensure the entire structure remains flexible enough to drape comfortably around the neck.
Backing (Optional but Recommended): For a more robust and smooth finish, consider crocheting a simple mesh or solid backing in Cream thread, slightly smaller than the main lace piece, and sewing it to the back. This also helps hide any joining threads.
Neckband: Once the main lace piece is assembled, attach a simple chain cord (approx. 100-120 chs) on each side of the top edge of the necklace. These can be tied at the back of the neck, or you can attach a clasp.
Finishing: Weave in all loose ends carefully. Gently block the necklace to set its shape, if desired.