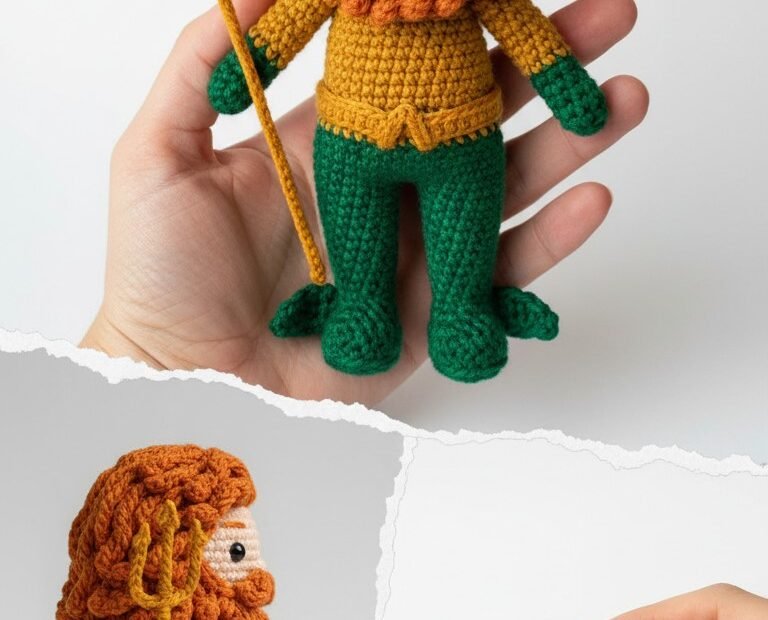
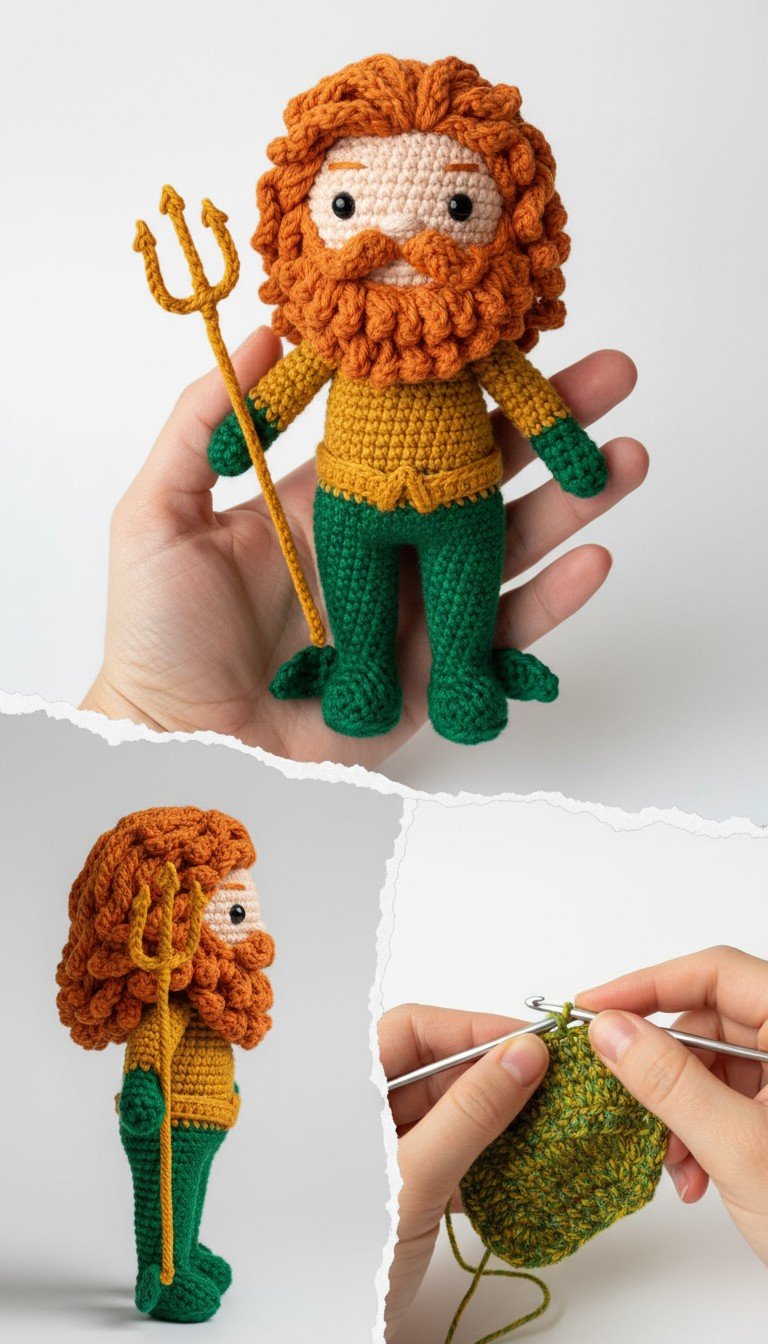
Dive into the deep blue with this captivating Aquaman Amigurumi crochet pattern! Recreate the legendary King of Atlantis with his iconic golden armor, emerald green suit, and fiery red hair and beard. This detailed guide makes crafting your own superhero doll a fun and rewarding project, perfect for fans of DC Comics or anyone who loves unique handmade treasures.
Bring the Justice League to Life with Your Hook
Imagine the joy of holding your very own handcrafted Aquaman, ready to protect the oceans. This pattern is designed to be enjoyable for intermediate crocheters, offering clear steps to create a display-worthy piece. Whether you’re making it for a fellow fan, as a special gift, or to expand your own amigurumi collection, this Aquaman doll will surely make a splash!
Crochet Pattern: Craft Your Own Ocean King: An Aquaman Amigurumi Crochet Pattern
Materials
Worsted weight yarn in Light Peach (Skin Tone)
Worsted weight yarn in Rust Orange (Hair/Beard)
Worsted weight yarn in Golden Yellow (Top/Belt/Trident)
Worsted weight yarn in Emerald Green (Pants/Sleeves/Fins)
Small amount of Black yarn for embroidery
Crochet hook: 2.5mm or 3.0mm (or size suitable for your yarn to achieve tight stitches)
Safety eyes: 6mm black
Polyester fiberfill for stuffing
Tapestry needle for assembly and embroidery
Stitch marker
Scissors
Abbreviations
MR: Magic Ring
ch: Chain
sc: Single Crochet
inc: Increase (2 sc in one stitch)
dec: Decrease (sc 2 stitches together)
sl st: Slip Stitch
FO: Fasten Off
st(s): Stitch(es)
( ): Repeat instructions in parentheses for the specified number of times
[ ]: Total number of stitches at the end of the round
Instructions
Work in continuous rounds unless otherwise specified. Use a stitch marker to keep track of your first stitch in each round.
Head (Light Peach Yarn)
R1: MR 6 sc [6]
R2: 6 inc [12]
R3: (1 sc, inc) x6 [18]
R4: (2 sc, inc) x6 [24]
R5: (3 sc, inc) x6 [30]
R6: (4 sc, inc) x6 [36]
R7-13: 36 sc (7 rounds) [36]
Insert safety eyes between R10 and R11, approximately 6-7 stitches apart.
R14: (4 sc, dec) x6 [30]
R15: (3 sc, dec) x6 [24]
Start stuffing firmly.
R16: (2 sc, dec) x6 [18]
R17: (1 sc, dec) x6 [12]
FO, leave a long tail for sewing.
Body (Start with Golden Yellow Yarn)
R1: MR 6 sc [6]
R2: 6 inc [12]
R3: (1 sc, inc) x6 [18]
R4: (2 sc, inc) x6 [24]
R5-9: 24 sc (5 rounds) [24]
Change to Emerald Green yarn.
R10-17: 24 sc (8 rounds) [24]
FO, leave a long tail for sewing to head. Stuff firmly.
Legs (Make 2 – Emerald Green Yarn)
R1: MR 6 sc [6]
R2: 6 inc [12]
R3: (1 sc, inc) x6 [18]
R4-5: 18 sc (2 rounds) [18]
R6: (1 sc, dec) x6 [12]
R7-15: 12 sc (9 rounds) [12]
Stuff firmly. FO, leave a long tail for sewing.
Leg Fins (Make 4 – Emerald Green Yarn)
Ch 4. Starting in the 2nd ch from hook: sl st, sc, hdc.
FO, leave a tail for sewing.
Arms (Make 2)
Start with Golden Yellow Yarn.
R1: MR 5 sc [5]
R2: 5 inc [10]
R3-6: 10 sc (4 rounds) [10]
Change to Emerald Green Yarn.
R7-10: 10 sc (4 rounds) [10]
Stuff lightly. FO, leave a long tail for sewing.
Hair Cap (Rust Orange Yarn)
R1: MR 6 sc [6]
R2: 6 inc [12]
R3: (1 sc, inc) x6 [18]
R4: (2 sc, inc) x6 [24]
R5: (3 sc, inc) x6 [30]
R6: (4 sc, inc) x6 [36]
R7-8: 36 sc (2 rounds) [36]
FO, leave a long tail for sewing. This forms the base cap for the hair.
For each curl: Attach a length of yarn to a stitch on the hair cap or directly to the head where hair/beard should be. Ch 7, then sl st into the 2nd ch from hook and continue sl st in each of the remaining 5 chs down the chain. Sl st into the same stitch where the yarn was attached.
Repeat this process densely across the hair cap and around the face to create the curly hair and full beard as pictured.
Belt Detail (Golden Yellow Yarn)
Belt Band: Ch enough stitches to comfortably fit around the doll’s waist. Sl st into the first ch to form a loop. FO, leaving a tail for sewing the ends together if needed, or if working in rounds, continue to next step.
‘V’ Shapes (Make 2): Ch 4. Sc in 2nd ch from hook, hdc in next ch, dc in last ch. FO, leave a tail for sewing.
Trident (Golden Yellow Yarn)
Shaft: Ch 25. Starting in the 2nd ch from hook, sc in each ch across. [24 sc]
Top Prongs (working off the last sc of the shaft):
Ch 4, sc in 2nd ch from hook, hdc in next ch, sl st in last ch. (Central Prong)
Sl st into the base of the central prong (where the ch 4 started).
Ch 3, sc in 2nd ch from hook, sl st in last ch. (Side Prong 1)
Sl st into the base.
Ch 3, sc in 2nd ch from hook, sl st in last ch. (Side Prong 2)
FO, weave in ends.
Assembly
Sew the head to the body.
Sew the legs to the bottom of the body.
Sew the arms to the sides of the body.
Sew the hair cap onto the top of the head.
Attach the individual hair curls and beard curls as described above, shaping them for volume.
Embroider small eyebrows above the safety eyes using black yarn.
Attach the belt band around the doll’s waist. Sew the two ‘V’ shapes onto the front of the belt.