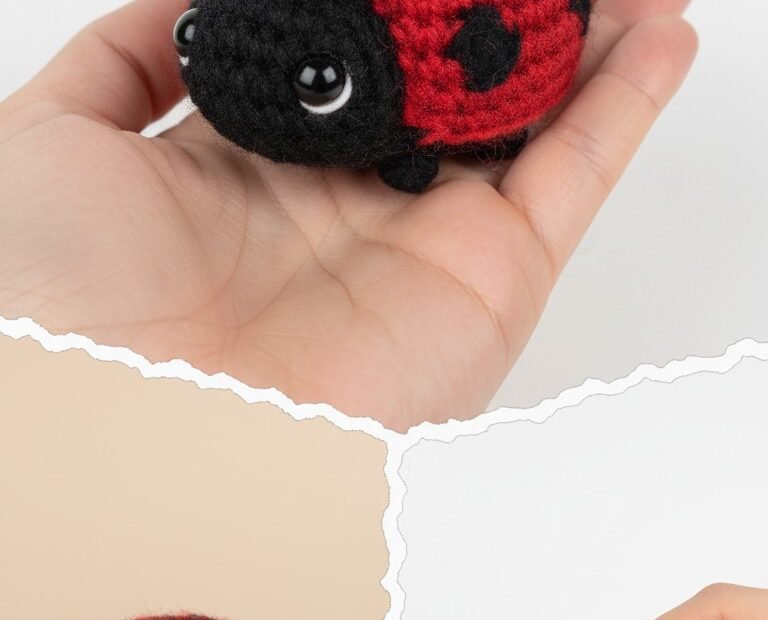
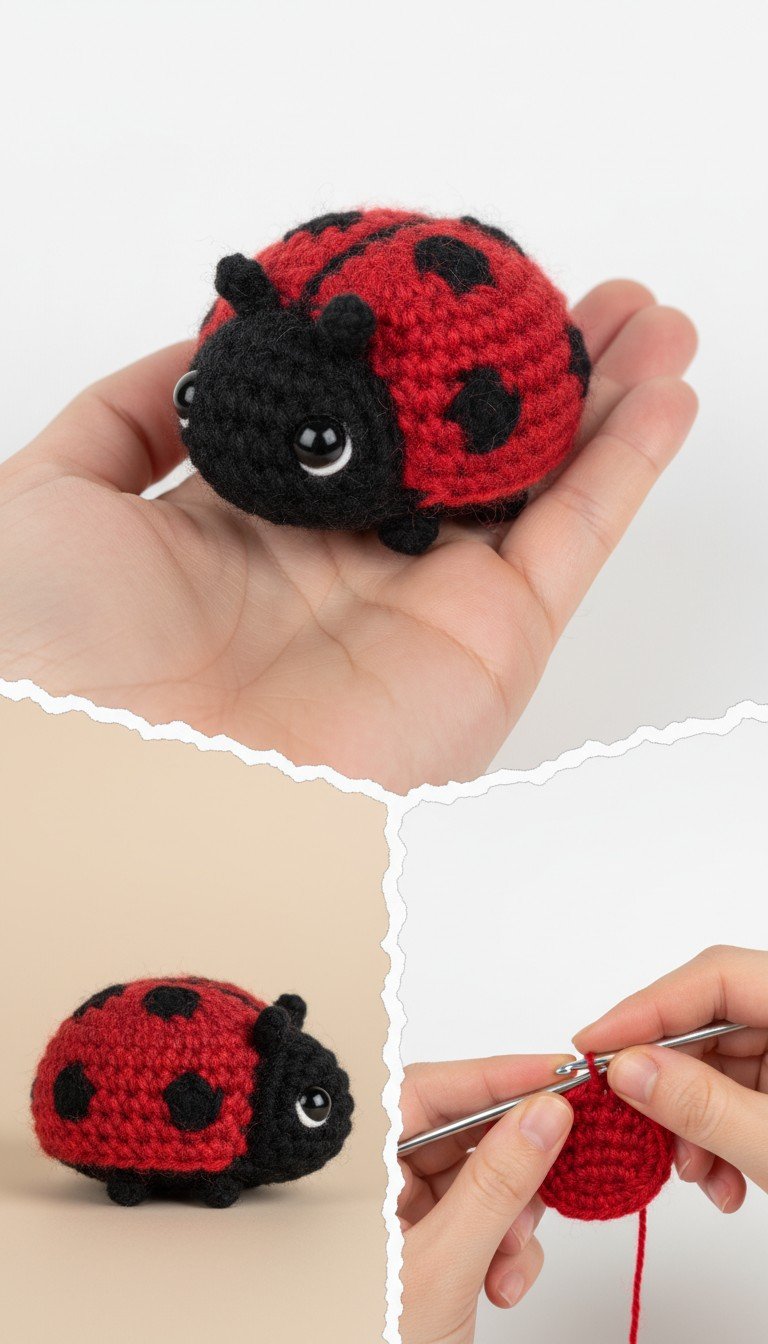
Bring a touch of nature’s charm into your home with this adorable crochet ladybug amigurumi! Perfect for beginners, this quick and easy pattern will guide you through creating your very own little lucky charm. Whether for decor, a thoughtful gift, or a delightful toy, this cute ladybug is sure to spread joy and smiles wherever it goes.
Why You’ll Love Crocheting This Lucky Ladybug
There’s something incredibly satisfying about creating a cute amigurumi, and this ladybug is no exception. Its vibrant colors and cheerful design make it a standout project. Not only is it a fantastic way to practice basic crochet stitches, but the finished bug also makes a wonderful desk companion, a charming addition to a child’s room, or a unique handmade gift for friends and family.
Crochet Pattern: Crochet a Cute Ladybug Amigurumi: Free Pattern for Beginners!
Materials
Worsted weight yarn in Red
Worsted weight yarn in Black
Small amount of white yarn (for eye reflection) or White paint pen
2.5mm or 3.0mm crochet hook (or size suitable for your yarn to achieve tight stitches)
6mm safety eyes (x2)
Polyester fiberfill for stuffing
Tapestry needle
Stitch marker
Scissors
Abbreviations
MR: Magic Ring
sc: single crochet
inc: increase (2 sc in one stitch)
dec: decrease (sc 2 stitches together)
sl st: slip stitch
ch: chain
FO: Fasten off
Instructions
This pattern is worked in continuous rounds unless otherwise specified. Use a stitch marker to mark the first stitch of each round.
Head (Black yarn)
R1: Make a MR with 6 sc (6)
R2: 6 inc (12)
R3: (1 sc, inc) x 6 (18)
R4-6: 18 sc (3 rounds)
Insert safety eyes between R4 and R5, approximately 4-5 stitches apart.
R7: (1 sc, dec) x 6 (12)
Start stuffing the head firmly.
R8: 6 dec (6)
FO, leaving a long tail for sewing. Close the remaining hole with the tail and a tapestry needle.
Body (Red yarn)
R1: Make a MR with 6 sc (6)
R2: 6 inc (12)
R3: (1 sc, inc) x 6 (18)
R4: (2 sc, inc) x 6 (24)
R5: (3 sc, inc) x 6 (30)
R6-9: 30 sc (4 rounds)
R10: (3 sc, dec) x 6 (24)
R11: (2 sc, dec) x 6 (18)
Start stuffing the body firmly.
R12: (1 sc, dec) x 6 (12)
R13: 6 dec (6)
FO, leaving a long tail for sewing. Close the remaining hole.
Spots (Black yarn – make 6-8)
Make a MR with 6 sc.
Sl st to the first sc to close the ring.
FO, leaving a long tail for sewing.
Antennae (Black yarn – make 2)
Ch 3.
Sl st into the 2nd ch from the hook.
Sl st into the next ch.
FO, leaving a long tail for sewing.
Legs (Black yarn – make 6)
Ch 3.
Sl st into the 2nd ch from the hook.
Sl st into the next ch.
FO, leaving a long tail for sewing.
Assembly
Attach Head to Body: Using the tail from the head and a tapestry needle, sew the head securely to the front top portion of the red body.
Attach Spots: Position the black spots symmetrically on the red body, resembling a ladybug’s pattern. Sew them firmly in place using the tails.
Attach Antennae: Sew the two antennae to the top of the head, slightly above and between the eyes.
Attach Legs: Sew the six legs evenly along the bottom edge of the red body, three on each side.
Finishing Touches: Use a tiny dab of white yarn with your tapestry needle or a white paint pen to add a small dot of reflection to each safety eye, bringing your ladybug to life! Weave in and trim all remaining yarn ends.