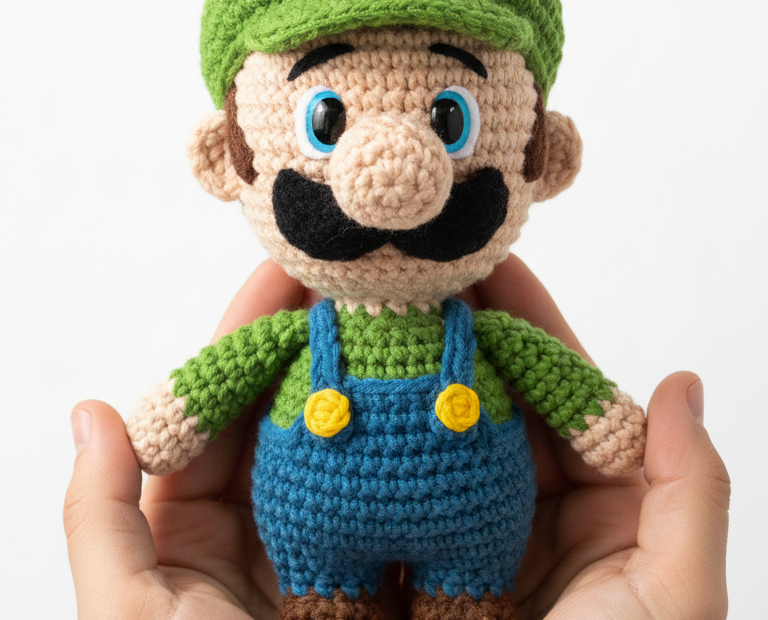
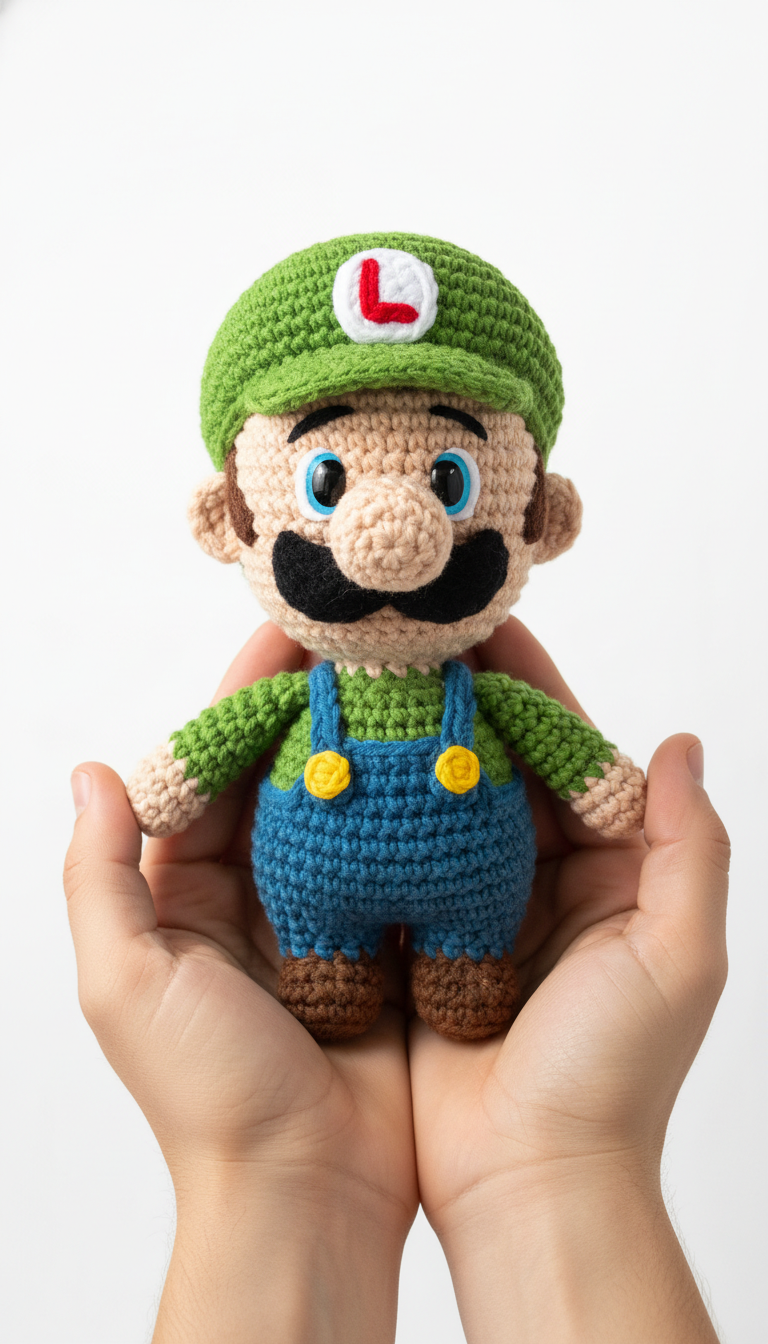
Embark on a delightful crafting adventure to create your very own Luigi amigurumi! This detailed crochet pattern brings the beloved green-clad hero from the Super Mario universe to life in adorable yarn form. Perfect for fans of all ages, this project results in a charming, handmade collectible that’s sure to brighten any display or make a cherished gift.
Capture the Magic of the Mushroom Kingdom
There’s something incredibly special about crafting a character you love. This Luigi amigurumi pattern allows you to infuse your handmade touch into a classic video game icon. Imagine the joy of seeing your favorite plumber take shape, stitch by stitch. Whether you’re making it for yourself or a fellow Nintendo enthusiast, this project is a rewarding way to celebrate the magic of the Mushroom Kingdom.
Crochet Pattern: Crochet Luigi Amigurumi Pattern: Craft Your Own Super Plumber!
Materials
Worsted weight yarn in: Light Brown (skin), Dark Brown (hair, shoes), Green (shirt, hat), Blue (overalls), Yellow (buttons), Black (mustache, eyebrows), White (hat logo background), Red (hat logo ‘L’), Light Blue (eyes)
3.0mm crochet hook
9mm safety eyes (or black and light blue embroidery thread for eyes)
Polyester fiberfill for stuffing
Yarn needle
Stitch markers
Scissors
Abbreviations
MR: Magic Ring
sc: single crochet
inc: increase (2 sc in one stitch)
dec: decrease (sc 2 stitches together)
sl st: slip stitch
ch: chain
FO: Fasten Off
BLO: Back Loop Only
()*x: Repeat instructions in parentheses x times
[]: Total number of stitches at the end of the round/row
Instructions
Head (Light Brown Yarn)
R1: MR 6 sc [6]
R2: 6 inc [12]
R3: (1 sc, inc)*6 [18]
R4: (2 sc, inc)*6 [24]
R5: (3 sc, inc)*6 [30]
R6: (4 sc, inc)*6 [36]
R7-R12: sc around (6 rounds) [36]
R13: (4 sc, dec)*6 [30]
R14: (3 sc, dec)*6 [24]
R15: (2 sc, dec)*6 [18]
Insert safety eyes between R10 and R11, about 6 stitches apart. Stuff firmly.
R16: (1 sc, dec)*6 [12]
R17: 6 dec [6]
FO, weave in tail.
Ears (Make 2, Light Brown Yarn)
R1: MR 6 sc [6]
FO, leave tail for sewing.
Arms (Make 2)
Start with Light Brown Yarn
R1: MR 6 sc [6]
R2: (1 sc, inc)*3 [9]
R3: sc around [9]
Change to Green Yarn
R4-R9: sc around (6 rounds) [9]
Sl st to next stitch, FO, leave a long tail for sewing. Do not stuff.
Legs (Make 2)
Start with Dark Brown Yarn (for shoes)
R1: Ch 5, sc in 2nd ch from hook, 2 sc, 3 sc in last ch. Working on other side of chain: 3 sc, inc [11]
R2: inc, 3 sc, 3 inc, 3 sc, 2 inc [17]
R3: sc around [17]
R4: 5 sc, 4 dec, 4 sc [13]
R5: 3 sc, 3 dec, 4 sc [10]
Stuff foot firmly.
Change to Blue Yarn
R6 (BLO): sc around [10]
R7-R12: sc around (6 rounds) [10]
FO for Leg 1. For Leg 2, do not FO. Stuff firmly.
Join Legs & Continue Body
Using Blue Yarn
From Leg 2, Ch 2, join to Leg 1 with sc. Sc around Leg 1 (10 sc), sc in 2 ch, sc around Leg 2 (10 sc), sc in 2 ch [24]
R1-R4: sc around (4 rounds) [24]
R5: (2 sc, dec)*6 [18]
Change to Green Yarn
R6-R9: sc around (4 rounds) [18]
Sl st to next stitch. FO, leave a long tail for sewing to head. Stuff body firmly.
Overall Front Bib (Blue Yarn)
Ch 9.
R1: Sc in 2nd ch from hook, 7 sc [8]
R2-R5: Ch 1, turn. 8 sc [8]
FO, leave a tail for sewing.
Overall Straps (Make 2, Blue Yarn)
Ch 15, sl st into second ch from hook and across (14 sl st). FO, leave tail for sewing.
Yellow Buttons (Make 2, Yellow Yarn)
MR 6 sc. Sl st to first sc. FO, leave tail for sewing.
Mustache (Black Yarn)
Ch 7. Sc in 2nd ch from hook, sc in next 2 ch, sl st in next ch, sc in next 2 ch, sl st in last ch. FO, leave tail for sewing.
Hair/Sideburns (Make 2, Dark Brown Yarn)
MR 6 sc. Sl st to first sc. FO, leave tail for sewing.
Hat (Green Yarn)
R1: MR 6 sc [6]
R2: 6 inc [12]
R3: (1 sc, inc)*6 [18]
R4: (2 sc, inc)*6 [24]
R5: (3 sc, inc)*6 [30]
R6: (4 sc, inc)*6 [36]
R7: (5 sc, inc)*6 [42]
R8-R13: sc around (6 rounds) [42]
R14 (Brim): Ch 1, turn. Sc in first 10 stitches.
R15: Ch 1, turn. Sc in first 10 stitches.
R16: Ch 1, turn. Sc in first 10 stitches.
FO, leave a tail for sewing.
Hat Logo (White and Red Yarn)
White Circle:
R1: MR 6 sc [6]
R2: 6 inc [12]
Sl st to first sc. FO, leave tail for sewing.
Red ‘L’:
Using red embroidery thread or thin yarn, embroider an ‘L’ onto the white circle.
Assembly
Sew the head to the body. Ensure it’s centered.
Attach the arms to the sides of the green shirt portion of the body, just below the neck.
Sew the ears onto the sides of the head between R8 and R9.
Sew the Overall Front Bib to the front of the blue body section.
Sew the overalls straps from the top corners of the front bib, crossing them in the back, and sewing them to the back of the blue overall section.
Attach the yellow buttons to the top corners of the front bib, where the straps originate.
Sew the dark brown hair/sideburns onto the sides of the head, above the ears.
Sew the black mustache just under the nose.
Embroider thin black eyebrows above the safety eyes with black yarn.
Sew the hat onto the head.
Sew the white hat logo (with the red ‘L’) onto the front of the hat brim.