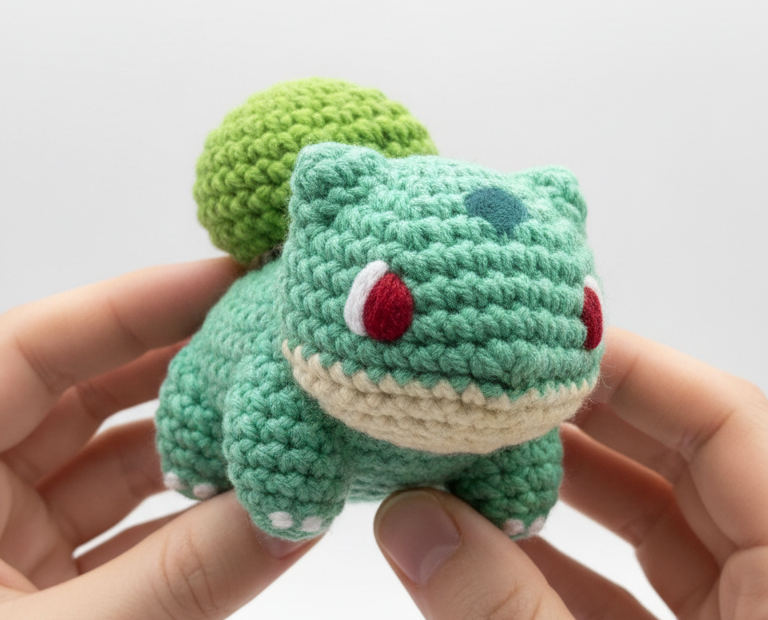
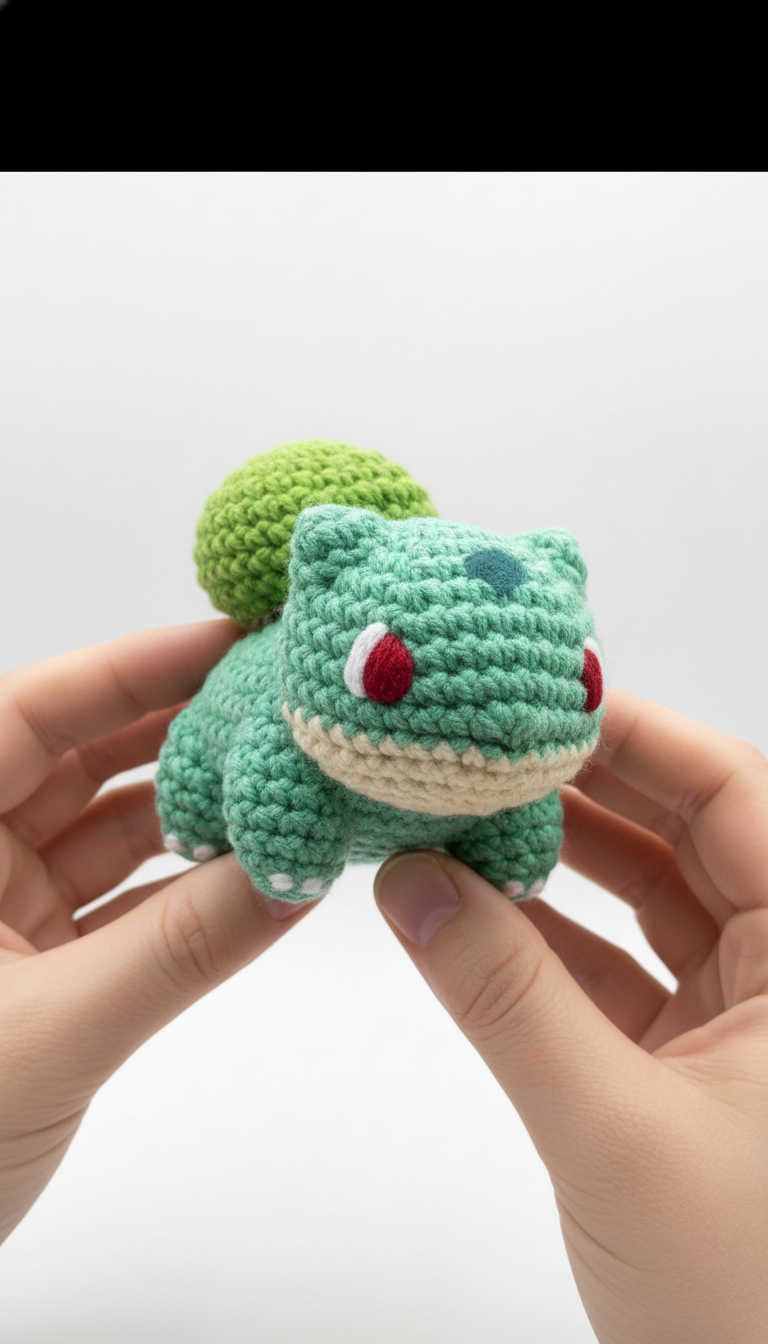
Dive into the world of Pokémon with this charming Bulbasaur amigurumi pattern! Perfect for fans of all ages, this crochet project captures the beloved Grass/Poison-type starter in a cuddly, miniature form. Whether you’re making it for a gift or to adorn your own collection, this little guy is sure to bring a smile to any trainer’s face. Get ready to hook your way to a super-effective creation!
Why This Bulbasaur Amigurumi is a Must-Make for Every Trainer
There’s something truly special about crafting your own Pokémon companion. This Bulbasaur pattern allows you to bring a piece of the Kanto region to life with your own hands. It’s not just a toy; it’s a nostalgic piece of art, a perfect desk buddy, or a treasured gift for a fellow Pokémon enthusiast. Its compact size makes it a quick and satisfying project!
Crochet Pattern: Crochet Your Own Adorable Bulbasaur Amigurumi: A Free Pattern!
Materials
Worsted weight yarn in Mint Green (for body)
Worsted weight yarn in Lime Green (for bulb)
Worsted weight yarn in Cream (for mouth)
Small amounts of Red, White, and Light Blue embroidery floss (for details)
2.5mm or 3.0mm crochet hook
Stitch marker
Tapestry needle
Polyester fiberfill for stuffing
Abbreviations
MR: Magic Ring
sc: Single Crochet
inc: Increase (2 sc in one stitch)
dec: Decrease (single crochet 2 together)
st(s): Stitch(es)
ch: Chain
FO: Fasten Off
Instructions
Gauge: Not critical for this project, just ensure stitches are tight enough so stuffing doesn’t show through.
Notes: Work in continuous rounds unless otherwise specified. Use a stitch marker to keep track of the first stitch of each round.
Body and Head (Start with Mint Green yarn)
R1: Start with MR, 6 sc (6)
R2: 6 inc (12)
R3: (sc, inc) x 6 (18)
R4: (2 sc, inc) x 6 (24)
R5: (3 sc, inc) x 6 (30)
R6: (4 sc, inc) x 6 (36)
R7-R10: 36 sc (4 rounds)
R11: (4 sc, dec) x 6 (30)
R12: (3 sc, dec) x 6 (24)
Stuff head firmly. Continue stuffing as you go.
R13: (2 sc, dec) x 6 (18)
R14: 18 sc (1 round)
Change to Cream yarn.
R15: (sc, dec) x 6 (12)
Change to Mint Green yarn.
R16: 12 sc (1 round)
R17: 6 inc (18)
R18: (2 sc, inc) x 6 (24)
R19: (3 sc, inc) x 6 (30)
R20-R23: 30 sc (4 rounds)
R24: (3 sc, dec) x 6 (24)
R25: (2 sc, dec) x 6 (18)
R26: (sc, dec) x 6 (12)
R27: 6 dec (6)
FO, cut yarn, and weave tail through remaining 6 sts, pull tight to close. Weave in end.
Ears (Make 2 – Mint Green yarn)
Ch 4.
Row 1: Sc in 2nd ch from hook, sc in next 2 ch. Ch 1, turn (3)
Row 2: Dec, sc. Ch 1, turn (2)
Row 3: Dec. Ch 1, turn (1)
FO, leaving a long tail for sewing.
Legs (Make 4 – Mint Green yarn)
R1: Start with MR, 6 sc (6)
R2: 6 sc (1 round)
FO, leaving a long tail for sewing. Lightly stuff if desired.
Bulb (Lime Green yarn)
R1: Start with MR, 6 sc (6)
R2: 6 inc (12)
R3: (sc, inc) x 6 (18)
R4: (2 sc, inc) x 6 (24)
R5: (3 sc, inc) x 6 (30)
R6-R9: 30 sc (4 rounds)
R10: (3 sc, dec) x 6 (24)
R11: (2 sc, dec) x 6 (18)
Stuff bulb firmly.
FO, leaving a long tail for sewing. Use the tail to sew the opening flat, creating a slightly oval base for attachment.
Assembly and Embroidery
Sew the Ears to the top sides of the Bulbasaur’s head, slightly angled.
Sew the Legs to the underside of the body, positioning two in the front and two in the back.
Sew the stuffed Bulb securely to Bulbasaur’s back.
Eyes: Using Red embroidery floss, embroider two oval shapes for the eyes on the face. Add a small vertical stitch of White floss on the upper part of each red eye for reflection.
Head Spot: Using Light Blue embroidery floss, embroider a small oval spot on Bulbasaur’s forehead.
Feet Spots: Using White embroidery floss, embroider two small dots on the top of each foot.