Embark on a delightful crochet adventure to create your very own Star Warrior! This free Kirby amigurumi pattern will guide you through crafting the beloved pink puffball from the iconic Nintendo game. Perfect for gifting to a fellow fan or adding a touch of cuteness to your own collection, this project is sure to bring a smile to anyone’s face.
Bring the World of Dream Land to Life with Your Hook
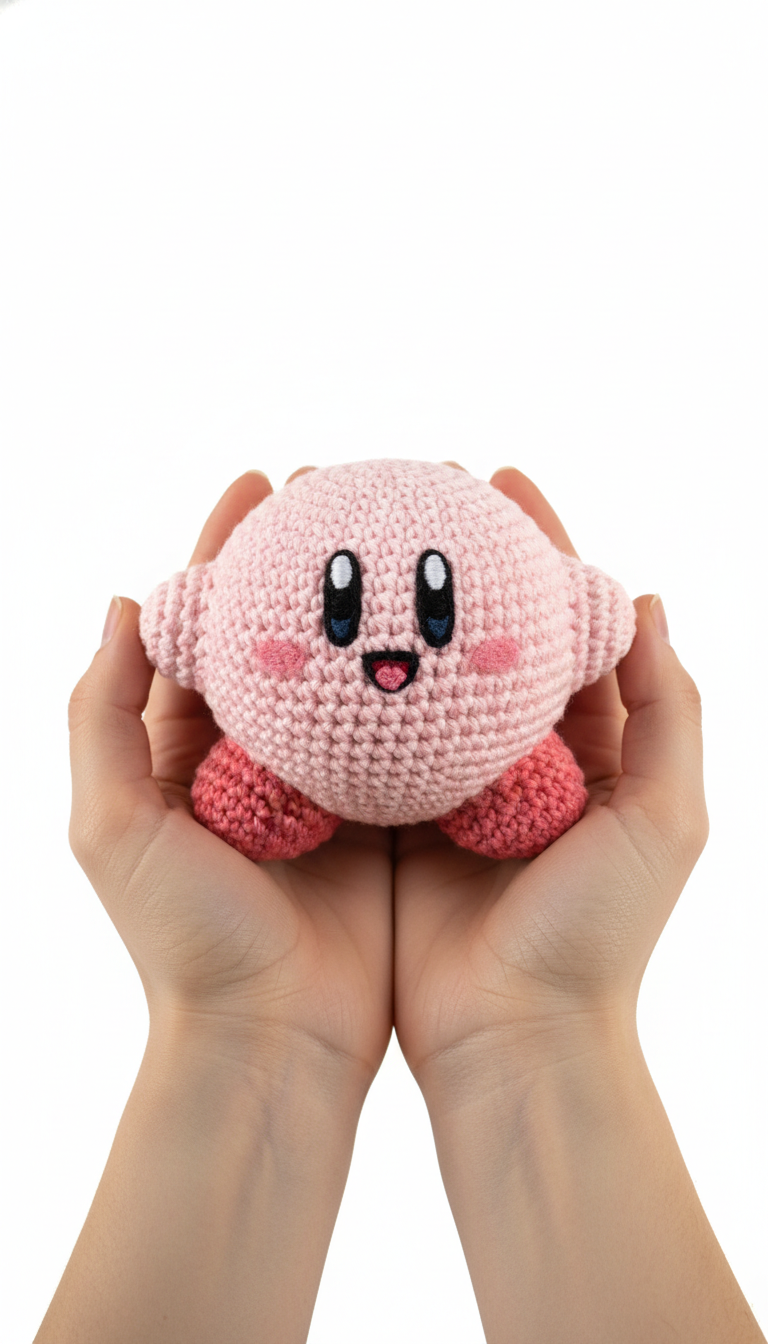
There’s something uniquely satisfying about hand-making a character you love. This Kirby amigurumi isn’t just a toy; it’s a huggable piece of nostalgia, a testament to your crafting skills, and a charming companion. Imagine the joy of seeing this little star hero come to life, ready for new adventures right in your hands.
Crochet Pattern: Crochet Your Own Adorable Kirby Amigurumi: A Free Pattern!
Materials
Worsted weight yarn in light pink (e.g., “Bubblegum”)
Worsted weight yarn in dark pink (e.g., “Raspberry”)
Black embroidery floss
White embroidery floss
Blue embroidery floss
3.5mm crochet hook
Yarn needle
Stitch markers
Polyester fiberfill for stuffing
Abbreviations
MR: Magic Ring
ch: chain
sc: single crochet
inc: increase (2 sc in next stitch)
dec: decrease (sc 2 together)
sl st: slip stitch
FO: Fasten Off
( )*: Repeat instructions in parentheses number of times
[ ]: Total number of stitches in the round
Instructions
Body (Light Pink yarn)
R1: 6 sc in MR [6]
R2: (inc)*6 [12]
R3: (sc, inc)*6 [18]
R4: (2 sc, inc)*6 [24]
R5: (3 sc, inc)*6 [30]
R6: (4 sc, inc)*6 [36]
R7-R12: sc in each st around [36] (6 rounds)
R13: (4 sc, dec)*6 [30]
R14: (3 sc, dec)*6 [24]
R15: (2 sc, dec)*6 [18]
Start stuffing firmly, continue to stuff as you go.
R16: (sc, dec)*6 [12]
R17: (dec)*6 [6]
FO, weave in ends and close the small opening.
Arms (Make 2, Light Pink yarn)
R1: 6 sc in MR [6]
R2: sc in each st around [6]
Sl st to first sc, FO, leave a long tail for sewing. Do not stuff.
Feet (Make 2, Dark Pink yarn)
Ch 4
R1: sc in 2nd ch from hook, sc in next ch, 3 sc in last ch. Working on other side of ch: sc in next ch, 2 sc in last ch [9]
R2: inc, sc, 3 inc, sc, 2 inc [15]
R3-R4: sc in each st around [15] (2 rounds)
R5: (sc, dec)*5 [10]
Stuff lightly.
R6: (dec)*5 [5]
FO, leave a long tail for sewing. Weave in ends and close the small opening.
Assembly
Attach Arms: Position the arms on either side of the body, roughly between R8-R10. Sew securely.
Attach Feet: Position the feet on the bottom of the body, towards the front, symmetrically. Sew securely.
Facial Features
Eyes: Using white embroidery floss, embroider two large oval shapes for the eye bases. Then, using black embroidery floss, embroider smaller oval pupils on top of the white. Finish with a tiny dot of blue embroidery floss for the highlight on each pupil, and a tiny white stitch on the opposite side of the blue.
Mouth: Using black embroidery floss, embroider a curved “smile” shape below the eyes. Add a small ‘V’ shape inside for the tongue.
Cheeks: Using dark pink yarn or embroidery floss, embroider two small round blush marks on either side of the mouth, just below the eyes.