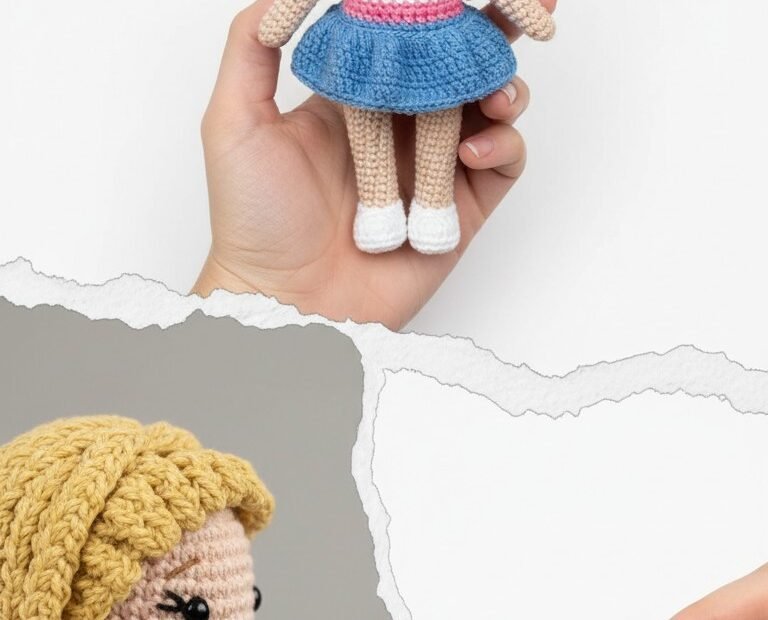
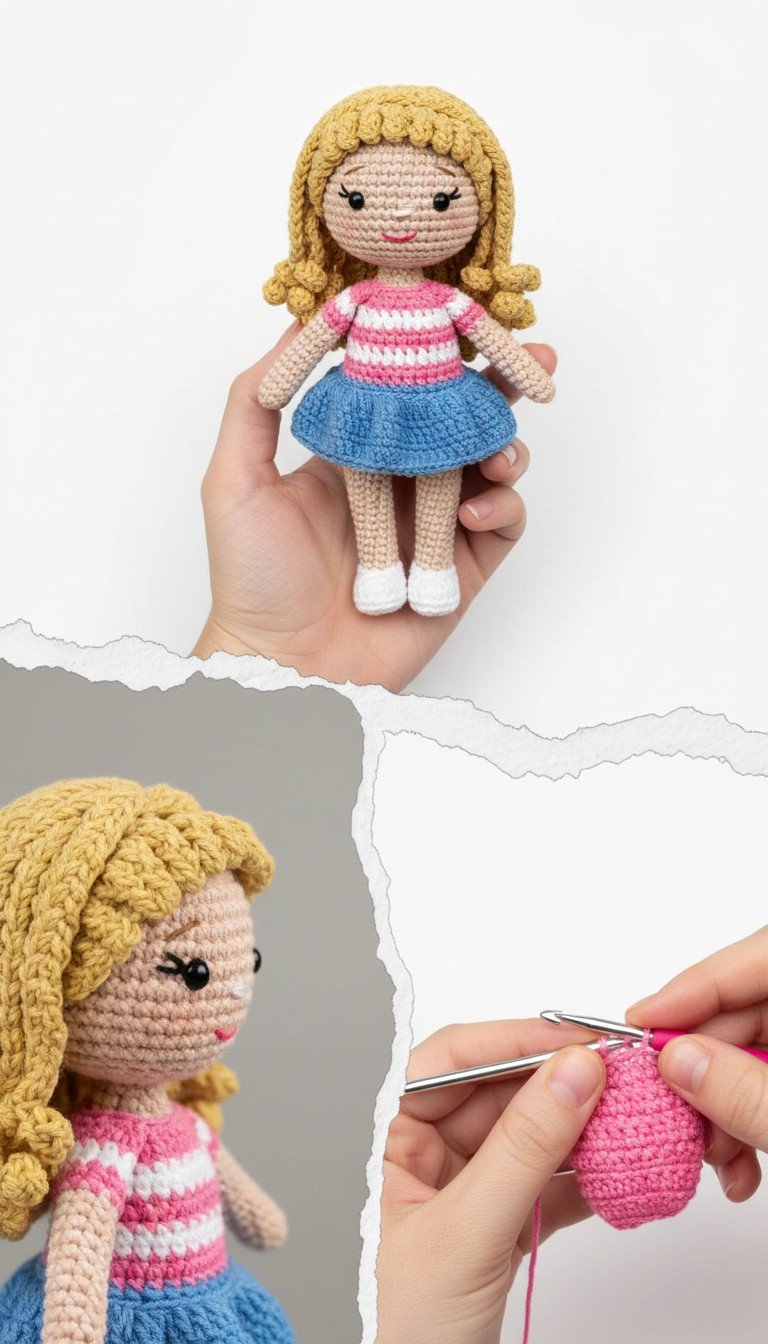
Bring a touch of handmade charm into your home with this adorable Amigurumi Doll Crochet Pattern! Perfect for crafters of all skill levels, this pattern guides you through creating a sweet doll with bouncy blonde curls, a striped shirt, and a playful blue skirt. She makes a wonderful gift for children or a delightful addition to any amigurumi collection. Get ready to crochet your new favorite companion!
Craft a Cherished Heirloom: The Joy of Handmade Amigurumi
There’s something truly special about a handmade doll. This Amigurumi doll isn’t just a toy; it’s a creation filled with love and care, destined to become a cherished heirloom. Imagine the smiles she’ll bring, sparking imaginative play and creating lasting memories. Crafting her offers a relaxing and rewarding experience, resulting in a unique gift that speaks volumes.
Crochet Pattern: Cute Amigurumi Doll Crochet Pattern: Craft Your Own Adorable Companion
Materials
Worsted weight yarn in: Light Beige (Skin tone)
Worsted weight yarn in: Yellow/Blonde (Hair)
Worsted weight yarn in: Pink (Shirt)
Worsted weight yarn in: White (Shirt, Shoes)
Worsted weight yarn in: Blue (Skirt)
Black embroidery floss
Red embroidery floss
2.5mm or 3.0mm crochet hook (adjust to your tension for tight stitches)
Polyester fiberfill for stuffing
Tapestry needle
Stitch markers
Scissors
Abbreviations
MR: Magic Ring
sc: Single Crochet
inc: Increase (2 sc in one stitch)
dec: Decrease (sc 2 together)
sl st: Slip Stitch
ch: Chain
BLO: Back Loop Only
FO: Fasten Off
Instructions
Head (Light Beige)
R1: 6 sc in MR (6)
R2: 6 inc (12)
R3: (1 sc, inc) x 6 (18)
R4: (2 sc, inc) x 6 (24)
R5: (3 sc, inc) x 6 (30)
R6: (4 sc, inc) x 6 (36)
R7: (5 sc, inc) x 6 (42)
R8-15: 42 sc (8 rounds)
R16: (5 sc, dec) x 6 (36)
R17: (4 sc, dec) x 6 (30)
R18: (3 sc, dec) x 6 (24)
Stuff head firmly.
R19: (2 sc, dec) x 6 (18)
R20: (1 sc, dec) x 6 (12)
R21: 6 dec (6)
FO, leave a long tail for sewing.
Body (Start Light Beige, change for shirt)
R1: 6 sc in MR (6)
R2: 6 inc (12)
R3: (1 sc, inc) x 6 (18)
R4: (2 sc, inc) x 6 (24)
R5: (3 sc, inc) x 6 (30)
R6-7: 30 sc (2 rounds)
Change to Pink yarn.
R8-9: 30 sc (2 rounds)
Change to White yarn.
R10-11: 30 sc (2 rounds)
Change to Pink yarn.
R12-13: 30 sc (2 rounds)
Change to White yarn.
R14-15: 30 sc (2 rounds)
Change to Pink yarn.
R16: (3 sc, dec) x 6 (24)
Change to Light Beige yarn.
R17-18: 24 sc (2 rounds)
Stuff body firmly. FO, leave a long tail for sewing to the head.
Arms (Make 2 – Start Light Beige, change for shirt)
R1: 6 sc in MR (6)
R2: (1 sc, inc) x 3 (9)
R3-6: 9 sc (4 rounds)
Change to White yarn.
R7-8: 9 sc (2 rounds)
Change to Pink yarn.
R9-10: 9 sc (2 rounds)
Change to White yarn.
R11-12: 9 sc (2 rounds)
Stuff lightly. FO, leave a long tail for sewing.
Legs (Make 2 – Start White for shoes, change for skin tone)
R1: 6 sc in MR (6)
R2: (1 sc, inc) x 3 (9)
R3-4: 9 sc (2 rounds)
Change to Light Beige yarn.
R5-12: 9 sc (8 rounds)
Stuff firmly. Flatten opening and sc across (4 sc). FO, leave a long tail for sewing.
Skirt (Blue)
Work this directly onto the body after the shirt and waist are completed.
With blue yarn, join to the 15th round of the body (the last round of the pink shirt, before the light beige waist begins) in BLO or by picking up stitches evenly around. (30 stitches)
R1: Sc in each stitch around (30)
R2: (4 sc, inc) x 6 (36)
R3: (5 sc, inc) x 6 (42)
R4-6: 42 sc (3 rounds)
R7: (6 sc, inc) x 6 (48)
R8-10: 48 sc (3 rounds)
FO, weave in ends.
Hair (Yellow/Blonde)
Wig Cap:
R1: 6 sc in MR (6)
R2: 6 inc (12)
R3: (1 sc, inc) x 6 (18)
R4: (2 sc, inc) x 6 (24)
R5: (3 sc, inc) x 6 (30)
R6: (4 sc, inc) x 6 (36)
R7: (5 sc, inc) x 6 (42)
R8-11: 42 sc (4 rounds)
Sl st to join, FO, leave tail for sewing. This will cover the top of the head.
Curls (Make about 30-40, adjust as needed):
Ch 12. Starting in 2nd ch from hook, 2 sc in each ch across. (22 sc)
Sl st into the base of the first chain. FO, leave a long tail for sewing.
Sew these curls onto the wig cap, starting from the outside edge and working inwards, creating bangs at the forehead.
Assembly and Facial Features:
Sew the body to the head securely.
Sew the arms to the sides of the body, just below the neck.
Sew the legs to the bottom of the body.
Attach the wig cap to the head, then sew on the curls to create the doll’s hairstyle.
With black embroidery floss, embroider small oval eyes. Add a tiny white stitch for a highlight.
With white embroidery floss, embroider a small horizontal stitch for the nose.
With red embroidery floss, embroider a small curved line for the mouth.