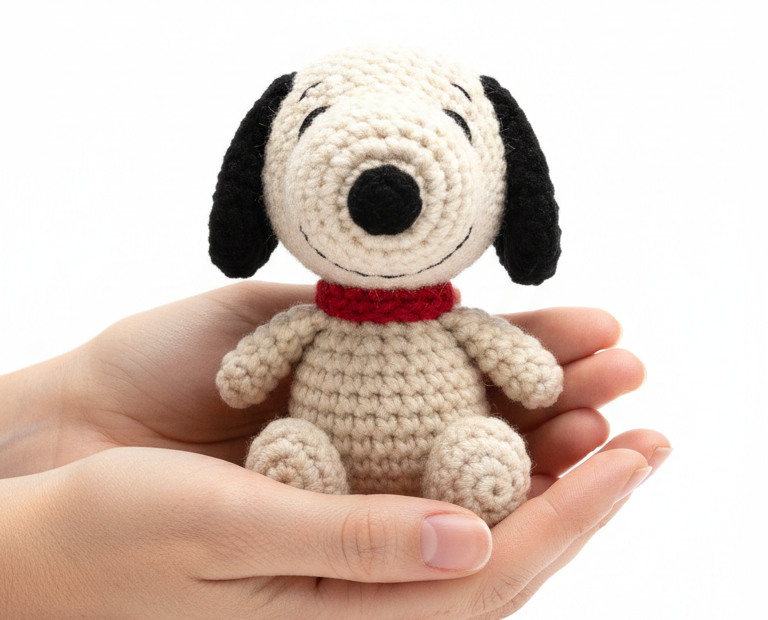
Bring a smile to anyone’s face with this adorable amigurumi puppy crochet pattern! Inspired by a classic beloved character, this pattern guides you through creating your very own huggable canine companion. Perfect for beginners and experienced crocheters alike, this project promises a charming result that’s sure to become a cherished gift or a delightful addition to your collection.
Bring Joy with This Adorable Crochet Companion
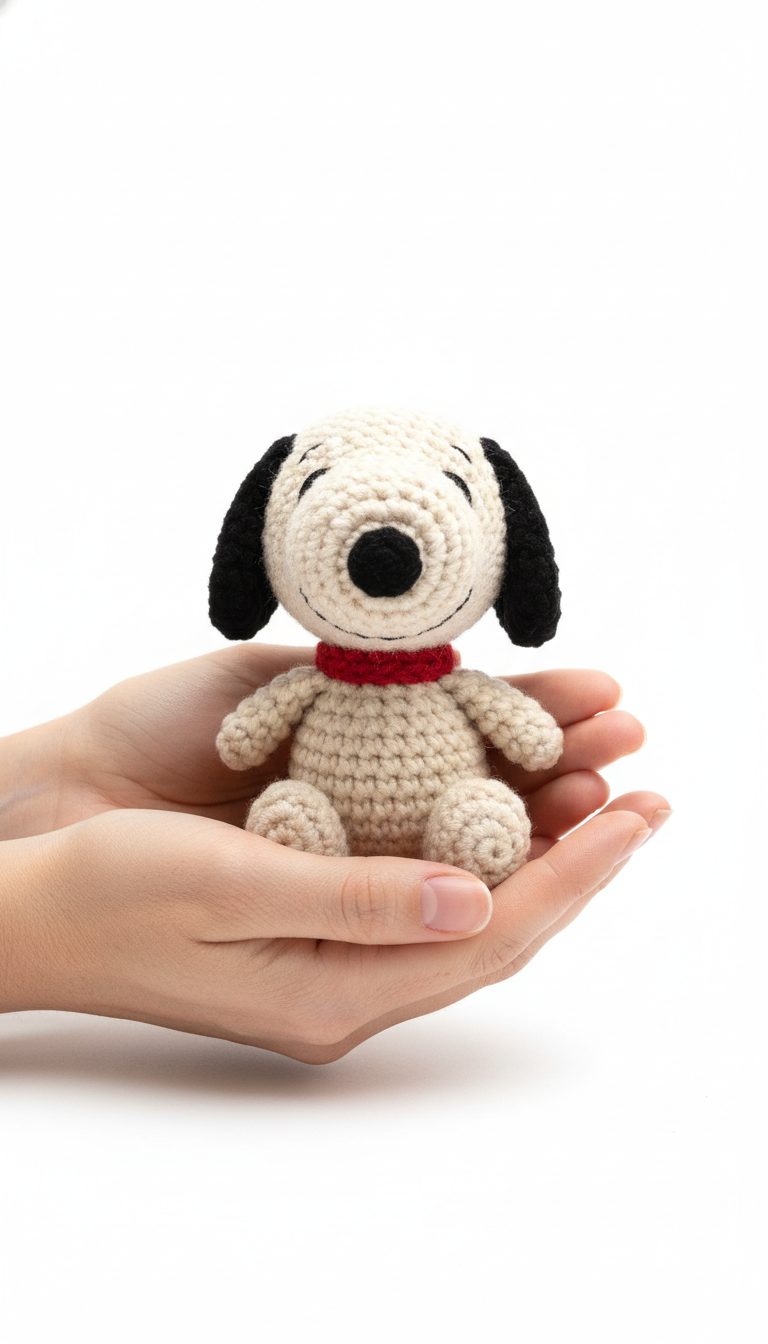
Handmade gifts carry a special warmth, and this amigurumi puppy is no exception. Whether you’re making it for a child, a friend, or simply to brighten your own space, the joy of crafting this sweet dog is matched only by the happiness it brings. It’s a fantastic way to practice your amigurumi skills and create something truly unique and full of character.
Crochet Pattern: Cute Amigurumi Puppy Crochet Pattern: Create Your Own Beloved Canine Friend
Materials
Worsted weight yarn in Cream (approx. 50g)
Worsted weight yarn in Black (approx. 20g)
Worsted weight yarn in Red (approx. 5g)
3.0mm crochet hook
Stitch marker
Yarn needle
Fiberfill stuffing
Black embroidery floss (for eyes and smile)
Abbreviations
MR: Magic Ring
ch: chain
sc: single crochet
inc: increase (2 sc in one stitch)
dec: decrease (sc two stitches together)
sl st: slip stitch
FO: Fasten off
R: Round
Instructions
Welcome to creating your very own adorable puppy! This pattern is worked in continuous rounds unless otherwise stated. Use a stitch marker to keep track of the beginning of each round.
Head (Cream Yarn)
R1: MR, 6 sc (6)
R2: (inc) x6 (12)
R3: (sc, inc) x6 (18)
R4: (2 sc, inc) x6 (24)
R5: (3 sc, inc) x6 (30)
R6-R10: sc around (30)
R11: (3 sc, dec) x6 (24)
R12: (2 sc, dec) x6 (18)
Start stuffing firmly.
R13: (sc, dec) x6 (12)
R14: (dec) x6 (6)
FO, weave in tail and close hole.
Embroider Face: Using black embroidery floss, stitch two small horizontal lines for the eyes between R7 and R8, about 4 stitches apart. Create a small oval for the nose at the center of the face, starting from R5. Stitch a small smile line curving down from the nose.
Ears (Black Yarn, make 2)
R1: Ch 5. Starting in 2nd ch from hook, sc in next 3 ch, 3 sc in last ch. Continue on other side of chain: sc in next 2 st, 2 sc in last st (10)
R2: inc, sc in next 2, inc x3, sc in next 2, inc x2 (16)
R3: sc around (16)
Fold flat and sl st through both sides to close. FO, leaving a long tail for sewing.
Body (Cream Yarn)
R1: MR, 6 sc (6)
R2: (inc) x6 (12)
R3: (sc, inc) x6 (18)
R4: (2 sc, inc) x6 (24)
R5-R9: sc around (24)
R10: (2 sc, dec) x6 (18)
Start stuffing.
R11: (sc, dec) x6 (12)
FO, leaving a long tail for sewing.
Arms (Cream Yarn, make 2)
R1: MR, 6 sc (6)
R2-R5: sc around (6)
FO, leaving a long tail for sewing. Do not stuff or stuff very lightly.
Legs (Cream Yarn, make 2)
R1: MR, 8 sc (8)
R2-R6: sc around (8)
FO, leaving a long tail for sewing. Do not stuff or stuff very lightly.
Collar (Red Yarn)
R1: Ch 18. Join with sl st to first ch, being careful not to twist.
R2: ch 1, sc in each ch around. Join with sl st to first sc. (18)
FO, weave in ends.
Assembly
Sew the head to the top of the body.
Sew the ears to the sides of the head, slightly angled forward, between R3 and R4 of the head.
Sew the arms to the sides of the body, just below the neck.
Sew the legs to the bottom of the body.
Place the red collar around the puppy’s neck. You may secure it with a few stitches if desired.
Congratulations on completing your adorable Amigurumi Puppy! Enjoy your new handmade friend.