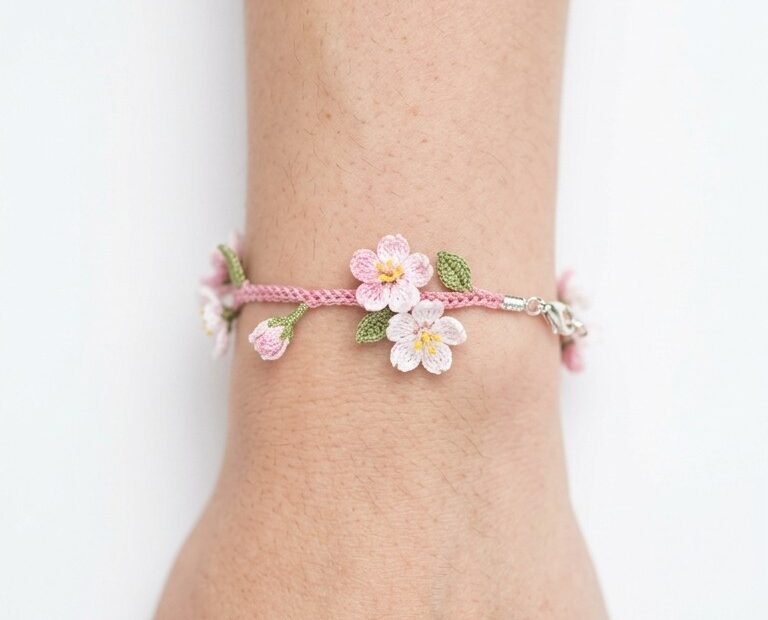
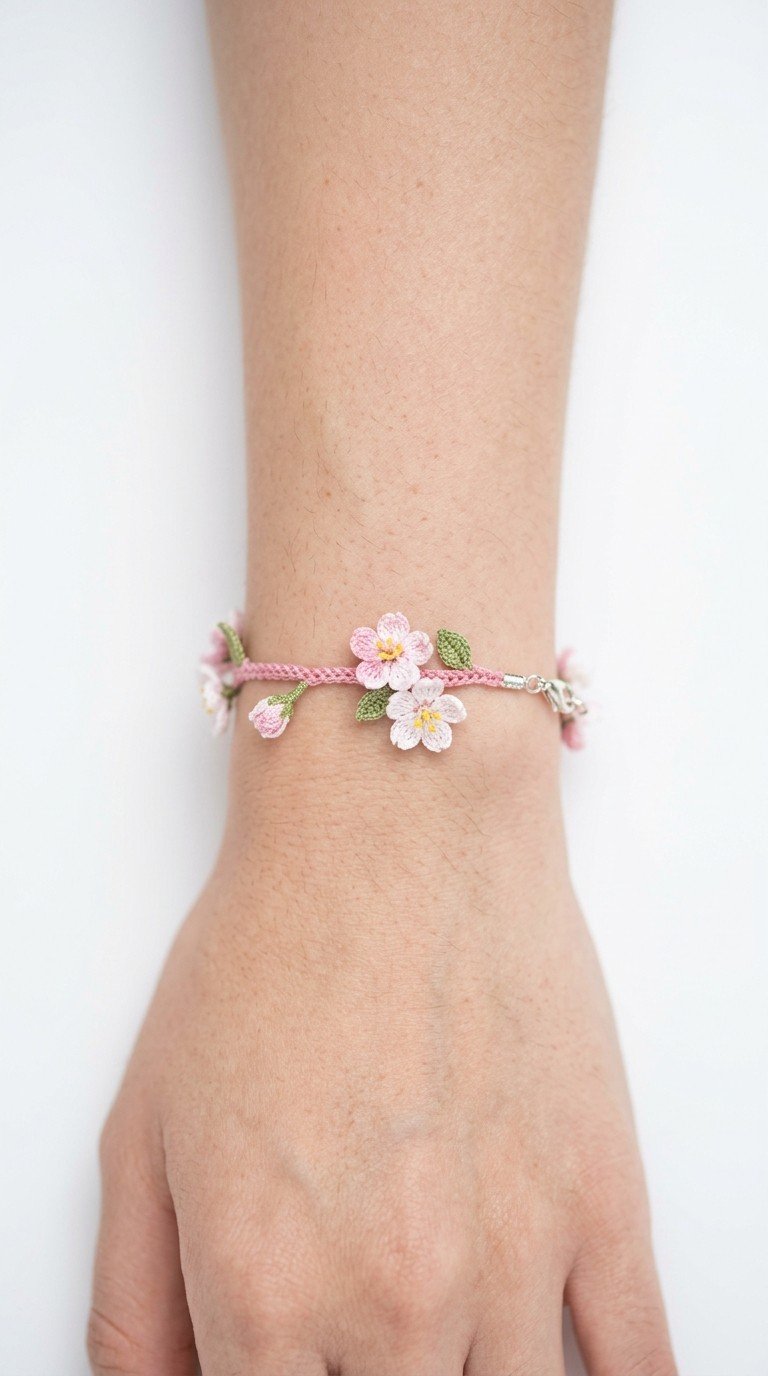
Embrace the delicate beauty of spring with this exquisite Crochet Cherry Blossom Bracelet. Perfect for adding a touch of floral elegance to any outfit, this pattern guides you through creating tiny, lifelike sakura blossoms and leaves that will adorn your wrist. It’s a charming project for crocheters looking for a quick yet rewarding piece of handmade jewelry.
Blossom Your Style with Handmade Elegance
Crafting your own jewelry allows for a unique expression of personal style. This cherry blossom bracelet is not only a delightful accessory for yourself but also makes a heartfelt gift for friends and loved ones. Imagine the joy of wearing a piece that embodies the gentle arrival of spring, all crafted with your own hands.
Crochet Thread (Size 10) in Light Pink (A), Dark Pink (B), Light Green (C), and Light Yellow (D)
Crochet Hook: 0.75mm (or size to achieve tiny stitches)
Small jewelry clasp (e.g., lobster clasp)
2-3 small jump rings
Tapestry needle
Jewelry pliers
Scissors
Abbreviations
ch – chain
sl st – slip stitch
sc – single crochet
hdc – half double crochet
dc – double crochet
tr – treble crochet
MR – magic ring (or magic circle)
Instructions
Gauge: Not critical for this project, just ensure your stitches are tight and consistent.
Notes: Work very tightly to create delicate flowers and leaves. A very small hook is essential for this scale.
Bracelet Base (I-Cord)
Using Color A (Light Pink) and the 0.75mm hook, ch 3.
Insert hook into the 2nd ch from hook, yarn over and pull up a loop (2 loops on hook).
Insert hook into the 3rd ch from hook, yarn over and pull up a loop (3 loops on hook).
Remove the first 2 loops from the hook, holding them carefully with your non-dominant hand.
Yarn over and pull through the remaining loop on the hook (this completes 1 stitch).
Insert hook back into the 2nd loop you were holding, yarn over and pull through (completes 2nd stitch).
Insert hook back into the 3rd loop you were holding, yarn over and pull through (completes 3rd stitch).
Repeat the last 3 steps (removing 2 loops, completing 1st, then 2nd, then 3rd) until your I-cord measures approximately 6-7 inches (or desired bracelet length).
Sl st into the last stitch and fasten off, leaving a tail for attaching the clasp.
Cherry Blossom Flower (Make 5-7, alternating Colors A and B)
Using Color A (Light Pink) or B (Dark Pink), start with a MR.
Petal 1: Ch 2, (2 dc, tr) into the MR, ch 2, sl st into the MR.
Petal 2-5: Repeat Petal 1 (Ch 2, tr, 2 dc into the MR, ch 2, sl st into the MR) four more times for a total of 5 petals.
Pull the MR closed tightly. Fasten off, leaving a short tail.
Flower Center (Yellow): Join Color D (Light Yellow) in the center of the flower (where the MR closes). Ch 1, make 3 sc stitches into the very center. Sl st to first sc and fasten off, leaving a tail. Using the tapestry needle, weave in the yellow tails to create a small yellow dot in the center.
Cherry Blossom Bud (Make 2-3)
Using Color B (Dark Pink), ch 5, sl st to first ch to form a ring.
Ch 1, make 6 sc into the ring. (6 sc)
Sl st to the first sc and fasten off, leaving a short tail for attachment. Gently pinch and shape into a bud.
Leaf (Make 5-7)
Using Color C (Light Green), ch 5.
Sl st into the 2nd ch from hook.
Sc into the next ch.
Hdc into the next ch.
Sl st into the last ch.
Fasten off, leaving a short tail for attachment.
Assembly
Attach Clasp: Using jewelry pliers, open a jump ring and attach it to one end of the I-cord and one half of your clasp. Close the jump ring securely. Repeat for the other end of the I-cord and the other half of the clasp.
Arrange Flowers & Leaves: Lay out your I-cord bracelet. Arrange the cherry blossom flowers, buds, and leaves along the I-cord. Alternate colors and positions as desired to mimic a natural branch.
Sew On Embellishments: Using the tails from each flower, bud, and leaf, thread them onto your tapestry needle. Carefully sew each piece securely onto the I-cord, making sure the stitches are hidden on the back of the I-cord. Work from one end of the bracelet to the other, distributing the embellishments evenly.
Finish: Once all pieces are attached, weave in any remaining loose ends into the back of the I-cord.