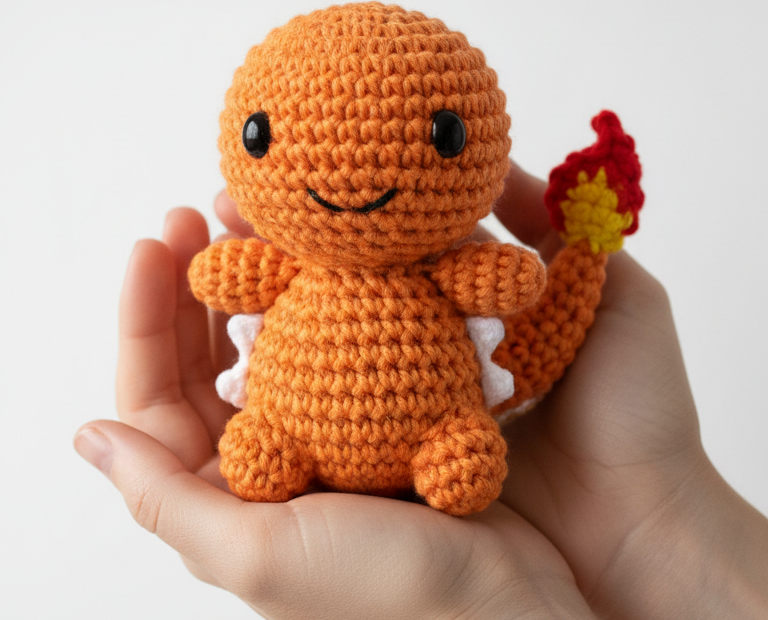
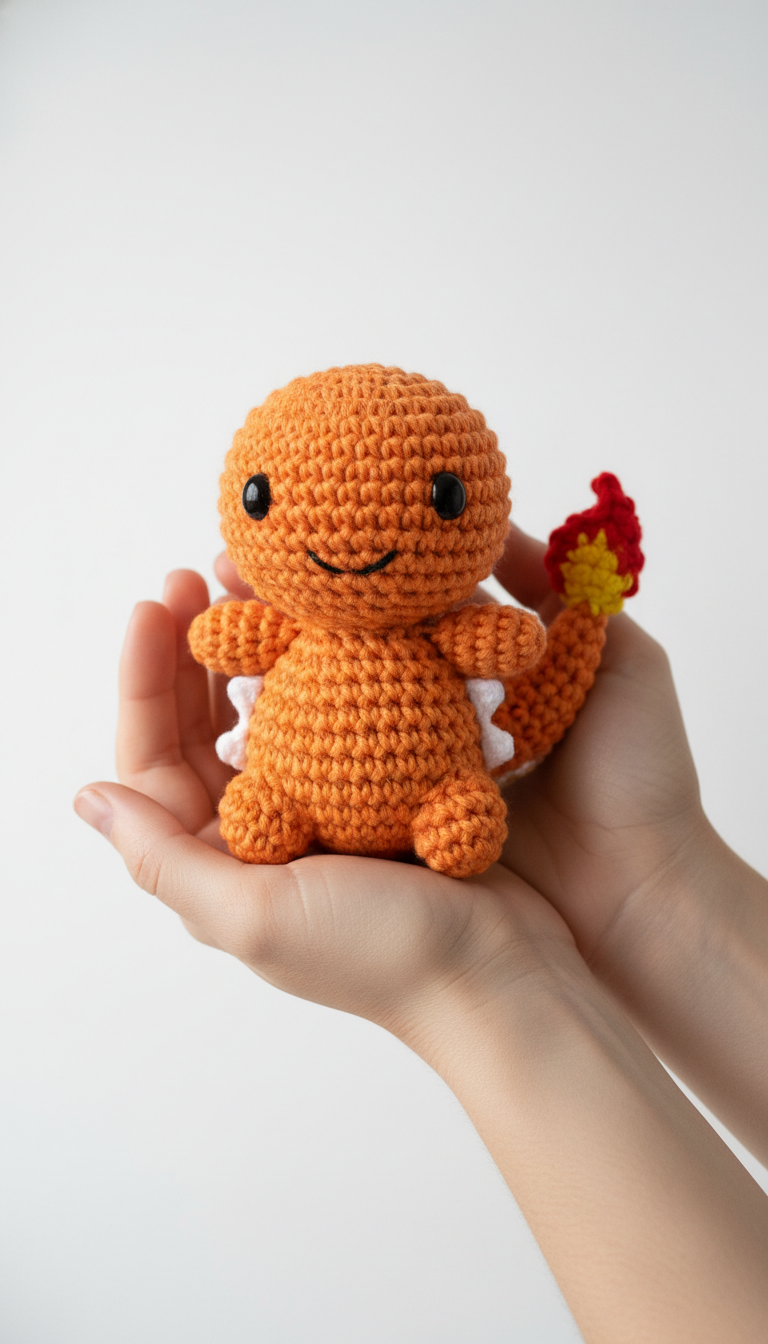
Embark on a nostalgic journey and bring your favorite Fire-type Pokémon to life with this charming crochet Charmander amigurumi pattern! Perfect for Pokémon fans and crochet enthusiasts alike, this detailed guide will help you create a delightful, huggable friend. Get ready to ignite your creativity and stitch up this iconic starter Pokémon, complete with its signature flame tail and friendly smile.
Unleash Your Inner Trainer: Craft Your Own Charmander!
There’s nothing quite like the joy of creating something with your own hands, especially when it’s a beloved character. This Charmander pattern is designed to be engaging for intermediate crocheters, but ambitious beginners can also conquer it with a little patience. Once finished, your amigurumi Charmander makes a fantastic gift, a unique desk companion, or a cherished addition to any Pokémon collection. Start crocheting your fiery friend today!
Crochet Pattern: Ignite Your Craft: Adorable Crochet Charmander Amigurumi Pattern!
Materials
Worsted weight yarn in Orange, White, Yellow, Red
2.5mm or 3.0mm crochet hook (or hook size appropriate for your yarn to achieve tight stitches)
6mm or 8mm black safety eyes
Black embroidery floss for mouth
Polyester fiberfill for stuffing
Tapestry needle
Stitch markers
Scissors
Abbreviations
MR: Magic Ring
ch: chain
sc: single crochet
hdc: half double crochet
dc: double crochet
sl st: slip stitch
inc: increase (2 sc in one stitch)
dec: decrease (sc 2 stitches together)
FO: Fasten off
st(s): stitch(es)
Instructions
Important Note: This pattern is worked in continuous rounds unless otherwise stated. Use a stitch marker to keep track of your first stitch in each round.
Head (Orange Yarn)
R1: 6 sc in MR (6)
R2: 6 inc (12)
R3: (sc, inc) x6 (18)
R4: (2sc, inc) x6 (24)
R5: (3sc, inc) x6 (30)
R6-R10: Sc in each st around (30) (5 rounds)
Insert safety eyes between R7 and R8, approximately 5-6 stitches apart.
R11: (3sc, dec) x6 (24)
R12: (2sc, dec) x6 (18)
Start stuffing the head firmly.
R13: (sc, dec) x6 (12)
R14: 6 dec (6)
FO, close the opening, and weave in the tail.
Body (Orange Yarn)
R1: 6 sc in MR (6)
R2: 6 inc (12)
R3: (sc, inc) x6 (18)
R4: (2sc, inc) x6 (24)
R5: (3sc, inc) x6 (30)
R6-R9: Sc in each st around (30) (4 rounds)
R10: (3sc, dec) x6 (24)
R11: Sc in each st around (24)
Start stuffing the body firmly.
R12: (2sc, dec) x6 (18)
R13: (sc, dec) x6 (12)
R14: 6 dec (6)
FO, leave a long tail for sewing the body to the head.
Arms (Make 2, Orange Yarn)
R1: 6 sc in MR (6)
R2-R5: Sc in each st around (6) (4 rounds)
Lightly stuff the arm.
Flatten the opening and sc across to close (3 sc). FO, leave a long tail for sewing.
Legs (Make 2, Orange Yarn)
R1: 6 sc in MR (6)
R2: 6 inc (12)
R3-R4: Sc in each st around (12) (2 rounds)
R5: (2sc, dec) x3 (9)
Lightly stuff the leg.
Flatten the opening and sc across to close (4 sc). FO, leave a long tail for sewing.
Belly (White Yarn)
Ch 5.
R1: Sc in 2nd ch from hook, 2 sc, 3 sc in last ch. Working on the other side of the chain: 3 sc, 2 sc in last st (10)
R2: Inc, 2 sc, (inc) x3, 2 sc, (inc) x2 (16)
R3: Sc in each st around (16)
FO, leave a long tail for sewing.
Back Scales (Make 3, White Yarn)
Ch 4.
Sc in 2nd ch from hook, hdc in next ch, dc in last ch.
FO, leave a long tail for sewing.
Tail (Orange, Yellow, Red Yarn)
Orange Tail Base
R1: 6 sc in MR (6)
R2: (sc, inc) x3 (9)
R3: Sc in each st around (9)
R4: (2sc, inc) x3 (12)
R5-R8: Sc in each st around (12) (4 rounds)
Stuff the tail firmly. Do NOT FO.
Flame (Yellow and Red Yarn)
Attach Yellow yarn to the last stitch of the orange tail (R8).
Ch 1. (sc, hdc, dc, hdc, sc) into the same stitch, then sl st into the next stitch. Repeat 2 more times around the tail end to create 3 yellow mounds.
Attach Red yarn to the top (dc stitch) of one of the yellow mounds.
Ch 1. (sc, hdc, sc) into the same stitch, then sl st into the next stitch. Repeat for 1 more point to create 2 smaller red mounds on top.
FO and weave in all ends securely.
Assembly
Sew the head to the body.
Sew the arms to the sides of the body, just below the neck.
Sew the legs to the bottom of the body.
Sew the white belly piece to the front of the body.
Sew the three white back scales evenly spaced along the back/side seam of the body.
Using black embroidery floss, embroider a friendly smile below the safety eyes.