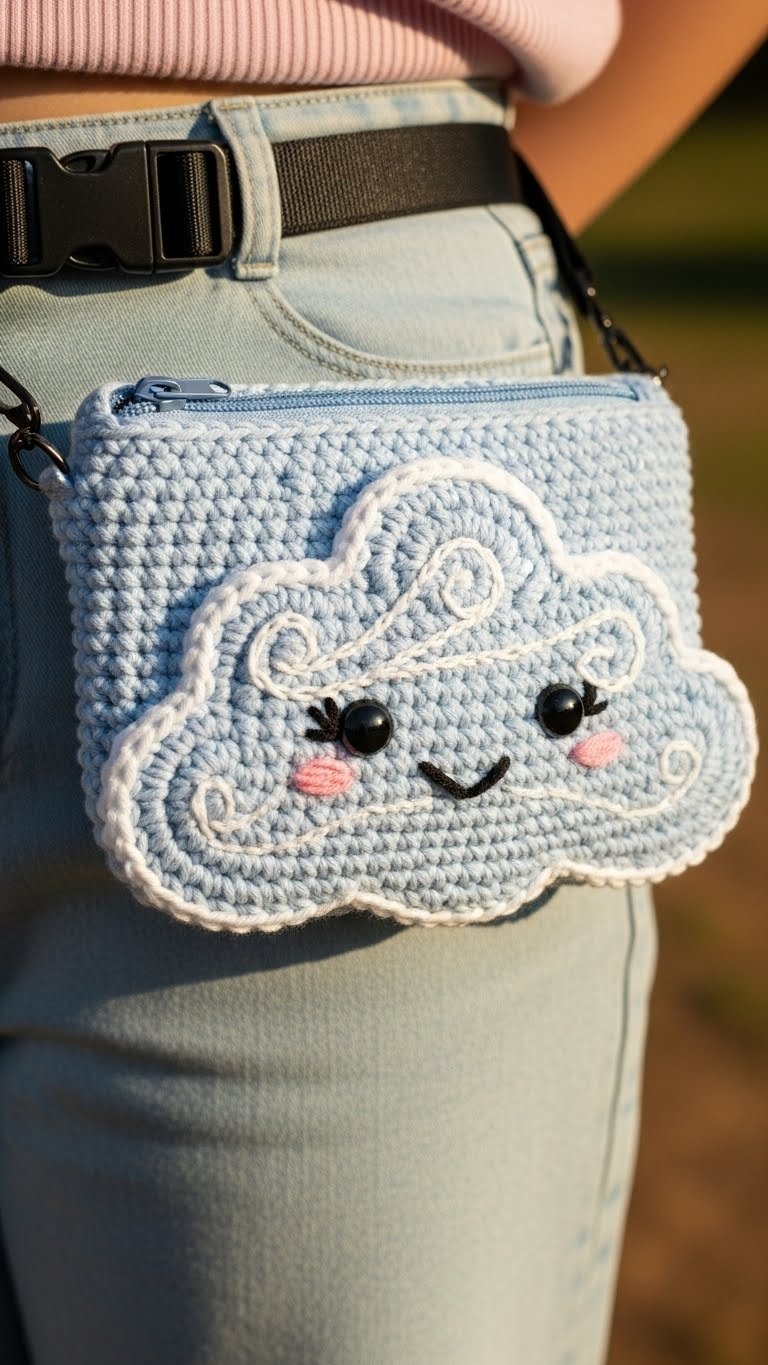
Float through your day with this adorable Kawaii Crochet Cloud Pouch! Perfect for carrying your essentials like lip balm, keys, cards, or other small treasures, this dreamy little bag adds a touch of whimsical charm to any outfit. Its soft texture and friendly face make it a joy to create and an even greater joy to use. Get ready to crochet your very own piece of handmade happiness!
Carry Your Sunshine: Handmade Joy in Every Stitch
This delightful cloud pouch isn’t just a practical accessory; it’s a statement of personal style and a testament to the joy of handmade crafts. Whether you keep it for yourself or gift it to a friend, its unique design and sweet facial features are sure to bring smiles. It’s a wonderful project for crocheters looking to create something both functional and utterly charming, adding a bit of sunshine to their everyday carry.
Black Worsted Weight Yarn (small amount for embroidery)
Light Pink Worsted Weight Yarn (small amount for embroidery)
3.75mm (F) Crochet Hook
Yarn Needle
Scissors
Two 8mm Black Safety Eyes
One 6-8 inch Light Blue Zipper
Optional: Fabric for lining, D-rings and strap for shoulder bag
Abbreviations
Ch: Chain
Sl St: Slip Stitch
Sc: Single Crochet
Inc: Increase (2 single crochet in the same stitch)
Sc2tog: Single Crochet 2 Together (decrease)
FO: Fasten Off
Instructions
Pouch Panels (Make 2 – Light Blue Yarn)
Using Light Blue yarn and chosen hook size:
Ch 22.
Round 1: Sc in 2nd ch from hook, sc in next 19 ch. 3sc in last ch. Turn to work along the other side of the foundation chain: sc in next 19 ch, 2sc in last ch. Sl st to first sc to join. (44 sc)
Round 2: Ch 1, sc in first 5 sc, (Inc in next st, sc in next 3 st) x 2, sc in next 10 sc, (Inc in next st, sc in next 3 st) x 2, sc in last 5 sc. Sl st to join. (48 sc)
Round 3-6: Ch 1, sc in each st around. Sl st to join. (48 sc)
Round 7: Ch 1, sc in first 5 sc, (Sc2tog, sc in next 3 st) x 2, sc in next 10 sc, (Sc2tog, sc in next 3 st) x 2, sc in last 5 sc. Sl st to join. (44 sc)
Round 8-10: Ch 1, sc in each st around. Sl st to join. (44 sc)
Round 11: Ch 1, sc in first 5 sc, (Inc in next st, sc in next 4 st) x 2, sc in next 8 sc, (Inc in next st, sc in next 4 st) x 2, sc in last 5 sc. Sl st to join. (48 sc)
Round 12-14: Ch 1, sc in each st around. Sl st to join. (48 sc)
Round 15: Ch 1, sc in first 5 sc, (Sc2tog, sc in next 4 st) x 2, sc in next 8 sc, (Sc2tog, sc in next 4 st) x 2, sc in last 5 sc. Sl st to join. (44 sc)
FO, leaving a long tail on one panel for joining.
White Cloud Edging (for each Light Blue Panel)
With White yarn, join with a sl st to any stitch on the perimeter of one Light Blue panel.
Round 1: Ch 1. Sc in each stitch around the entire perimeter of the blue panel, ensuring to follow its shape closely to create a crisp, defined outline. Sl st to first sc to join. FO, weave in ends.
Facial Features (on one White-edged Panel)
Carefully determine the placement for the eyes and mouth. Position the 8mm Black Safety Eyes approximately 6-8 rows down from the top edge of the blue cloud and 8-10 stitches apart, securing them from the back.
Using Black yarn and a yarn needle, embroider a small, upward-curving smile below the eyes.
Using Light Pink yarn and a yarn needle, embroider two small circular or oval cheek blushes just below and to the side of each eye.
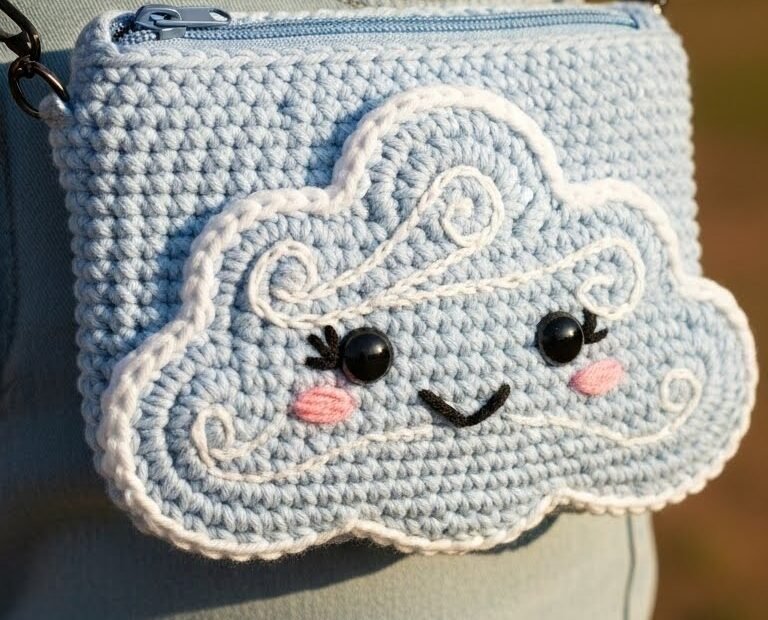
Using White yarn and a yarn needle, embroider small swirly details (like wisps of cloud or wind) above and to the sides of the eyes, as seen in the image.
Assembly
Place the two finished cloud panels together, wrong sides facing (the face panel should be on top).
Using the long tail from one panel (or a new piece of Light Blue yarn), Sc the panels together around the bottom and side edges, leaving the top edge open for the zipper. Sl st to join and FO.
Attaching the Zipper: Carefully pin the 6-8 inch zipper to the open top edges of the pouch. Using a yarn needle and matching thread (or a small amount of light blue yarn), hand-sew the zipper securely in place. Alternatively, machine sew if comfortable.
Optional Strap: If adding a strap, attach D-rings to the top corners of the pouch (where the zipper ends) by crocheting a small tab or sewing them securely. Then attach your desired strap.