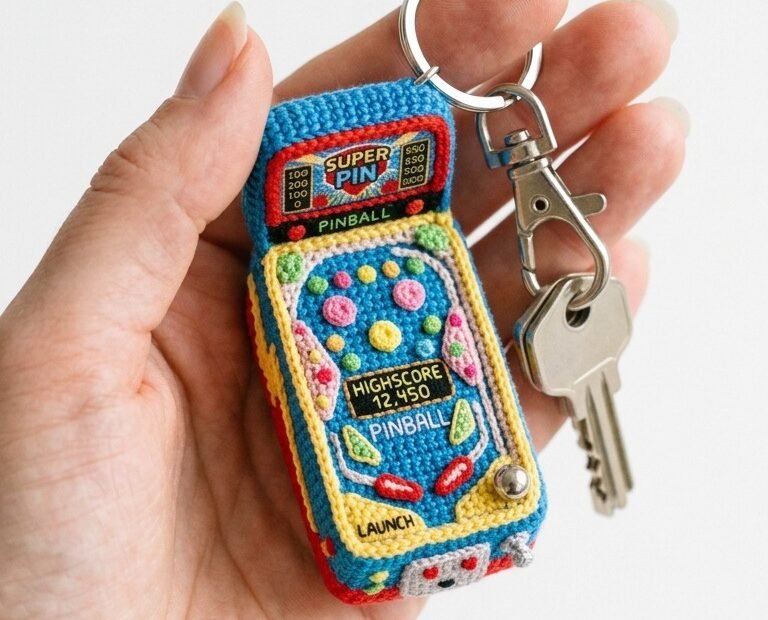
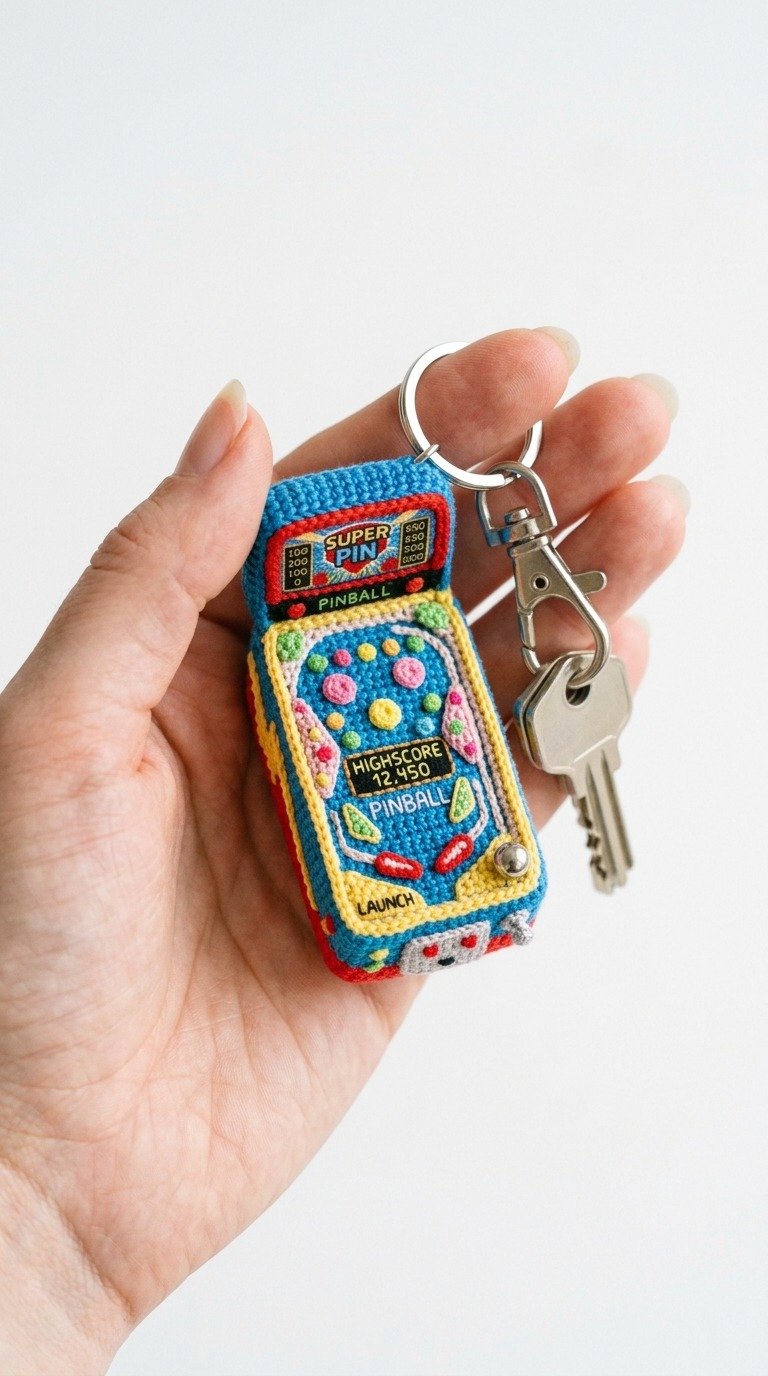
Bring the classic arcade vibes to your pocket with this incredibly detailed mini pinball machine crochet pattern! This retro-inspired amigurumi project features vibrant colors, intricate playfield details, and an adorable 3D shape. It makes a perfect gift for gamers, nostalgic arcade lovers, or anyone looking to add a unique, handmade touch to their keys.
Why You Will Love Crafting This Miniature Arcade Classic
This mini pinball machine keychain combines structured amigurumi shapes with fine embroidery to bring a tiny arcade console to life. It is an engaging project that allows you to practice color changes, precise stitching, and creative embellishments. Customize the screen, flippers, and scores to create your own personalized, pocket-sized gaming masterpiece.
Crochet Pattern: Retro Mini Pinball Machine Keychain Crochet Pattern
Materials
Sport weight yarn in Bright Blue, Red, Yellow, Grey, and White
Fine embroidery floss in Pink, Green, Yellow, Black, and Red
2.0 mm crochet hook
Polyester fiberfill stuffing
Keychain ring and clasp
Small silver bead (for the pinball)
Yarn needle and sewing pins
Abbreviations
ch – chain
sc – single crochet
inc – increase
dec – decrease
sl st – slip stitch
BLO – back loops only
FLO – front loops only
st(s) – stitch(es)
Instructions
Cabinet Body (Start in Red):
We will construct the main rectangular cabinet from the bottom up, stuffing as we go.
Row 1: Ch 9, starting in 2nd ch from hook, sc in each of the next 8 sts, turn. (8 sts)
Rows 2-20: Ch 1, sc across, turn. (8 sts)
Round 21 (Sides of Cabinet): Join Blue yarn. Work in BLO around all four edges of the rectangle to create the 3D walls. Sc 8 across the short side, sc 20 along the long side, sc 8 across the opposite short side, sc 20 along the other long side. (56 sts)
Rounds 22-26: Sc in each st around in Blue. (56 sts)
Start stuffing firmly with fiberfill. Do not overstuff to maintain the rectangular box shape.
Backglass (Header Screen – Blue & Red):
This is the vertical panel at the top back of the pinball machine.
Row 1: Join Blue yarn at the top edge of the cabinet (back 8 stitches). Ch 1, sc 8, turn. (8 sts)
Rows 2-10: Sc in each st across, turn. (8 sts)
Join Red yarn along the outer border of this flap. Sl st around the top and side borders to create the retro screen frame. Fasten off, leaving a long tail for sewing.
Playfield (Yellow and Light Blue Insert):
This flat piece fits inside the blue cabinet walls to represent the pinball field.
Row 1: In Yellow, ch 7, starting in 2nd ch, sc 6, turn. (6 sts)
Rows 2-15: Sc 6 across, turn. (6 sts)
Fasten off, leaving a tail.
Using Light Blue yarn, embroider a central inner rectangle on the playfield using surface slip stitches.
Embellishing the Playfield & Backglass:
Before assembling, use embroidery floss to add the nostalgic retro details.
On the Backglass: Embroider “SUPER PIN” with red and yellow floss. Add a black rectangle below it for the digital display, writing miniature numbers inside.
On the Playfield: Using pink, green, and yellow embroidery floss, sew French knots for the bumpers. Use satin stitches to create two red diagonal flippers at the bottom. Sew a small silver bead near the right edge to act as the pinball.
Assembly & Finishing:
Place the embroidered playfield piece inside the blue cabinet frame, sitting just below the top edge. Stitch securely in place using matching blue or yellow yarn.
Push the backglass upright and secure it at a 90-degree angle to the cabinet by stitching the base of the backglass firmly.
Attach the metal keychain ring to the top-center of the backglass using a sturdy loop of blue yarn.