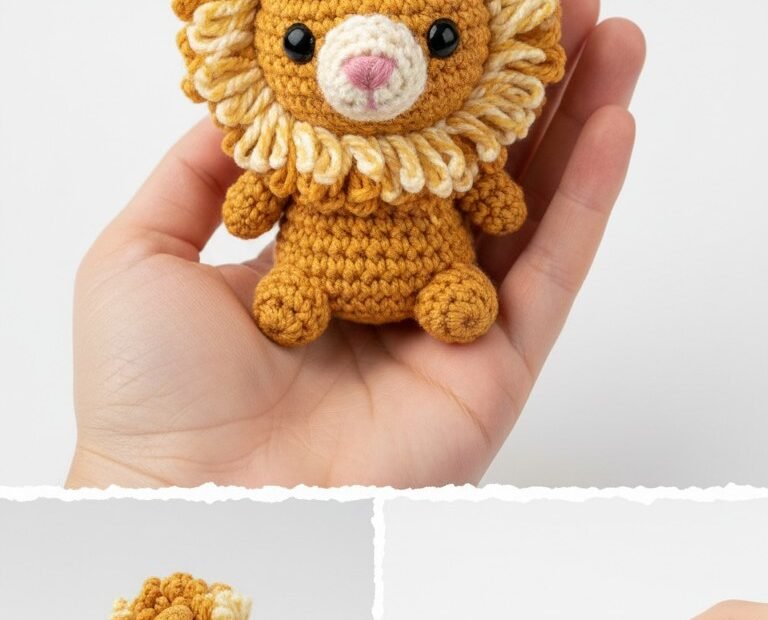
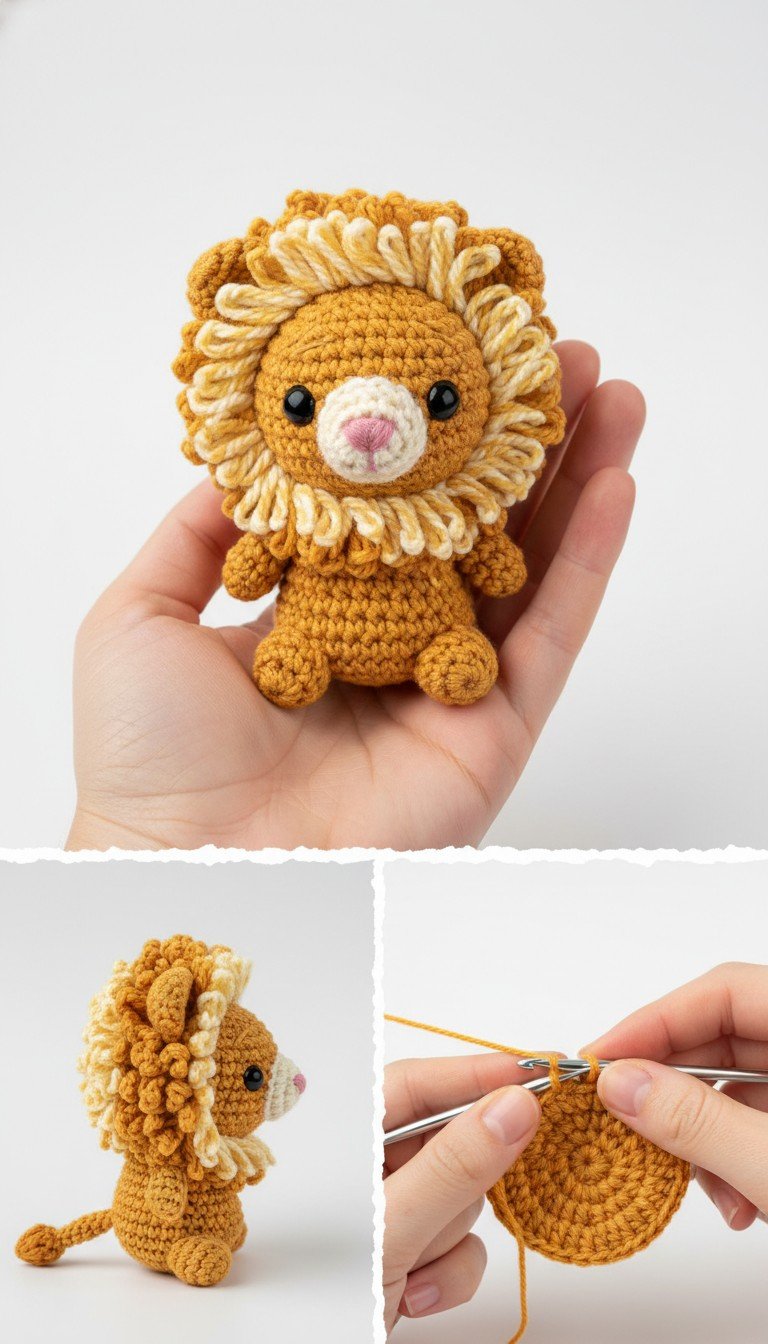
Bring a touch of the wild into your home with this absolutely adorable Amigurumi Lion! Perfect for little hands to cuddle or as a charming desk companion, this pattern guides you through creating your very own king of the jungle. With its fluffy mane and sweet expression, this little lion is sure to capture hearts and make a delightful handmade gift for any animal lover.
Craft Your Own Safari Companion
There’s a special joy in crafting something unique with your own hands, and this Amigurumi Lion is no exception. Designed to be both fun to make and wonderfully cute, this project allows you to create a lasting keepsake. Whether you’re an experienced crocheter or new to amigurumi, the clear steps will help you bring this lovable lion to life, making it a truly rewarding experience.
Crochet Pattern: Roar-some Little Friend: Crochet an Adorable Amigurumi Lion!
Materials
Worsted weight yarn in Mustard Yellow (Color A)
Worsted weight yarn in Cream/Light Yellow (Color B)
Small amount of Worsted weight yarn in Pink (Color C)
Small amount of Worsted weight yarn in Black (Color D) for embroidery if not using safety eyes
2.5mm or 3.0mm crochet hook (or hook suitable for your yarn weight to achieve tight stitches)
6mm or 8mm black safety eyes (2)
Polyester fiberfill for stuffing
Tapestry needle
Stitch marker
Scissors
Abbreviations
MR: Magic Ring
ch: chain
sc: single crochet
inc: increase (2 sc in one stitch)
dec: decrease (sc two stitches together)
sl st: slip stitch
fo: fasten off
rnd(s): round(s)
st(s): stitch(es)
Instructions
Gauge: Gauge is not critical for this project, but aim for tight stitches to prevent stuffing from showing through.
Notes: Work in continuous rounds unless otherwise specified. Use a stitch marker to keep track of the first stitch of each round.
Head and Body (Color A)
Rnd 1: Start with MR, 6 sc in ring (6)
Rnd 2: inc in each st around (12)
Rnd 3: (sc, inc) x 6 (18)
Rnd 4: (2 sc, inc) x 6 (24)
Rnd 5: (3 sc, inc) x 6 (30)
Rnd 6: (4 sc, inc) x 6 (36)
Rnd 7-12: sc in each st around (36)
Insert safety eyes between Rnd 9 and 10, about 6-7 stitches apart.
Rnd 13: (4 sc, dec) x 6 (30)
Rnd 14: (3 sc, dec) x 6 (24)
Begin stuffing the head firmly.
Rnd 15: (2 sc, dec) x 6 (18)
Rnd 16: (sc, dec) x 6 (12)
Rnd 17: sc in each st around (12) – This forms the neck.
Rnd 18: inc in each st around (24) – Start of body.
Rnd 19: (3 sc, inc) x 6 (30)
Rnd 20-24: sc in each st around (30)
Continue stuffing as you go.
Rnd 25: (3 sc, dec) x 6 (24)
Rnd 26: (2 sc, dec) x 6 (18)
Rnd 27: (sc, dec) x 6 (12)
Rnd 28: dec x 6 (6)
Fo, leaving a tail. Weave tail through remaining sts and pull tight to close. Hide tail.
Snout (Color B)
Rnd 1: Start with MR, 6 sc in ring (6)
Rnd 2: inc in each st around (12)
Rnd 3: (3 sc, inc) x 3 (15)
Rnd 4: sc in each st around (15)
Fo, leaving a long tail for sewing. Lightly stuff and sew to the face between the eyes, centered.
Nose (Color C)
Using Color C yarn and a tapestry needle, embroider a small triangular nose onto the top of the snout.
Mane (Color A & Color B held together)
Hold one strand of Color A and one strand of Color B together. Work around the head, starting near the eyes.
Rnd 1 (Mane Base): Join yarn to the head (around Rnd 8-9, just outside the eye line). sc in each stitch around the head where the mane will be, forming a circle. (Approx. 24-30 sts depending on where you start and the size of your head). Sl st to first sc.
Rnd 2 (Mane Ruffles): ch 1, *(sc, ch 3, sc) in next st, skip 1 st*. Repeat from * around. Sl st to first sc.
Fo, weave in ends. You can add more layers of ruffles by repeating Rnd 2 slightly inward or outward from the first layer if desired for more volume.
Ears (Make 2, Color A)
Rnd 1: Start with MR, 4 sc in ring (4)
Rnd 2: (sc, inc) x 2 (6)
Fo, leaving a long tail for sewing. Flatten the ears and sew them to the top of the head, partially hidden by the mane.
Arms (Make 2, Color A)
Rnd 1: Start with MR, 6 sc in ring (6)
Rnd 2-5: sc in each st around (6)
Lightly stuff the end of the arm.
Rnd 6: dec x 3 (3)
Fo, leaving a tail. Weave tail through remaining sts and pull tight to close. Sew arms to the sides of the body, just below the neck.
Legs (Make 2, Color A)
Rnd 1: Start with MR, 8 sc in ring (8)
Rnd 2-5: sc in each st around (8)
Lightly stuff the end of the leg.
Rnd 6: dec x 4 (4)
Fo, leaving a tail. Weave tail through remaining sts and pull tight to close. Sew legs to the bottom of the body.
Tail (Color A)
Using Color A, ch 8.
Row 1: sc in 2nd ch from hook and in next 6 ch (7 sc).
Fo, leaving a long tail. For the tuft, cut a few short strands of Color A yarn (and optionally Color B) and attach them to the end of the tail with a knot or by looping through with the hook and tying. Trim to desired length. Sew the tail to the back of the body.